
Setting Up Loyalty Program Part 2 (Ways To Redeem)
Setting Up Loyalty Program - Ways to Redeem (Shopify Native)
Set up redemption rules so customers can exchange their loyalty points for discounts from the rewards widget and rewards page. This guide is for stores on Shopify's native checkout. Shopify Plus and third-party checkouts have their own guides.
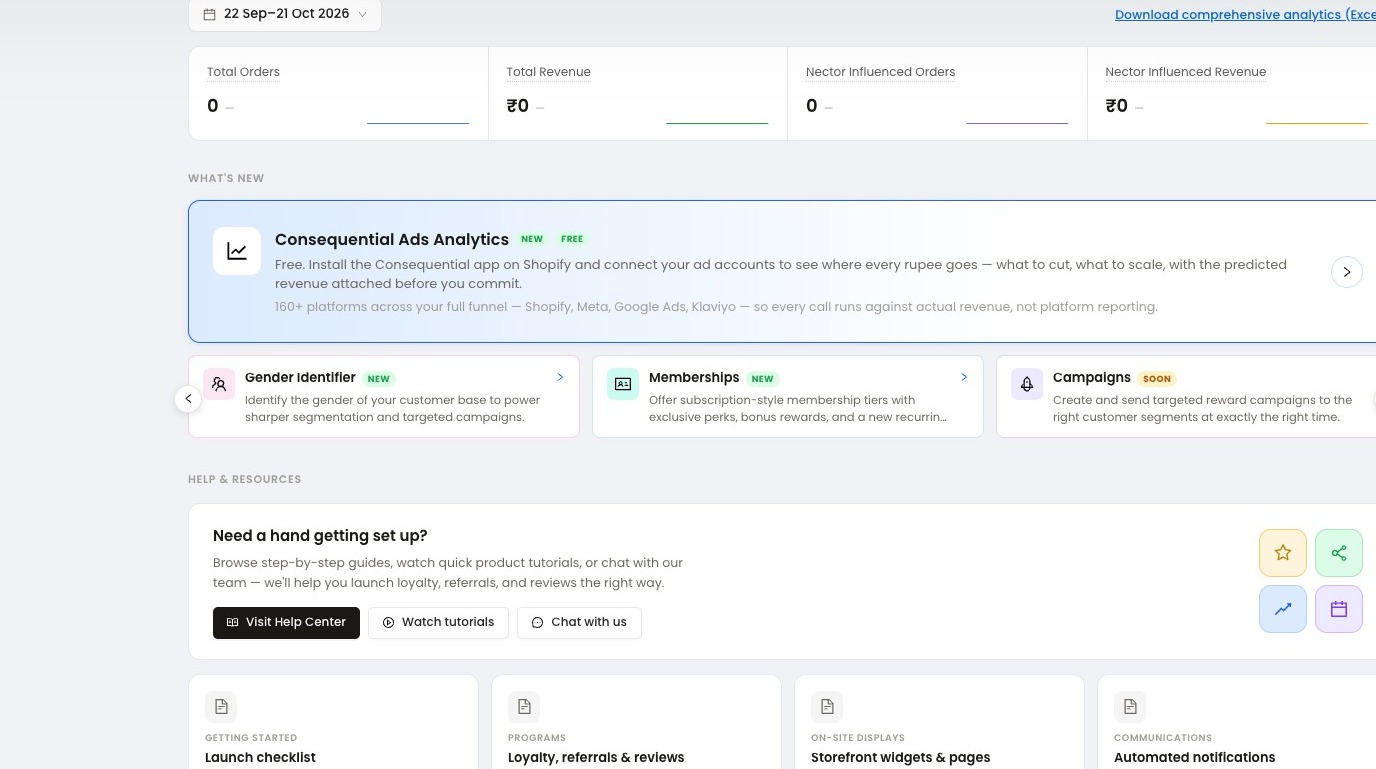
1. Log in to Nector
Go to https://merchant.nector.io/ and log in. Your dashboard opens.
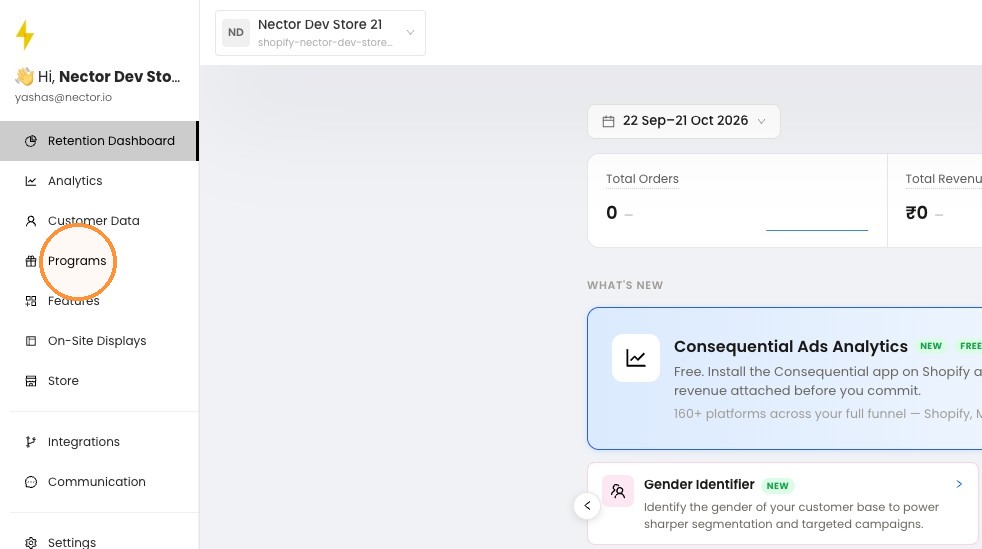
2. Open Programs
Click Programs in the left sidebar.
3. Open Redemption Rules
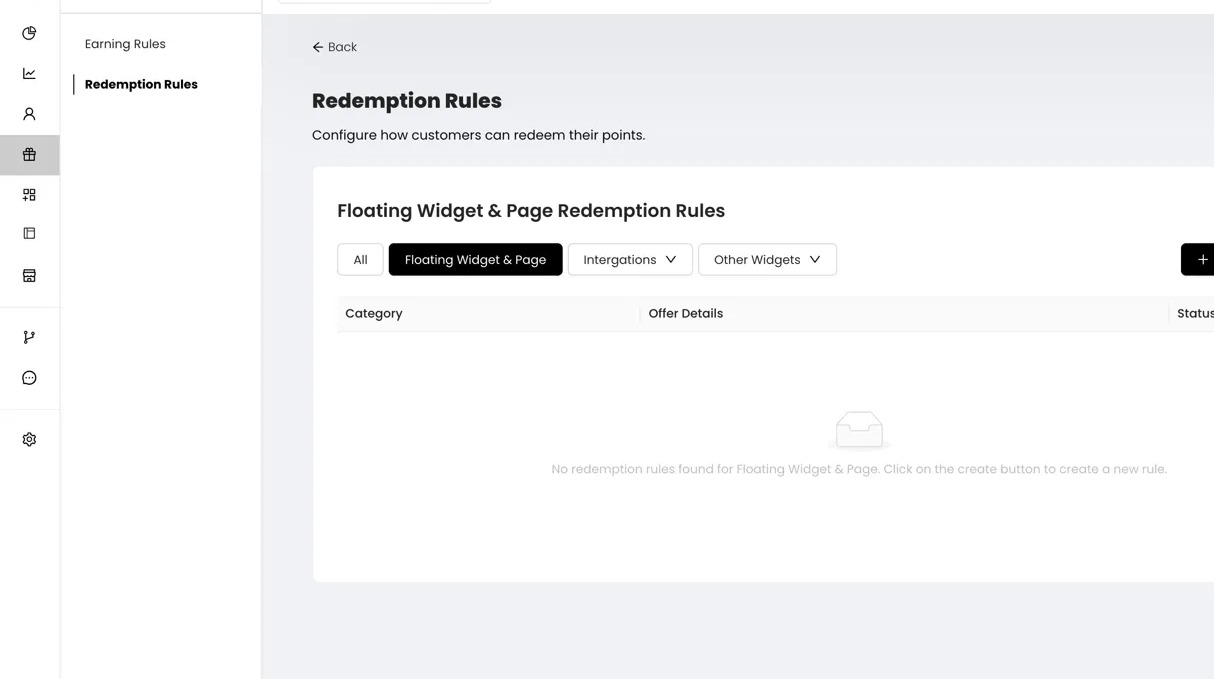
In Programs, click Redemption Rules in the left menu. Redemption rules decide what customers can exchange their points for.
The rules are grouped into tabs:
- Floating Widget & Page: offers customers redeem from the rewards widget and rewards page on your store.
- Integrations and Other Widgets: offers shown in other places.
Click Floating Widget & Page.
4. Choose a redemption type
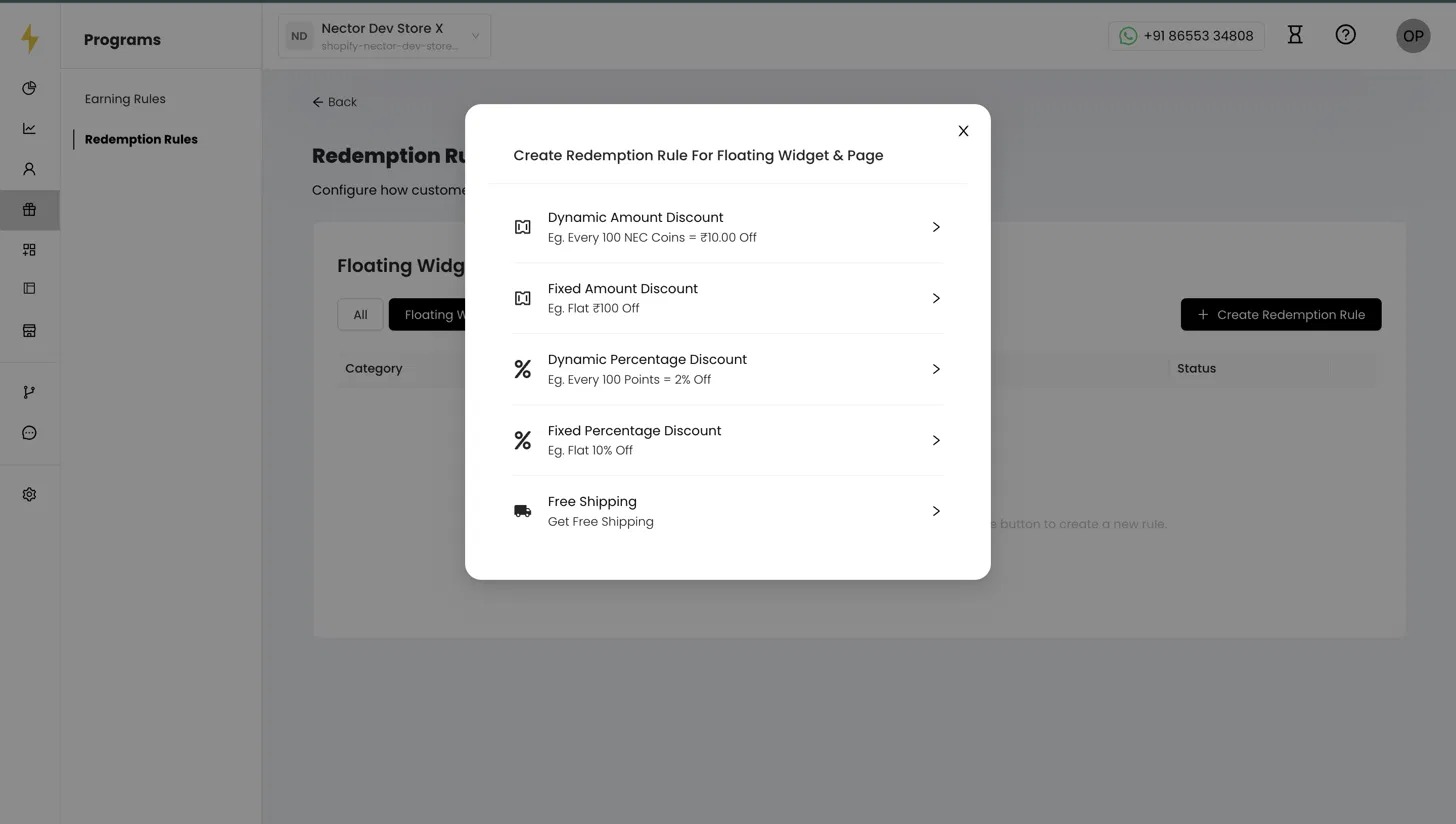
Click + Create Redemption Rule and choose one of five types:
- Dynamic Amount Discount: the discount grows with the points used, for example every 100 points = ₹10 off.
- Fixed Amount Discount: a set number of points for a flat discount, for example 100 points = ₹100 off.
- Dynamic Percentage Discount: a percentage that grows with points, for example every 100 points = 2% off.
- Fixed Percentage Discount: a set number of points for a flat percentage, for example 100 points = 10% off.
- Free Shipping: points for free shipping.
Dynamic lets customers choose how many points to use. Fixed is a single offer at one price.
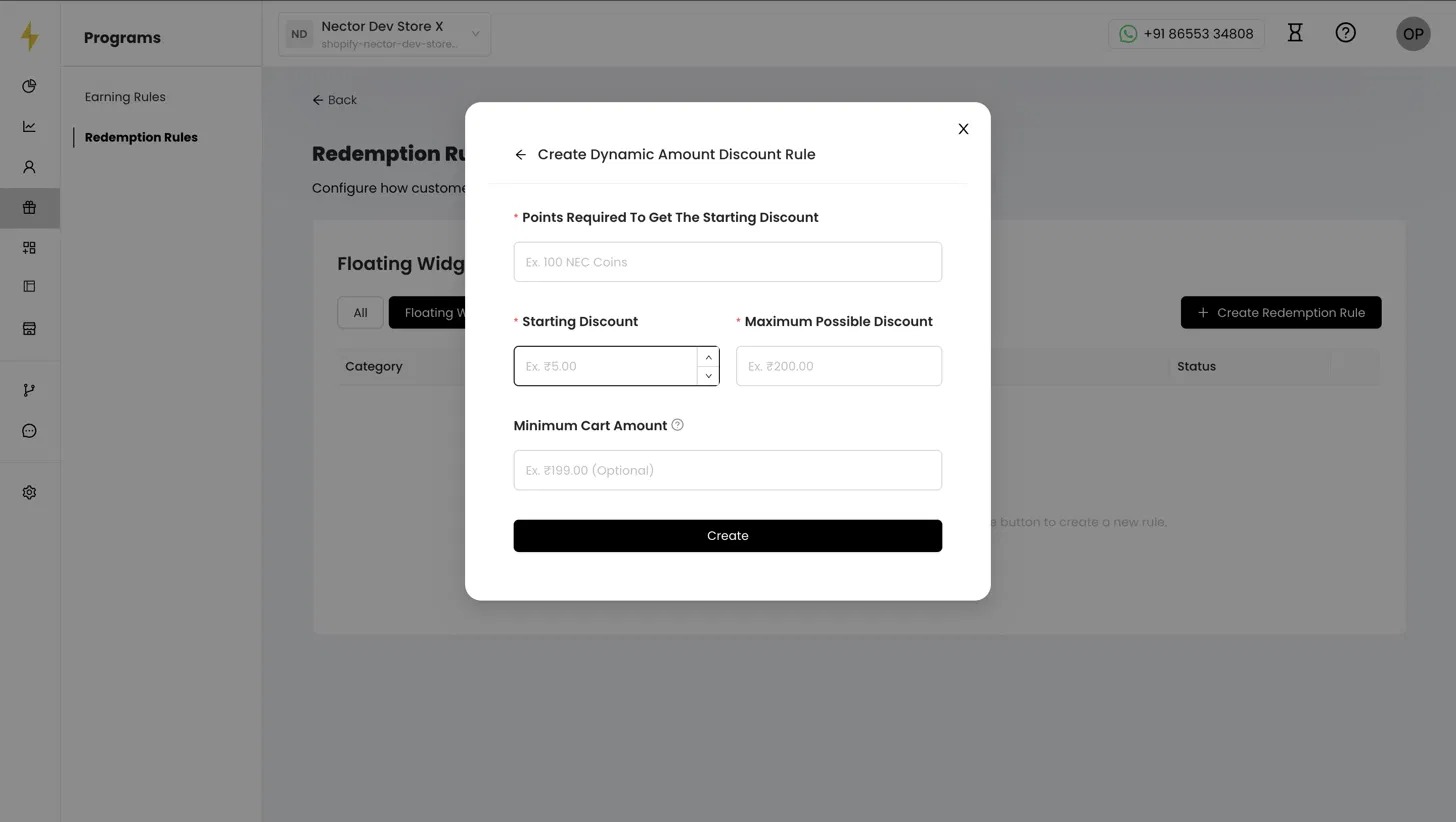
5. Set up a dynamic discount (amount or percentage)
- Points Required To Get The Starting Discount (required): the points for each step, for example 100.
- Starting Discount (required): the discount for each step, for example ₹10 or 2%.
- Maximum Possible Discount (required): the highest discount allowed, for example ₹50 or 20%.
- Minimum Cart Amount (optional): the lowest cart value the discount works on, for example ₹499.
- Click Create.
Example: with 100 points, ₹10 off and a ₹50 maximum, a customer gets ₹10 off for every 100 points. They can go up to ₹50 off by using 500 points.
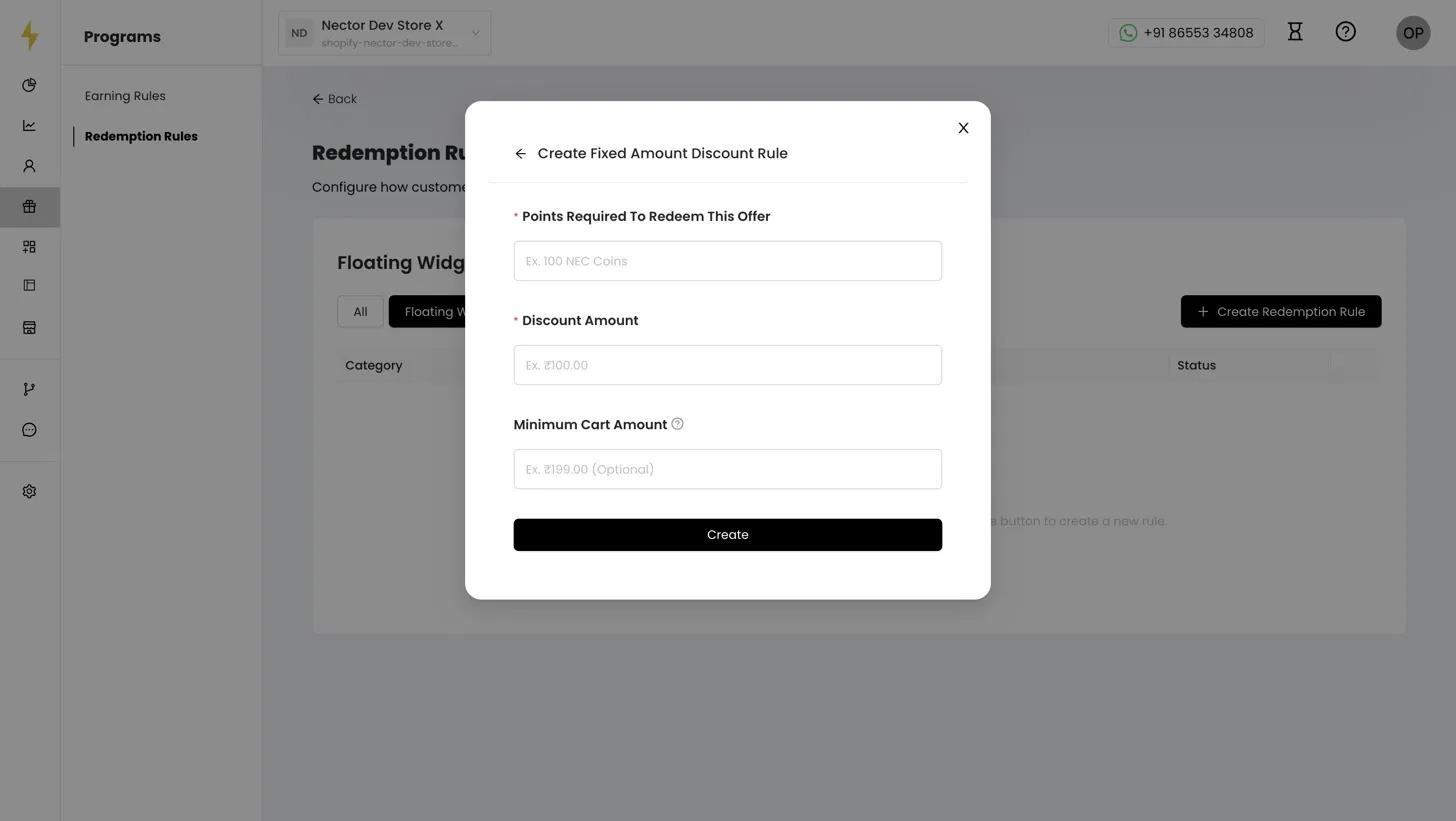
6. Set up a fixed discount (amount or percentage)
- Points Required To Redeem This Offer (required): for example 100.
- Discount Amount (required): for example ₹100 or 20%.
- Minimum Cart Amount (optional): for example ₹999.
- Click Create.
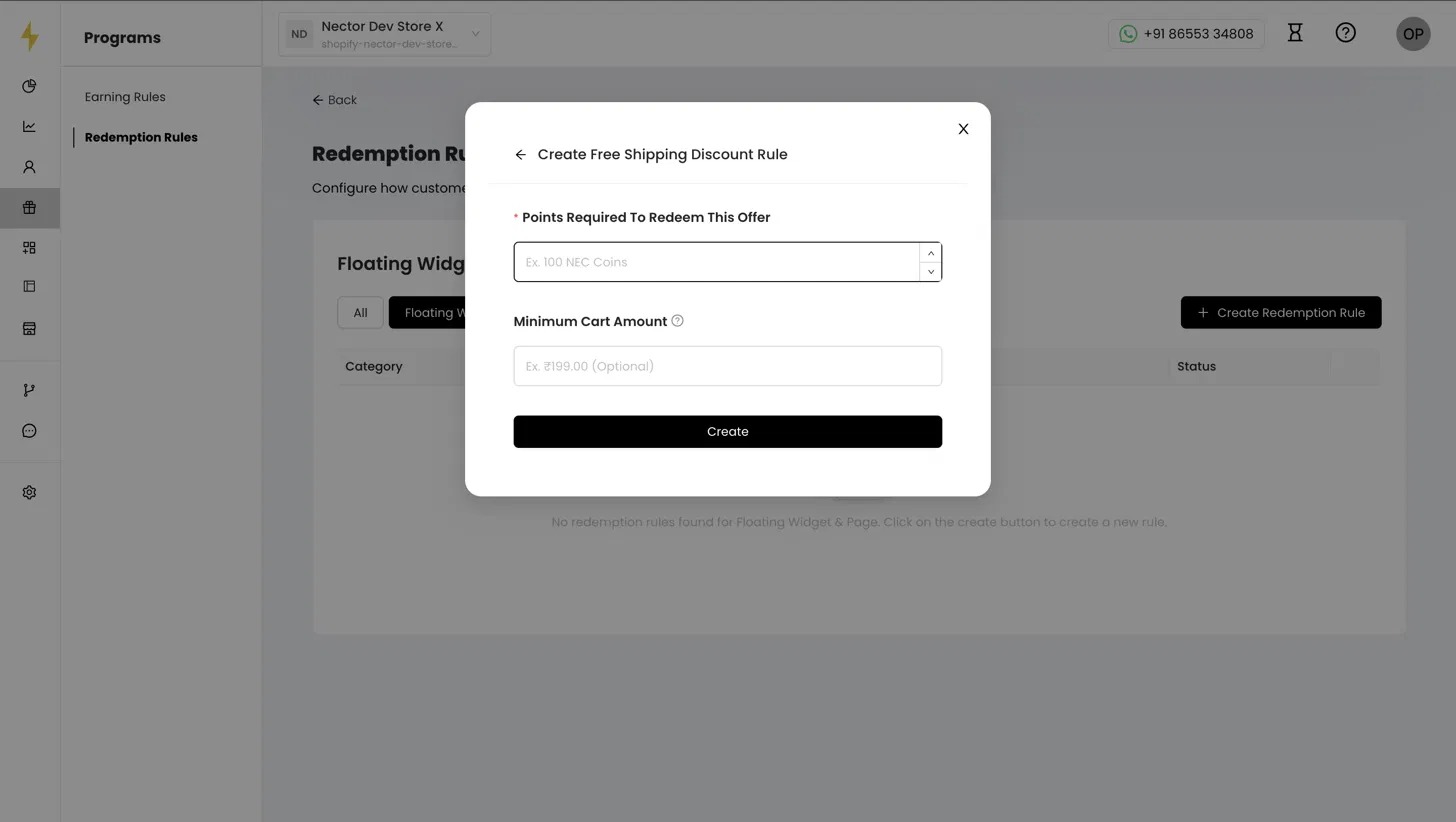
7. Set up free shipping
- Points Required To Redeem This Offer (required): for example 100.
- Minimum Cart Amount (optional).
- Click Create.
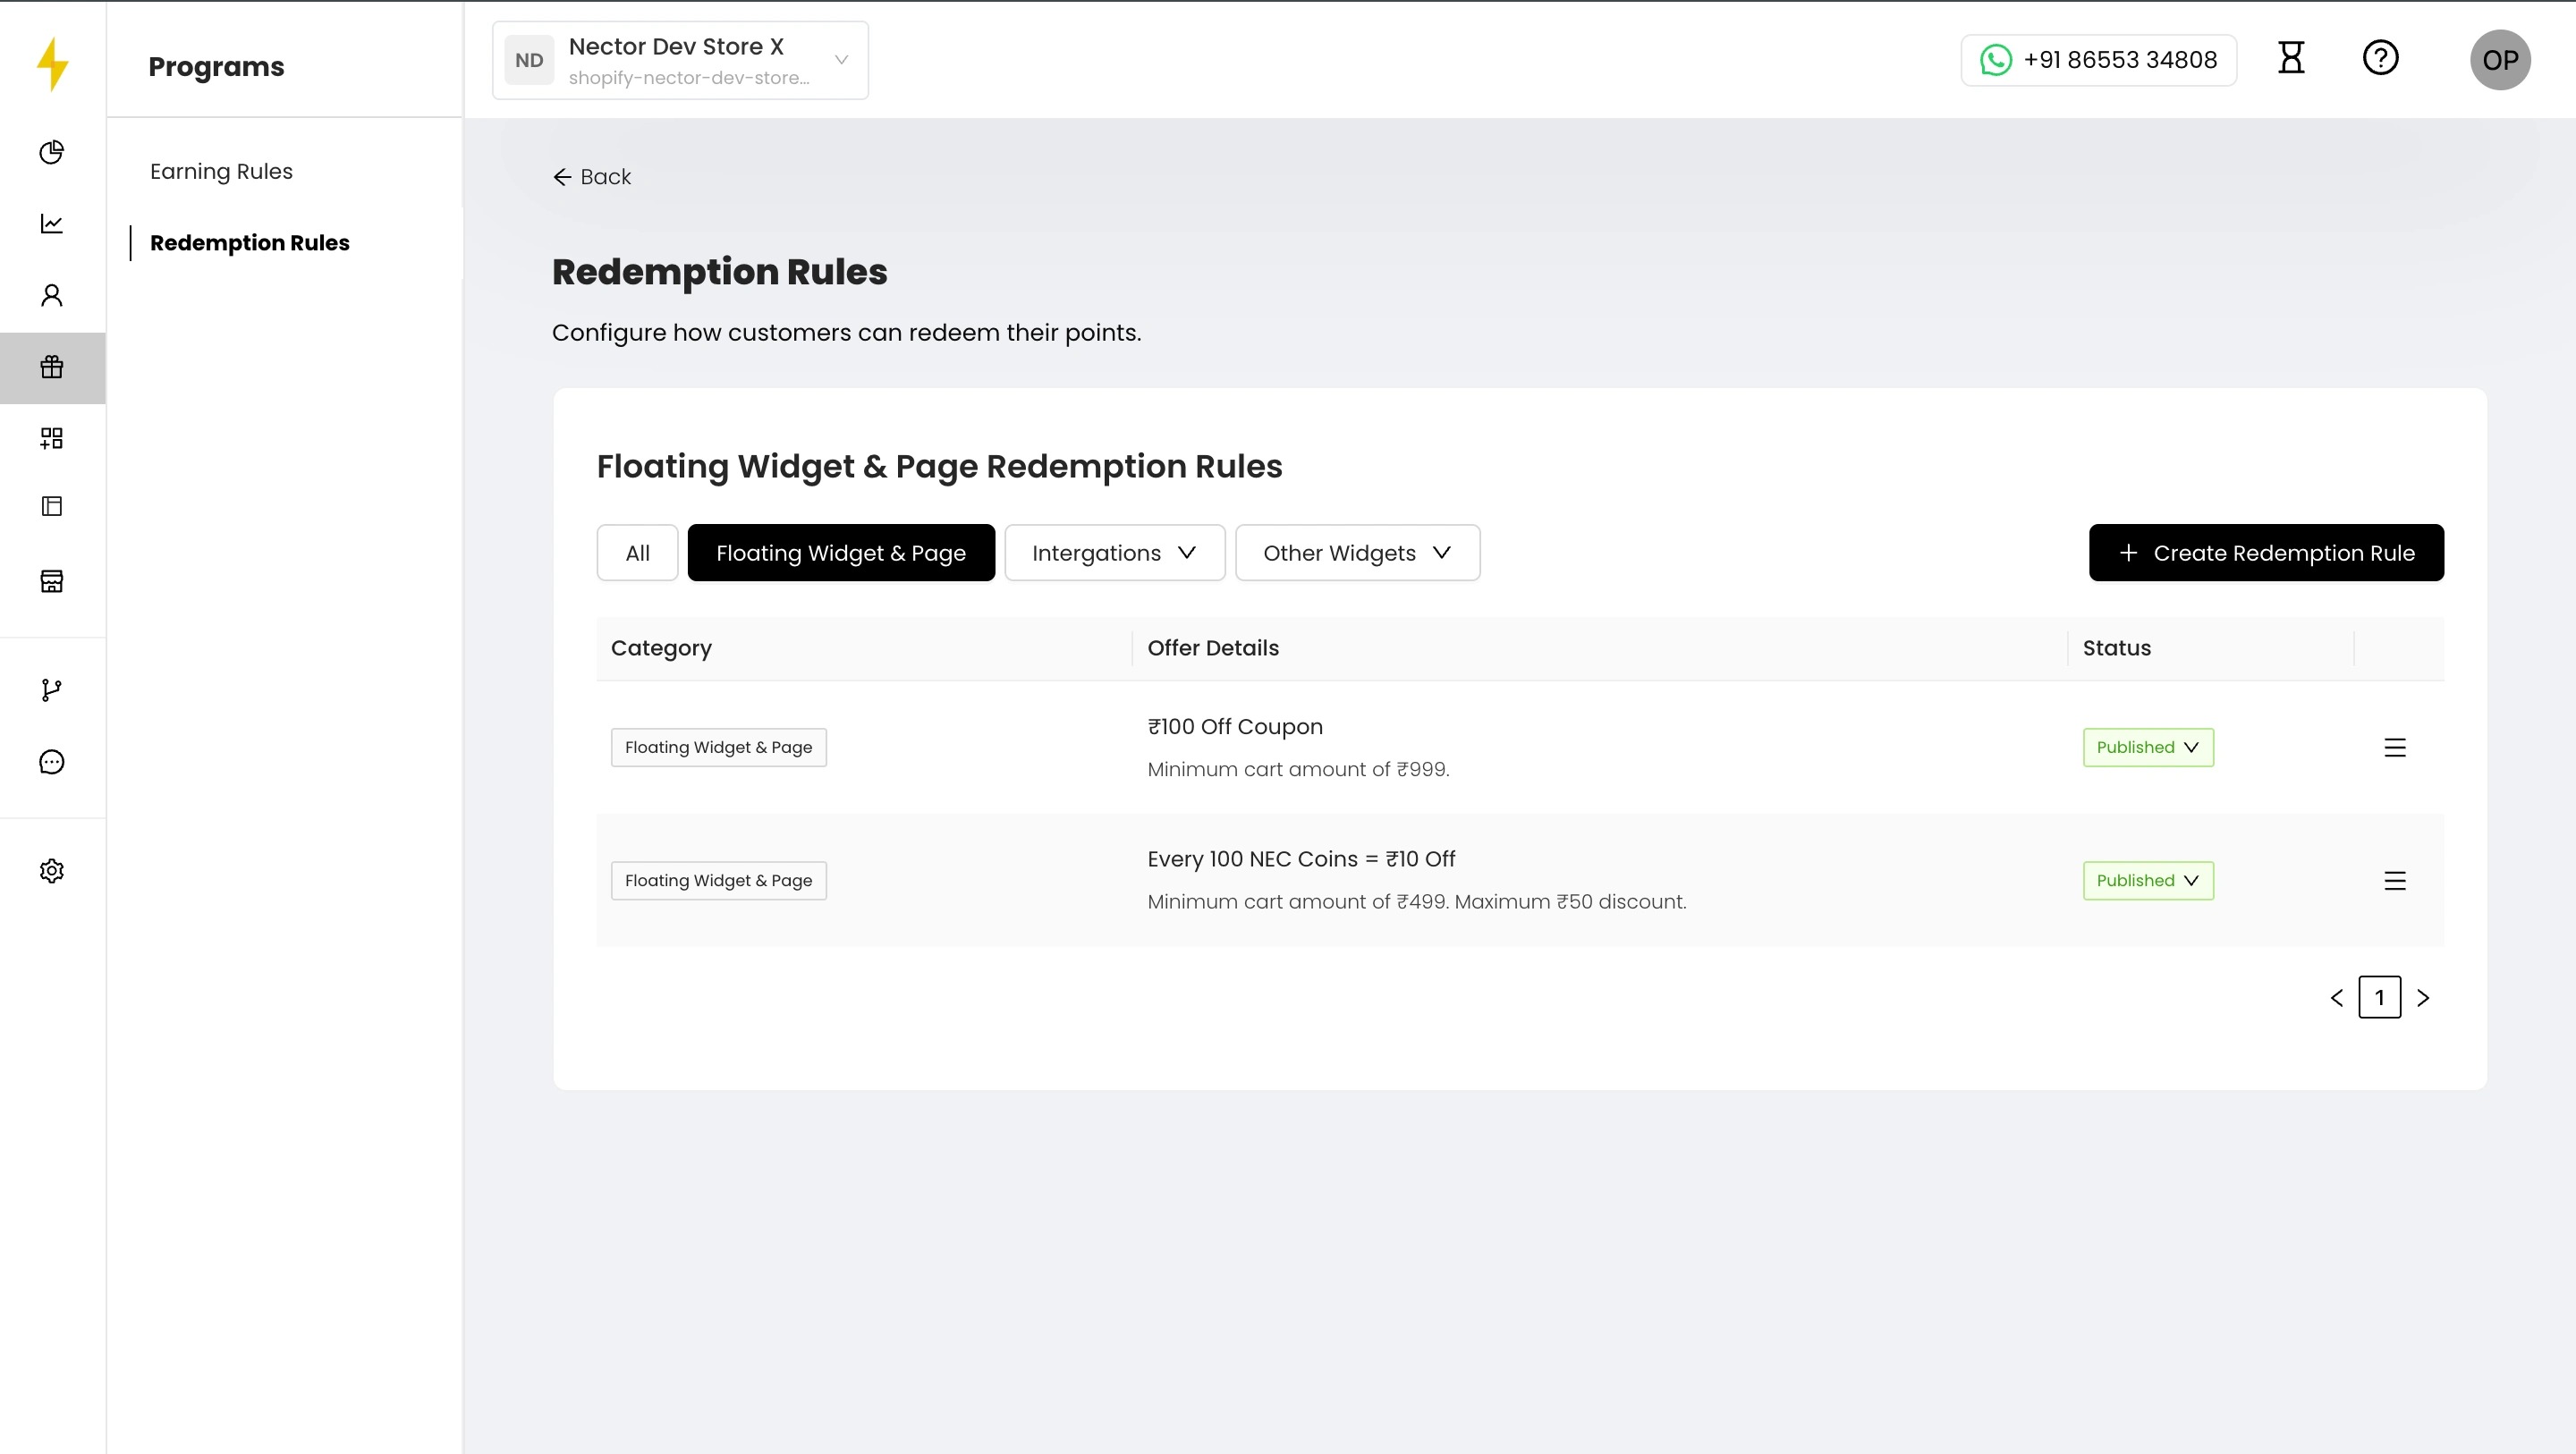
8. Check the rule in the list
The new rule appears with its offer details, for example "Every 100 NEC Coins = ₹10 Off, minimum cart amount of ₹499, maximum ₹50 discount." Use the Status dropdown to change whether it's live.
Click the rule to open its settings.
9. Change the discount type and values
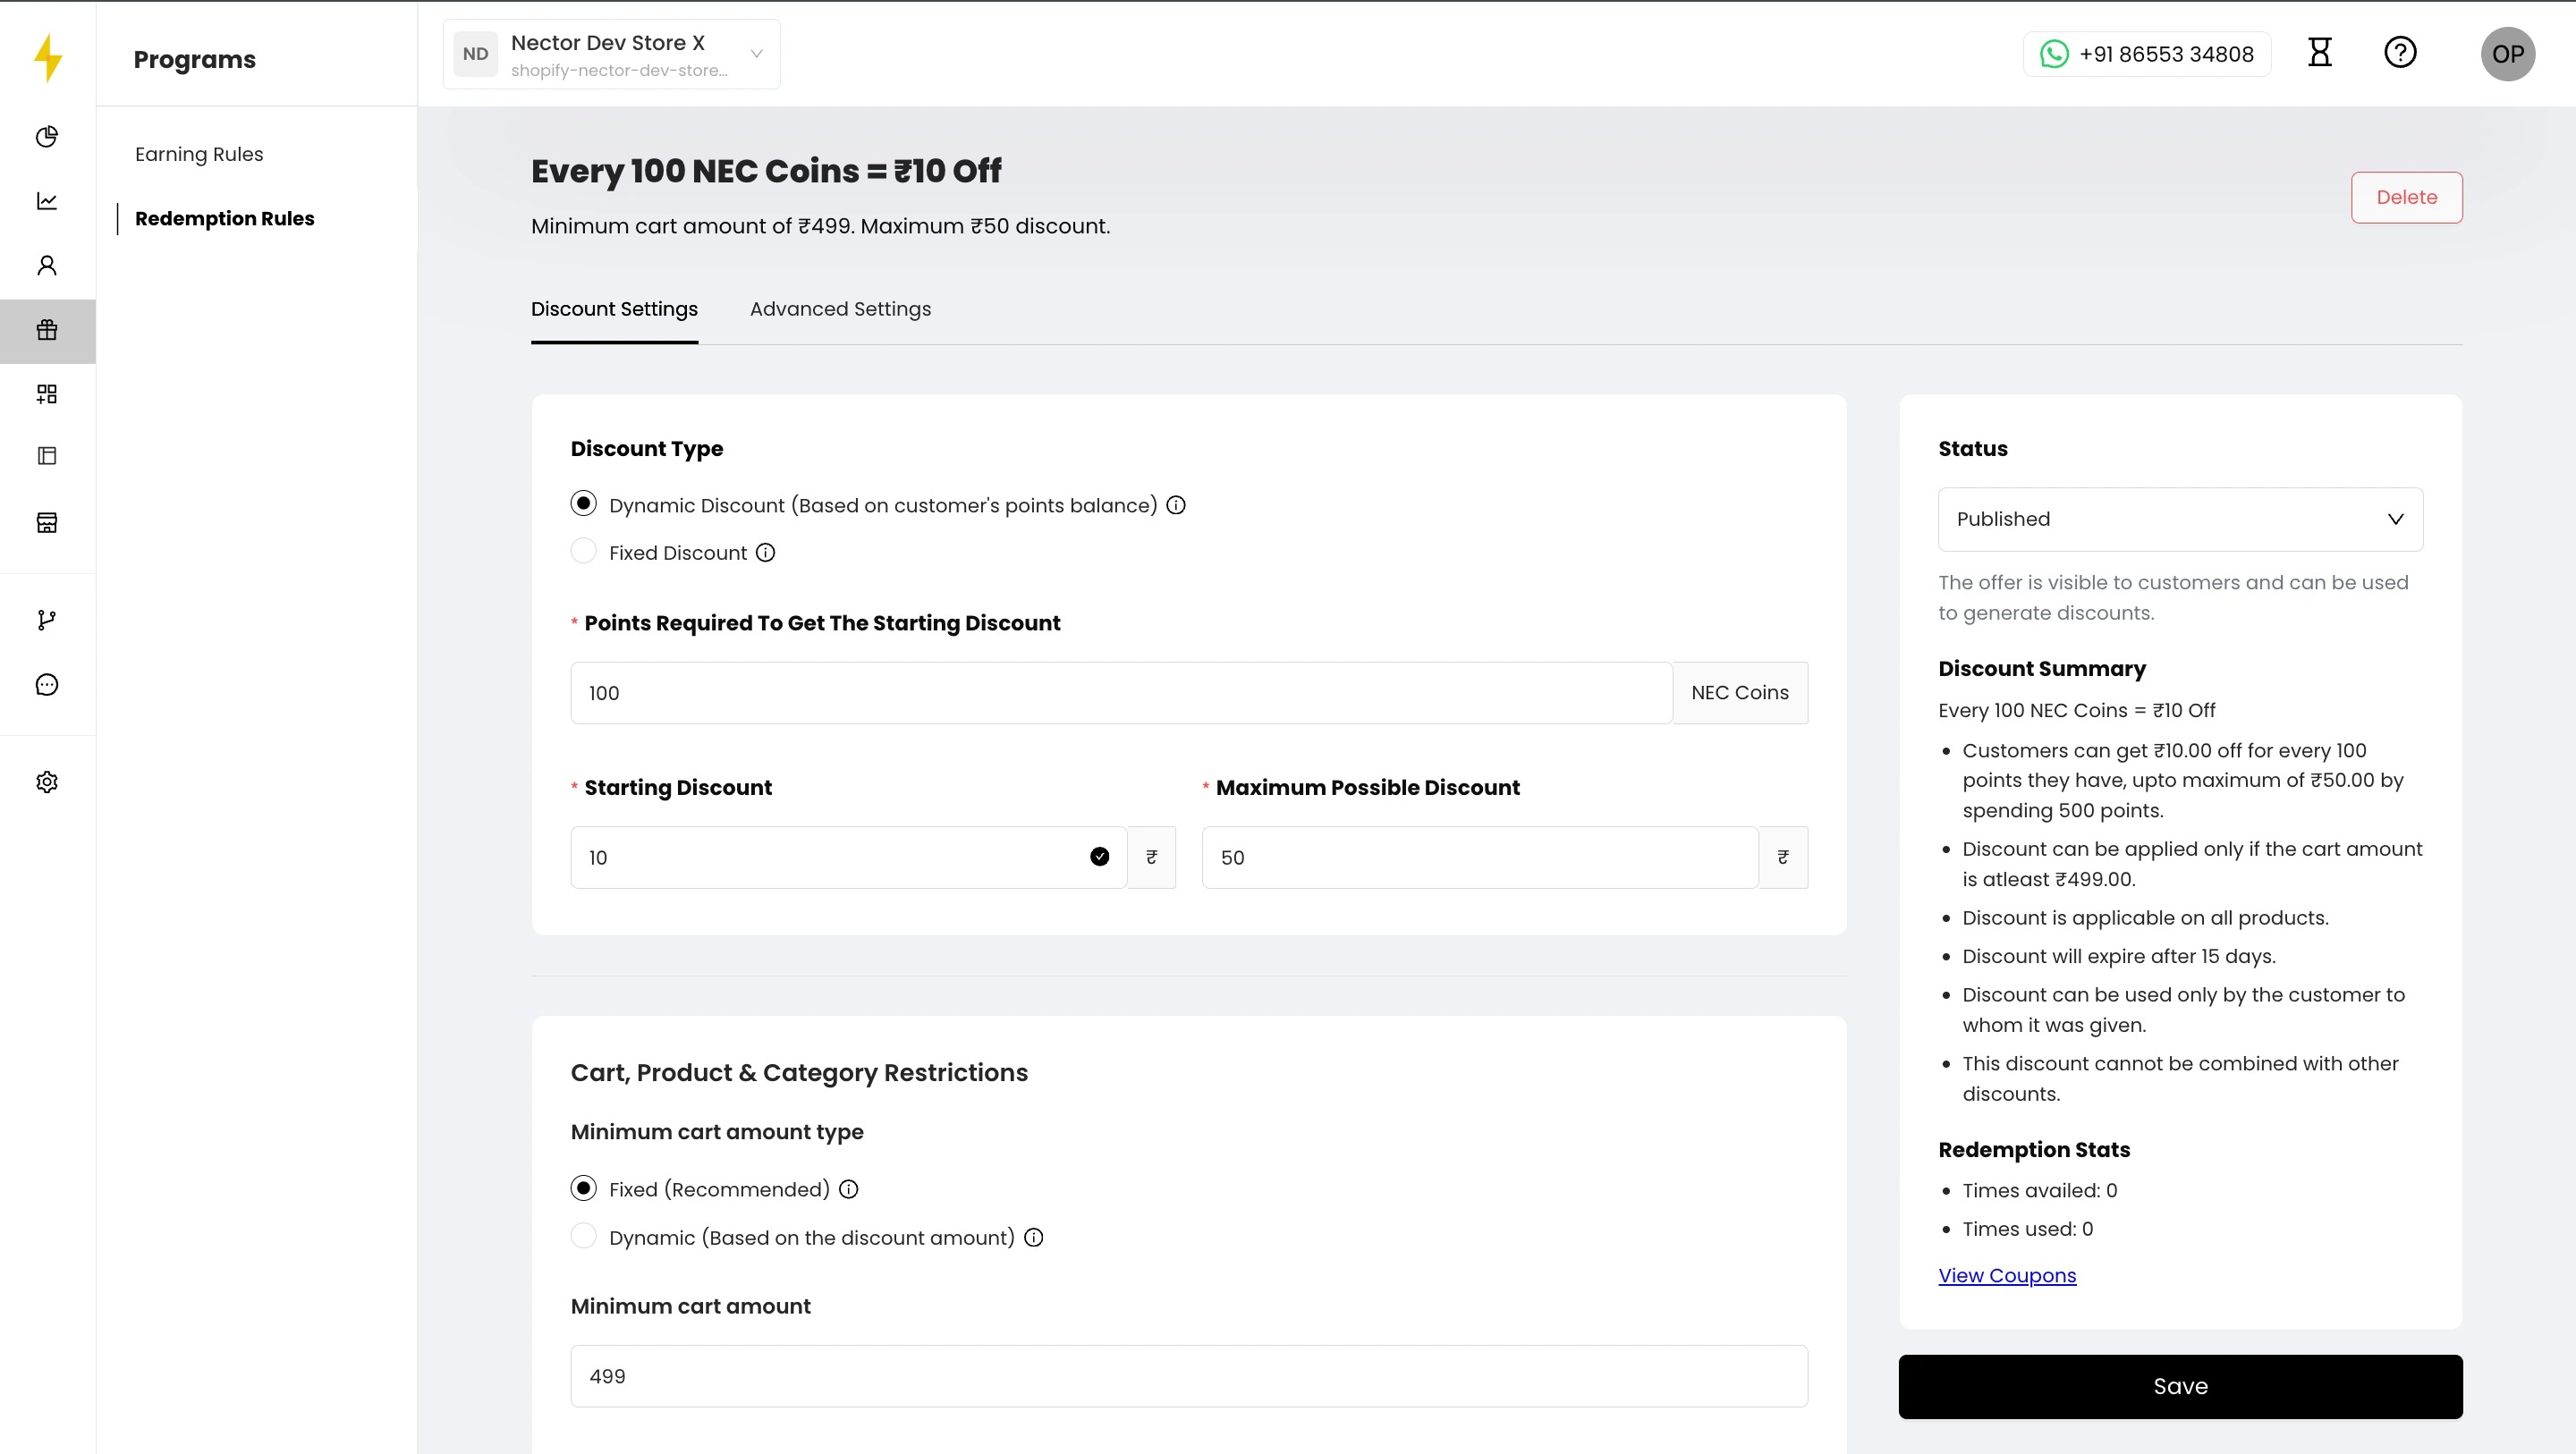
On the Discount Settings tab, under Discount Type, you can switch between Dynamic Discount (based on the customer's points balance) and Fixed Discount, and edit the points and discount values.
10. Set cart, product and category limits
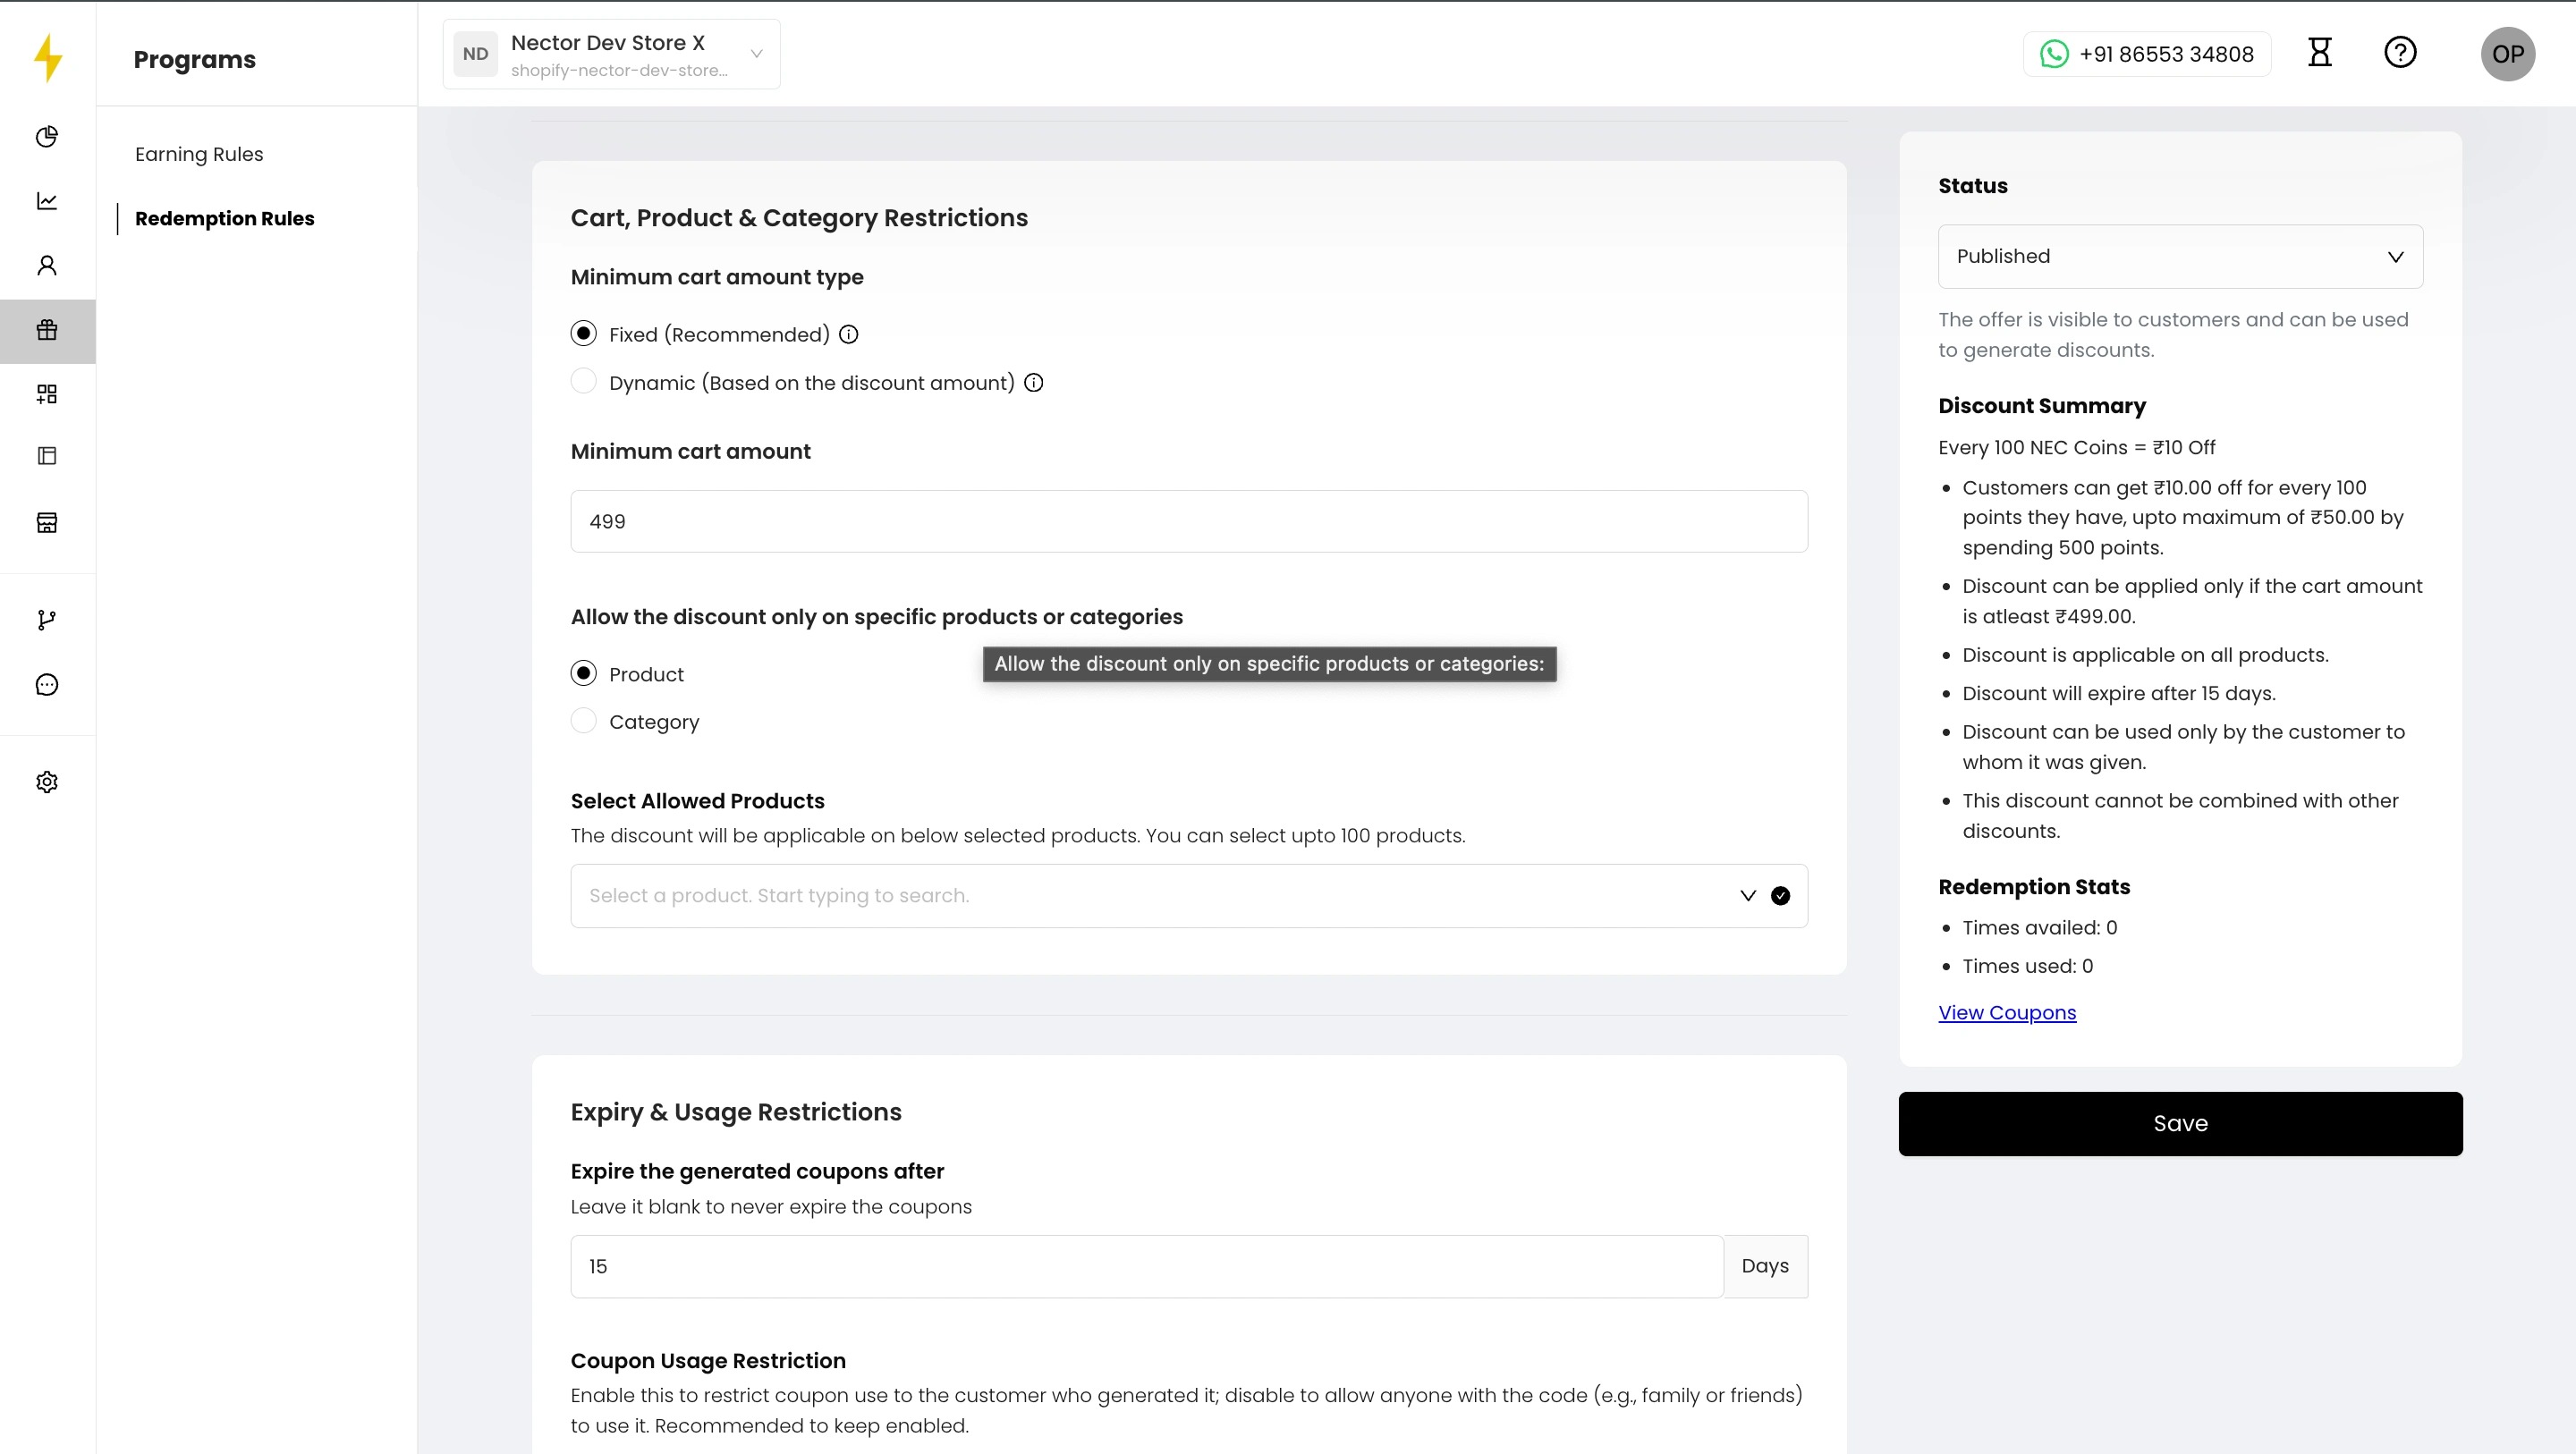
Under Cart, Product & Category Restrictions:
- Minimum cart amount type: choose Fixed (Recommended) for one minimum cart value, or Dynamic for a minimum based on the discount amount.
- Minimum cart amount: for example ₹499.
- Allow the discount only on specific products or categories (optional): choose Product or Category, then select up to 100 items. Leave it empty to allow all products.
11. Set coupon expiry and usage
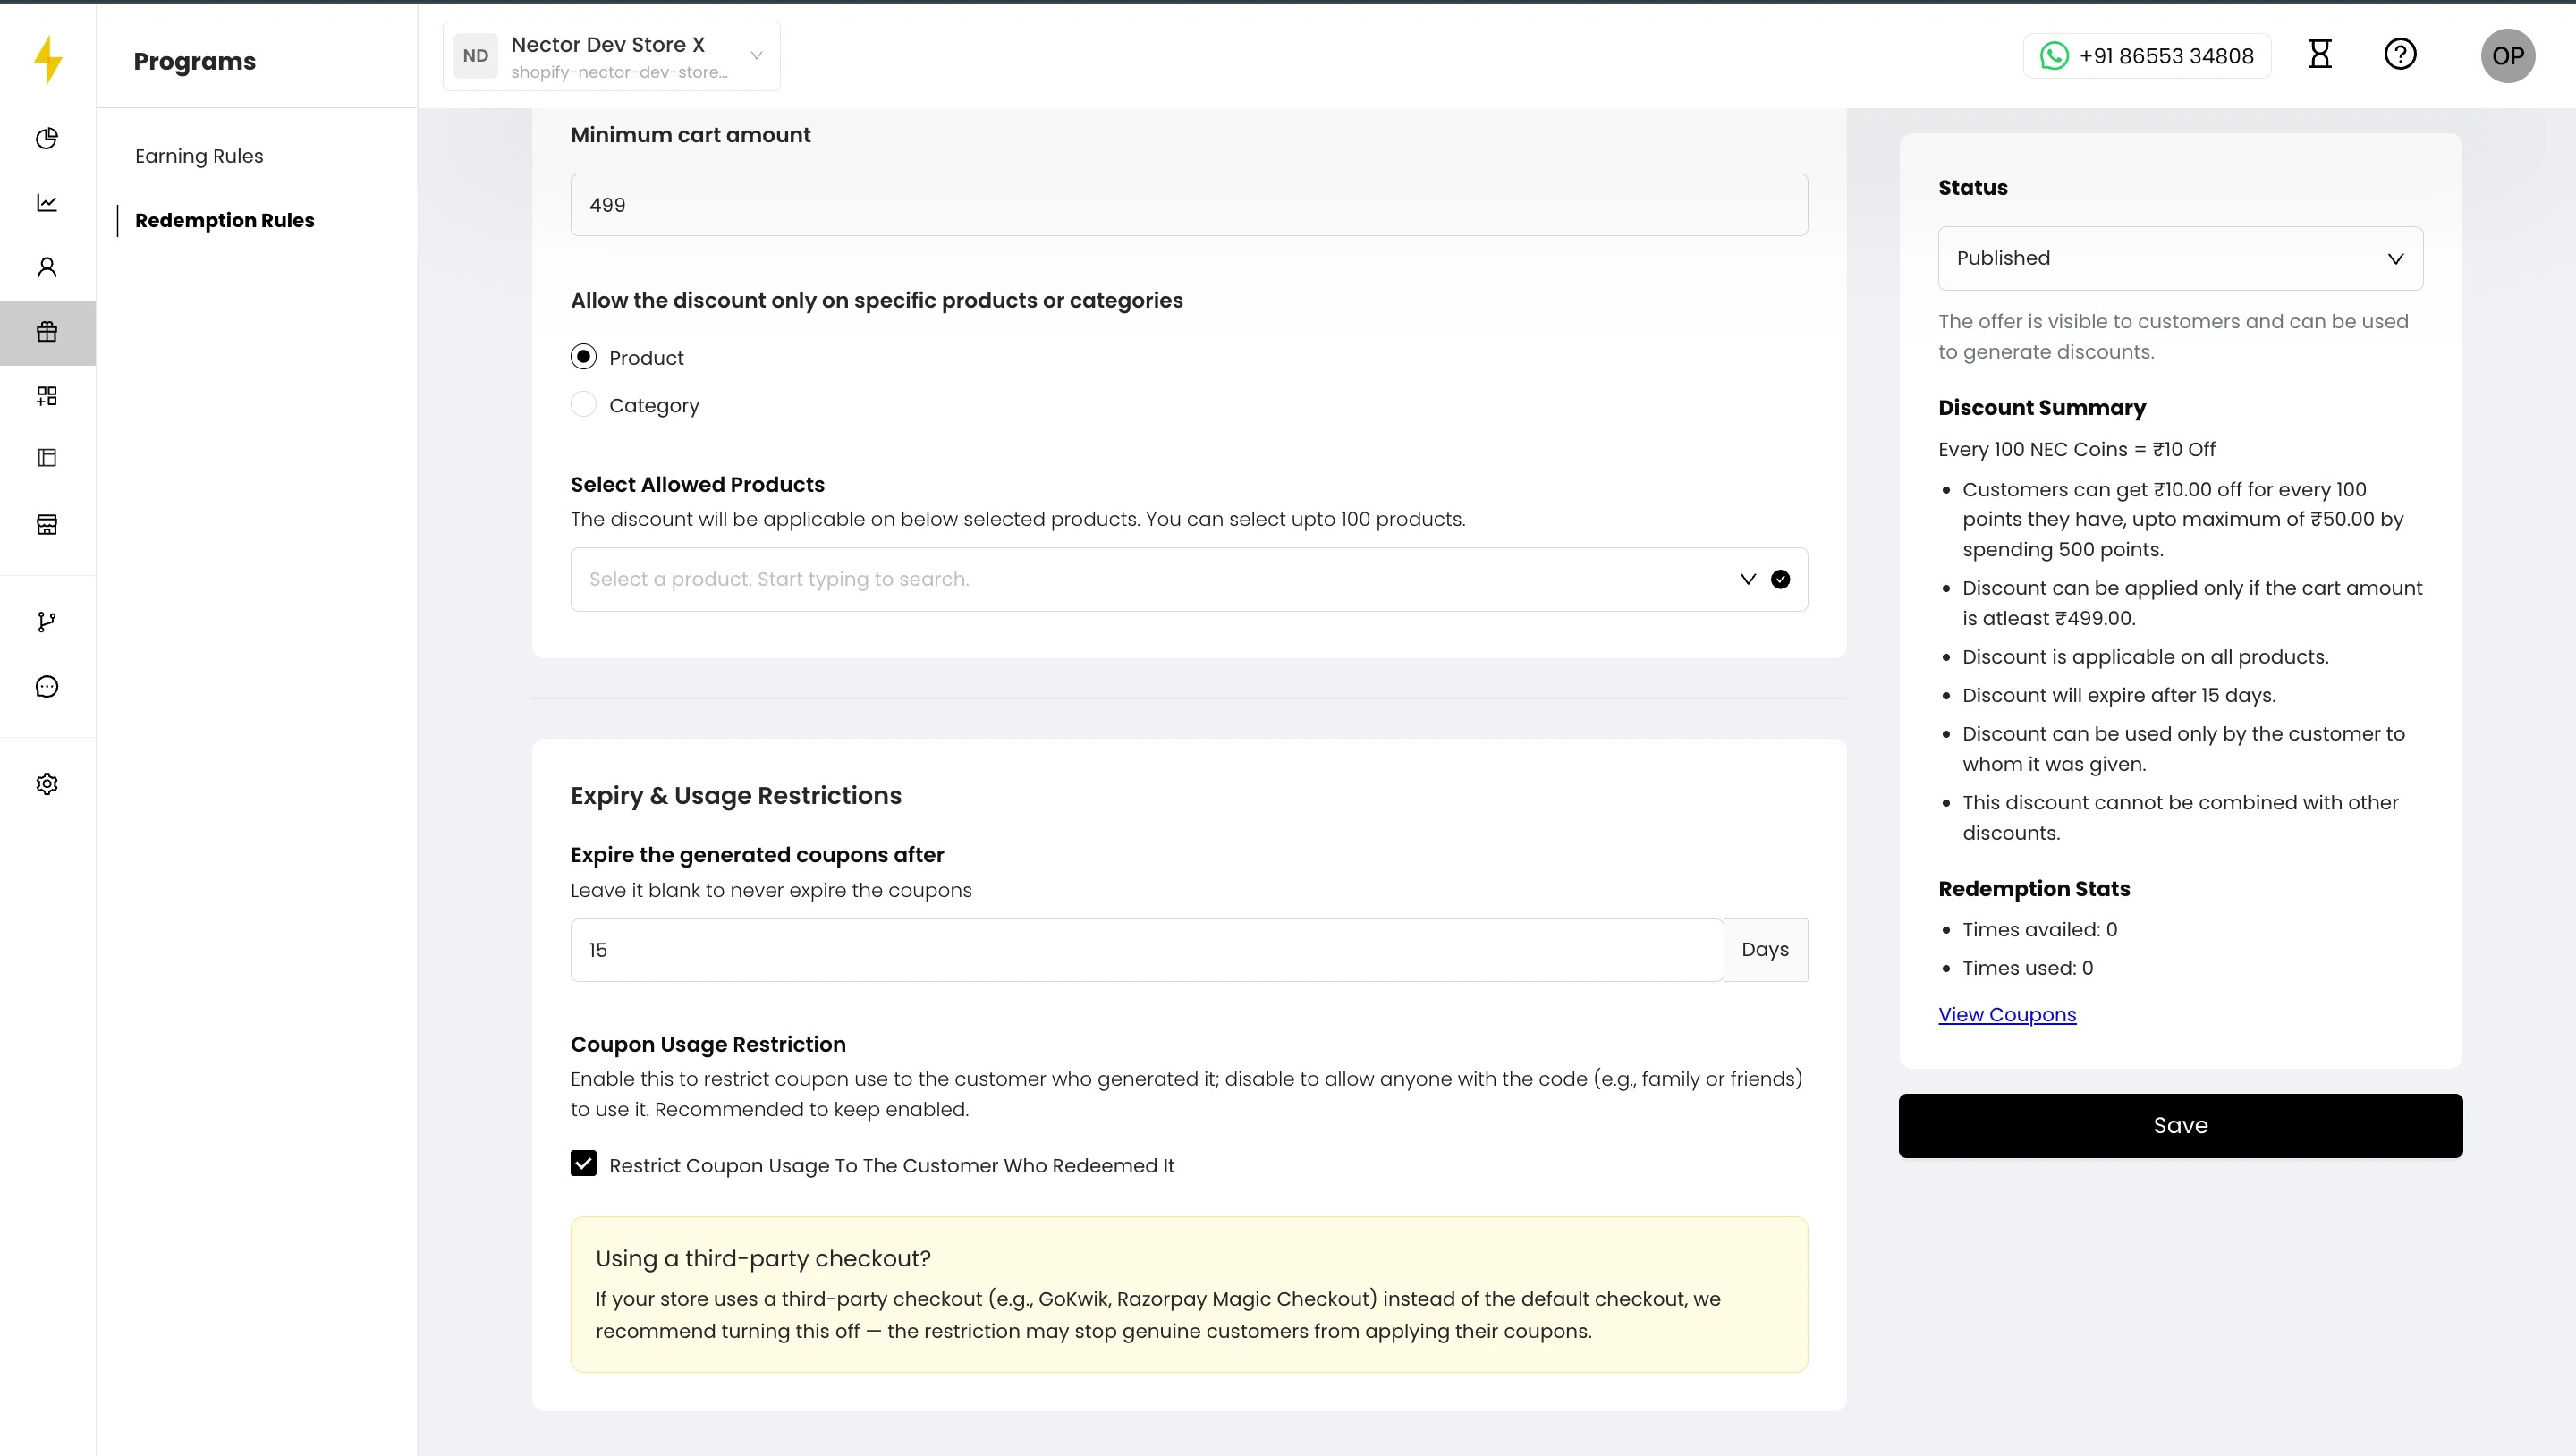
Under Expiry & Usage Restrictions:
- Expire the generated coupons after: the number of days a redeemed coupon stays valid, for example 15. Leave it blank for coupons that never expire.
- Restrict Coupon Usage To The Customer Who Redeemed It: keep this ticked so only that customer can use the code, not friends or family.
Important: if your store uses a third-party checkout such as GoKwik or Razorpay Magic Checkout, untick this box. Otherwise genuine customers may be unable to apply their coupons.
12. Set the status and save
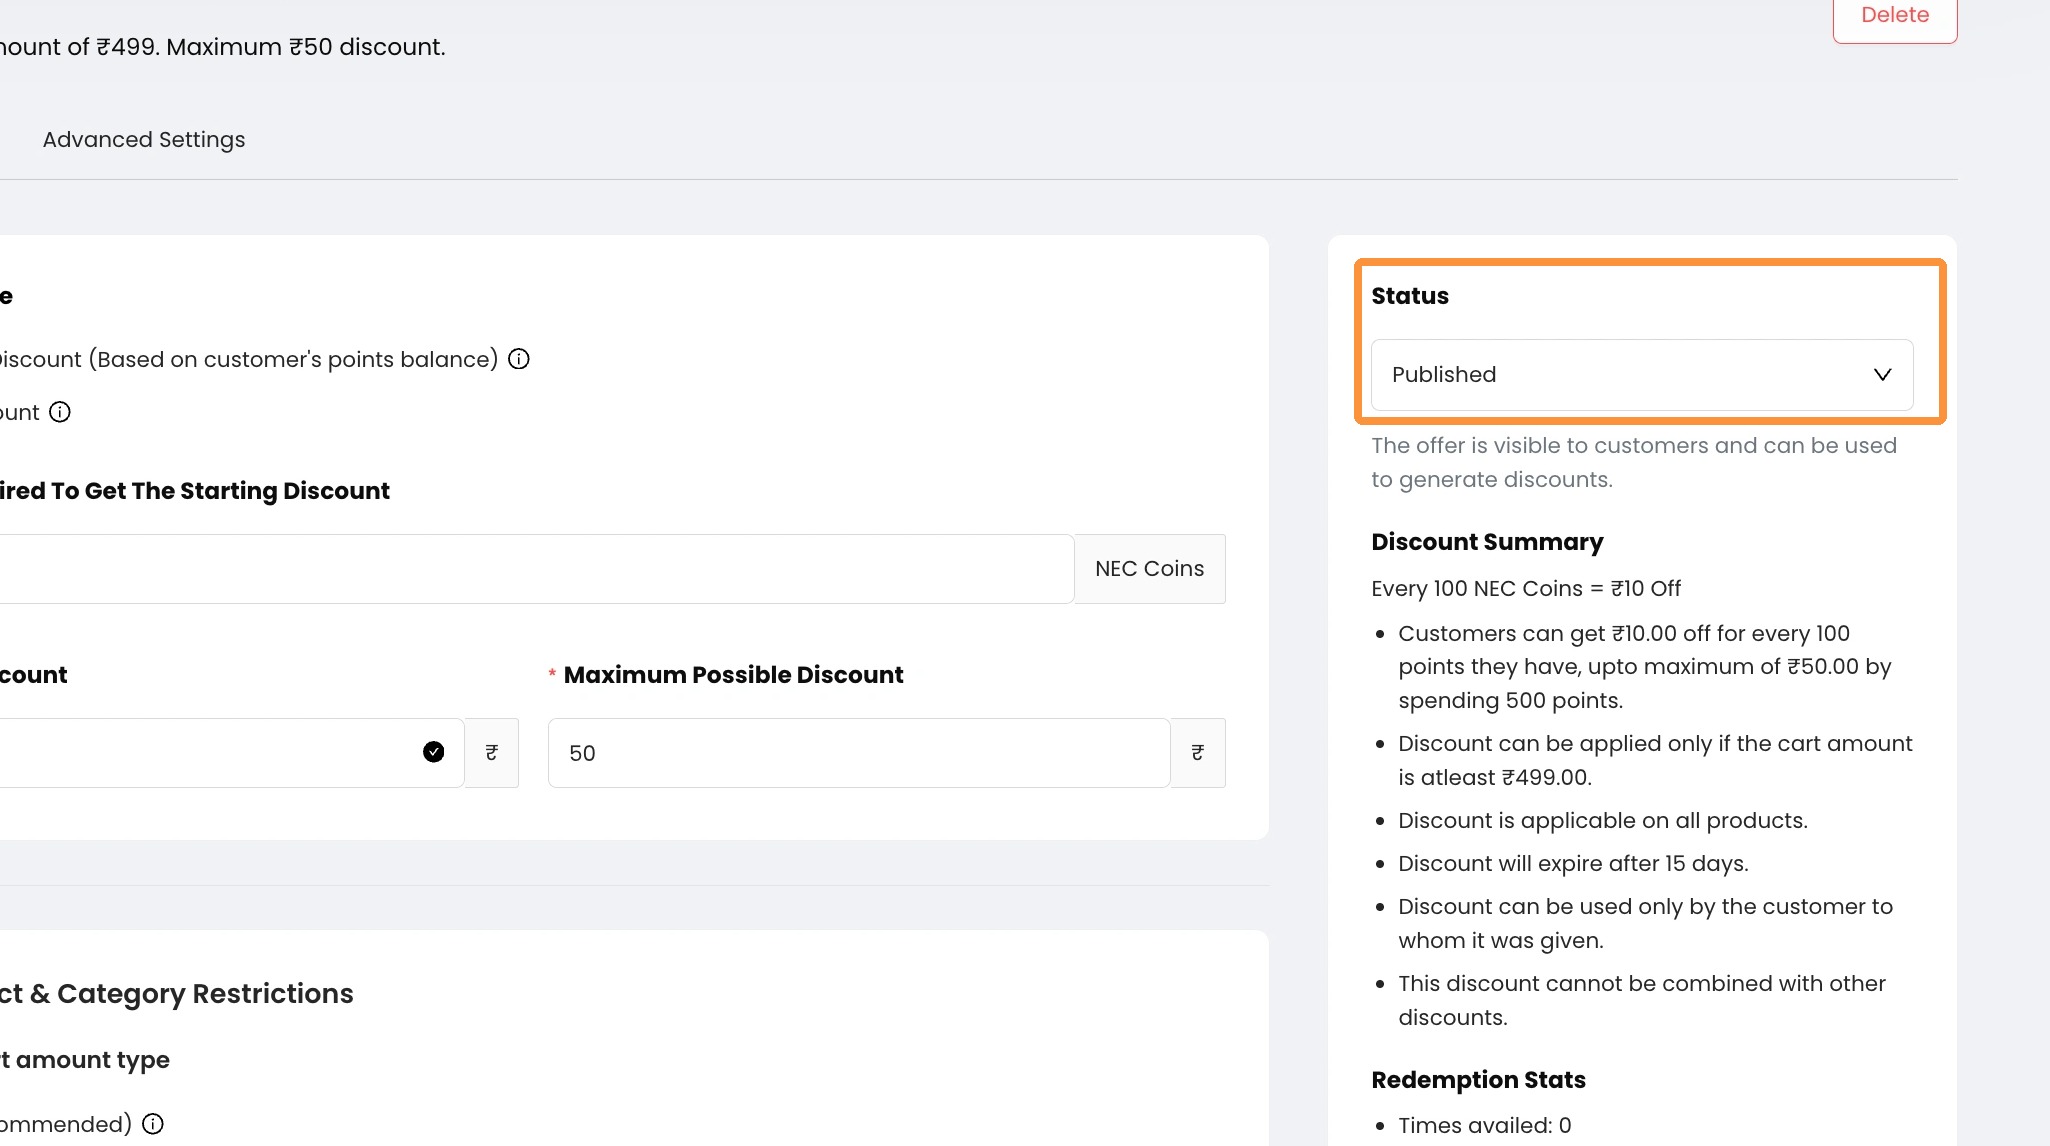
In the right panel, set Status:
- Published: customers can see the offer and redeem it.
- Active: customers can’t see it, but it can still be used to generate discounts, for example for referral codes.
The panel also shows a Discount Summary of your settings and Redemption Stats (times availed and used). Click View Coupons to see the codes generated. Click Save.
13. Edit how the offer appears
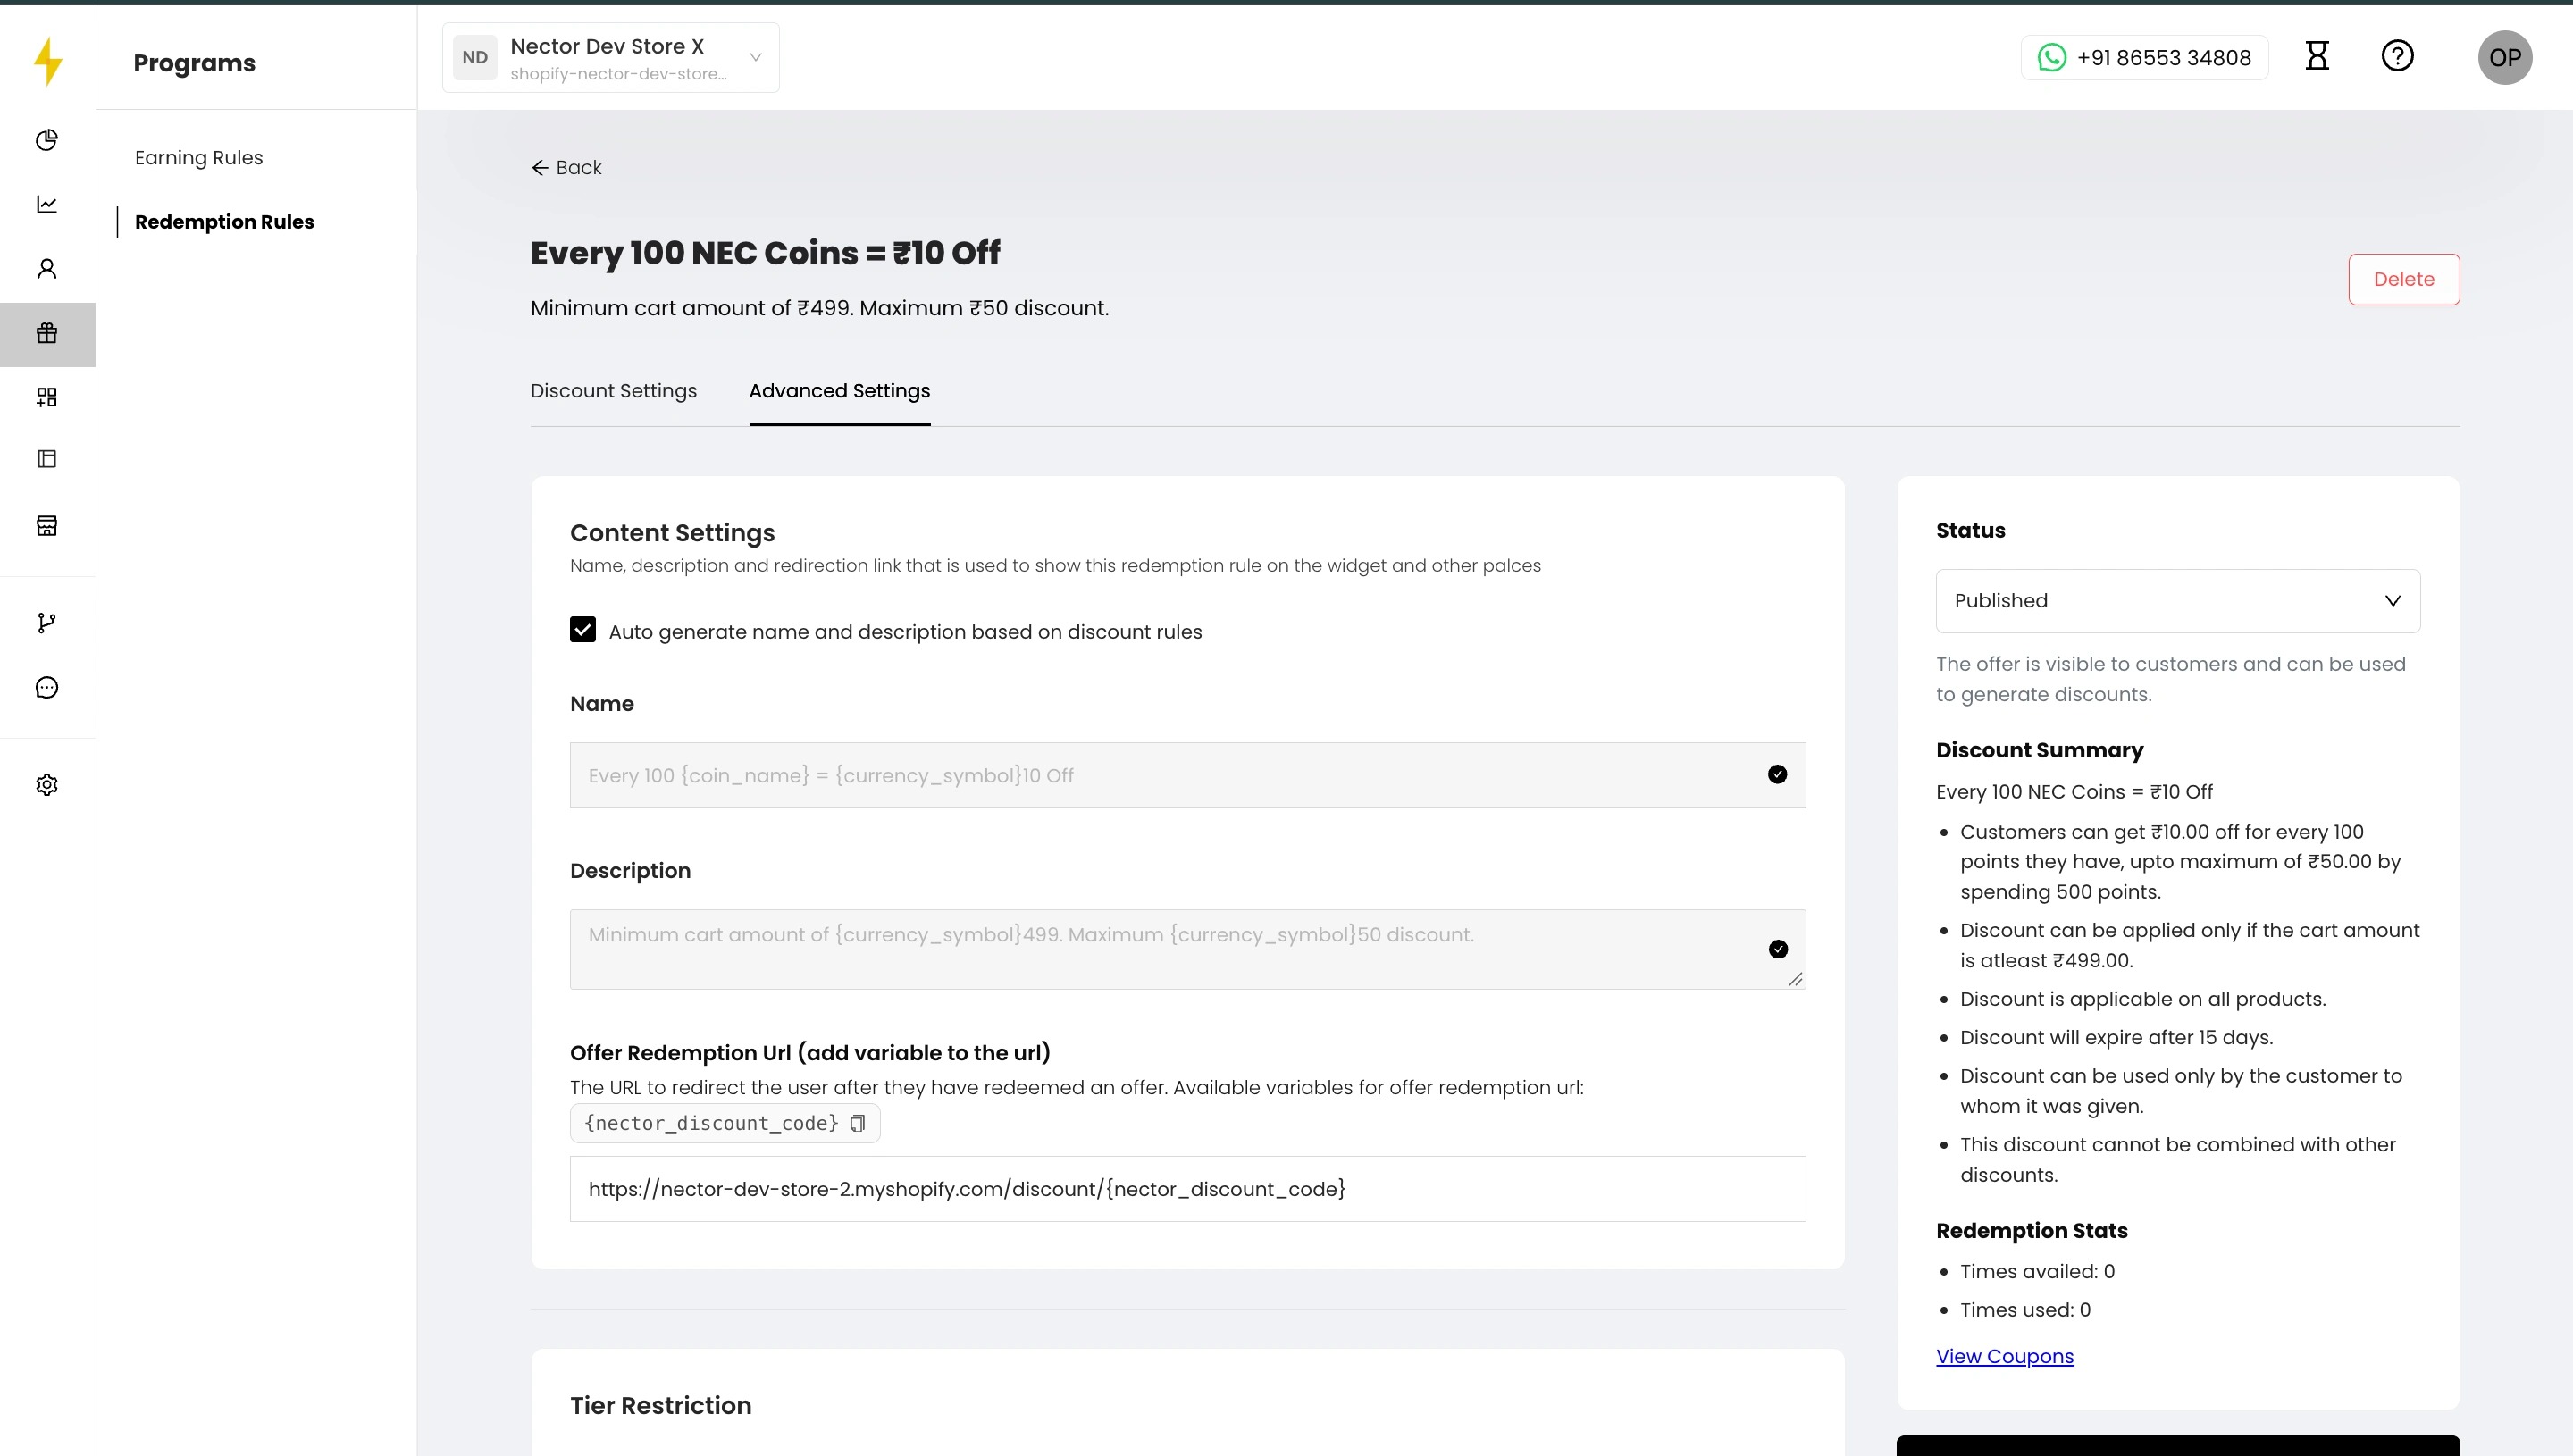
Click the Advanced Settings tab. Under Content Settings:
- Auto generate name and description based on discount rules is ticked by default. Untick it to write your own Name and Description.
- Offer Redemption URL (optional): the page customers are sent to after redeeming. Add
{nector_discount_code}so the code is applied for them automatically. For example:https://yourstore.myshopify.com/discount/{nector_discount_code}.
14. Limit the offer to certain customers (optional)
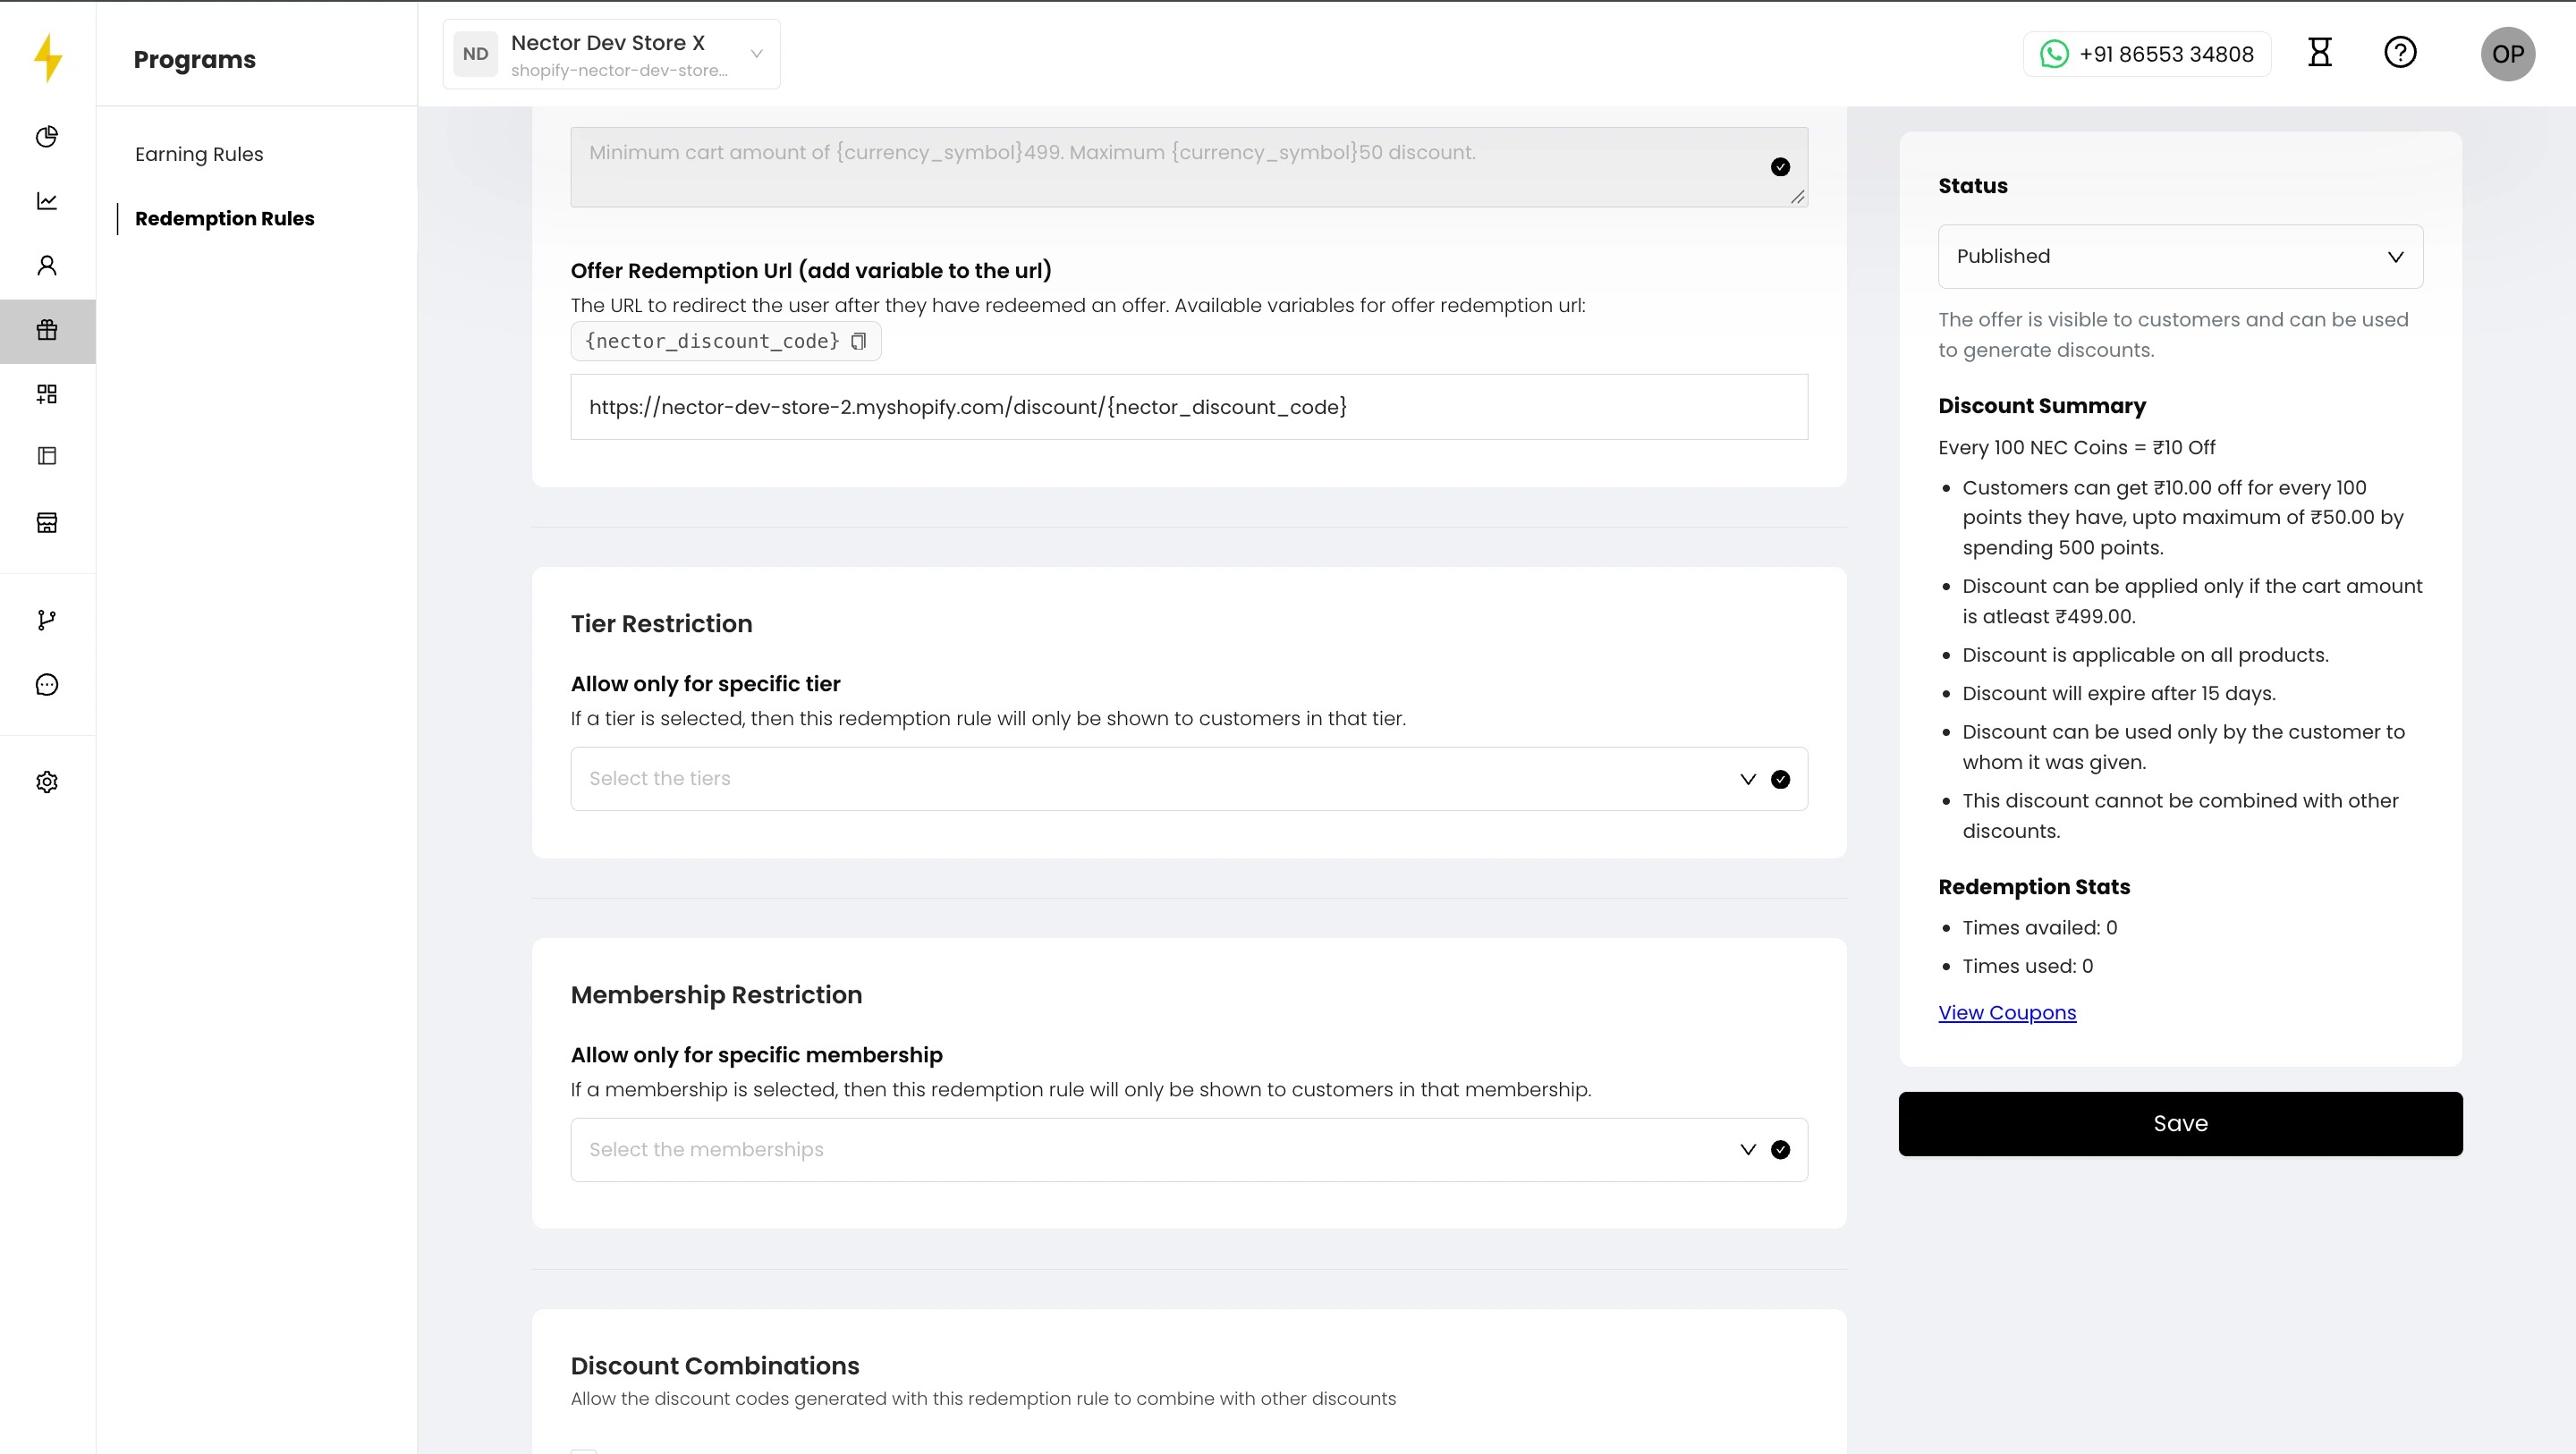
- Tier Restriction: select tiers to show this offer only to customers in those tiers.
- Membership Restriction: select memberships to show this offer only to customers with those memberships.
Leave both empty to show the offer to everyone.
15. Allow combining with other discounts (optional)
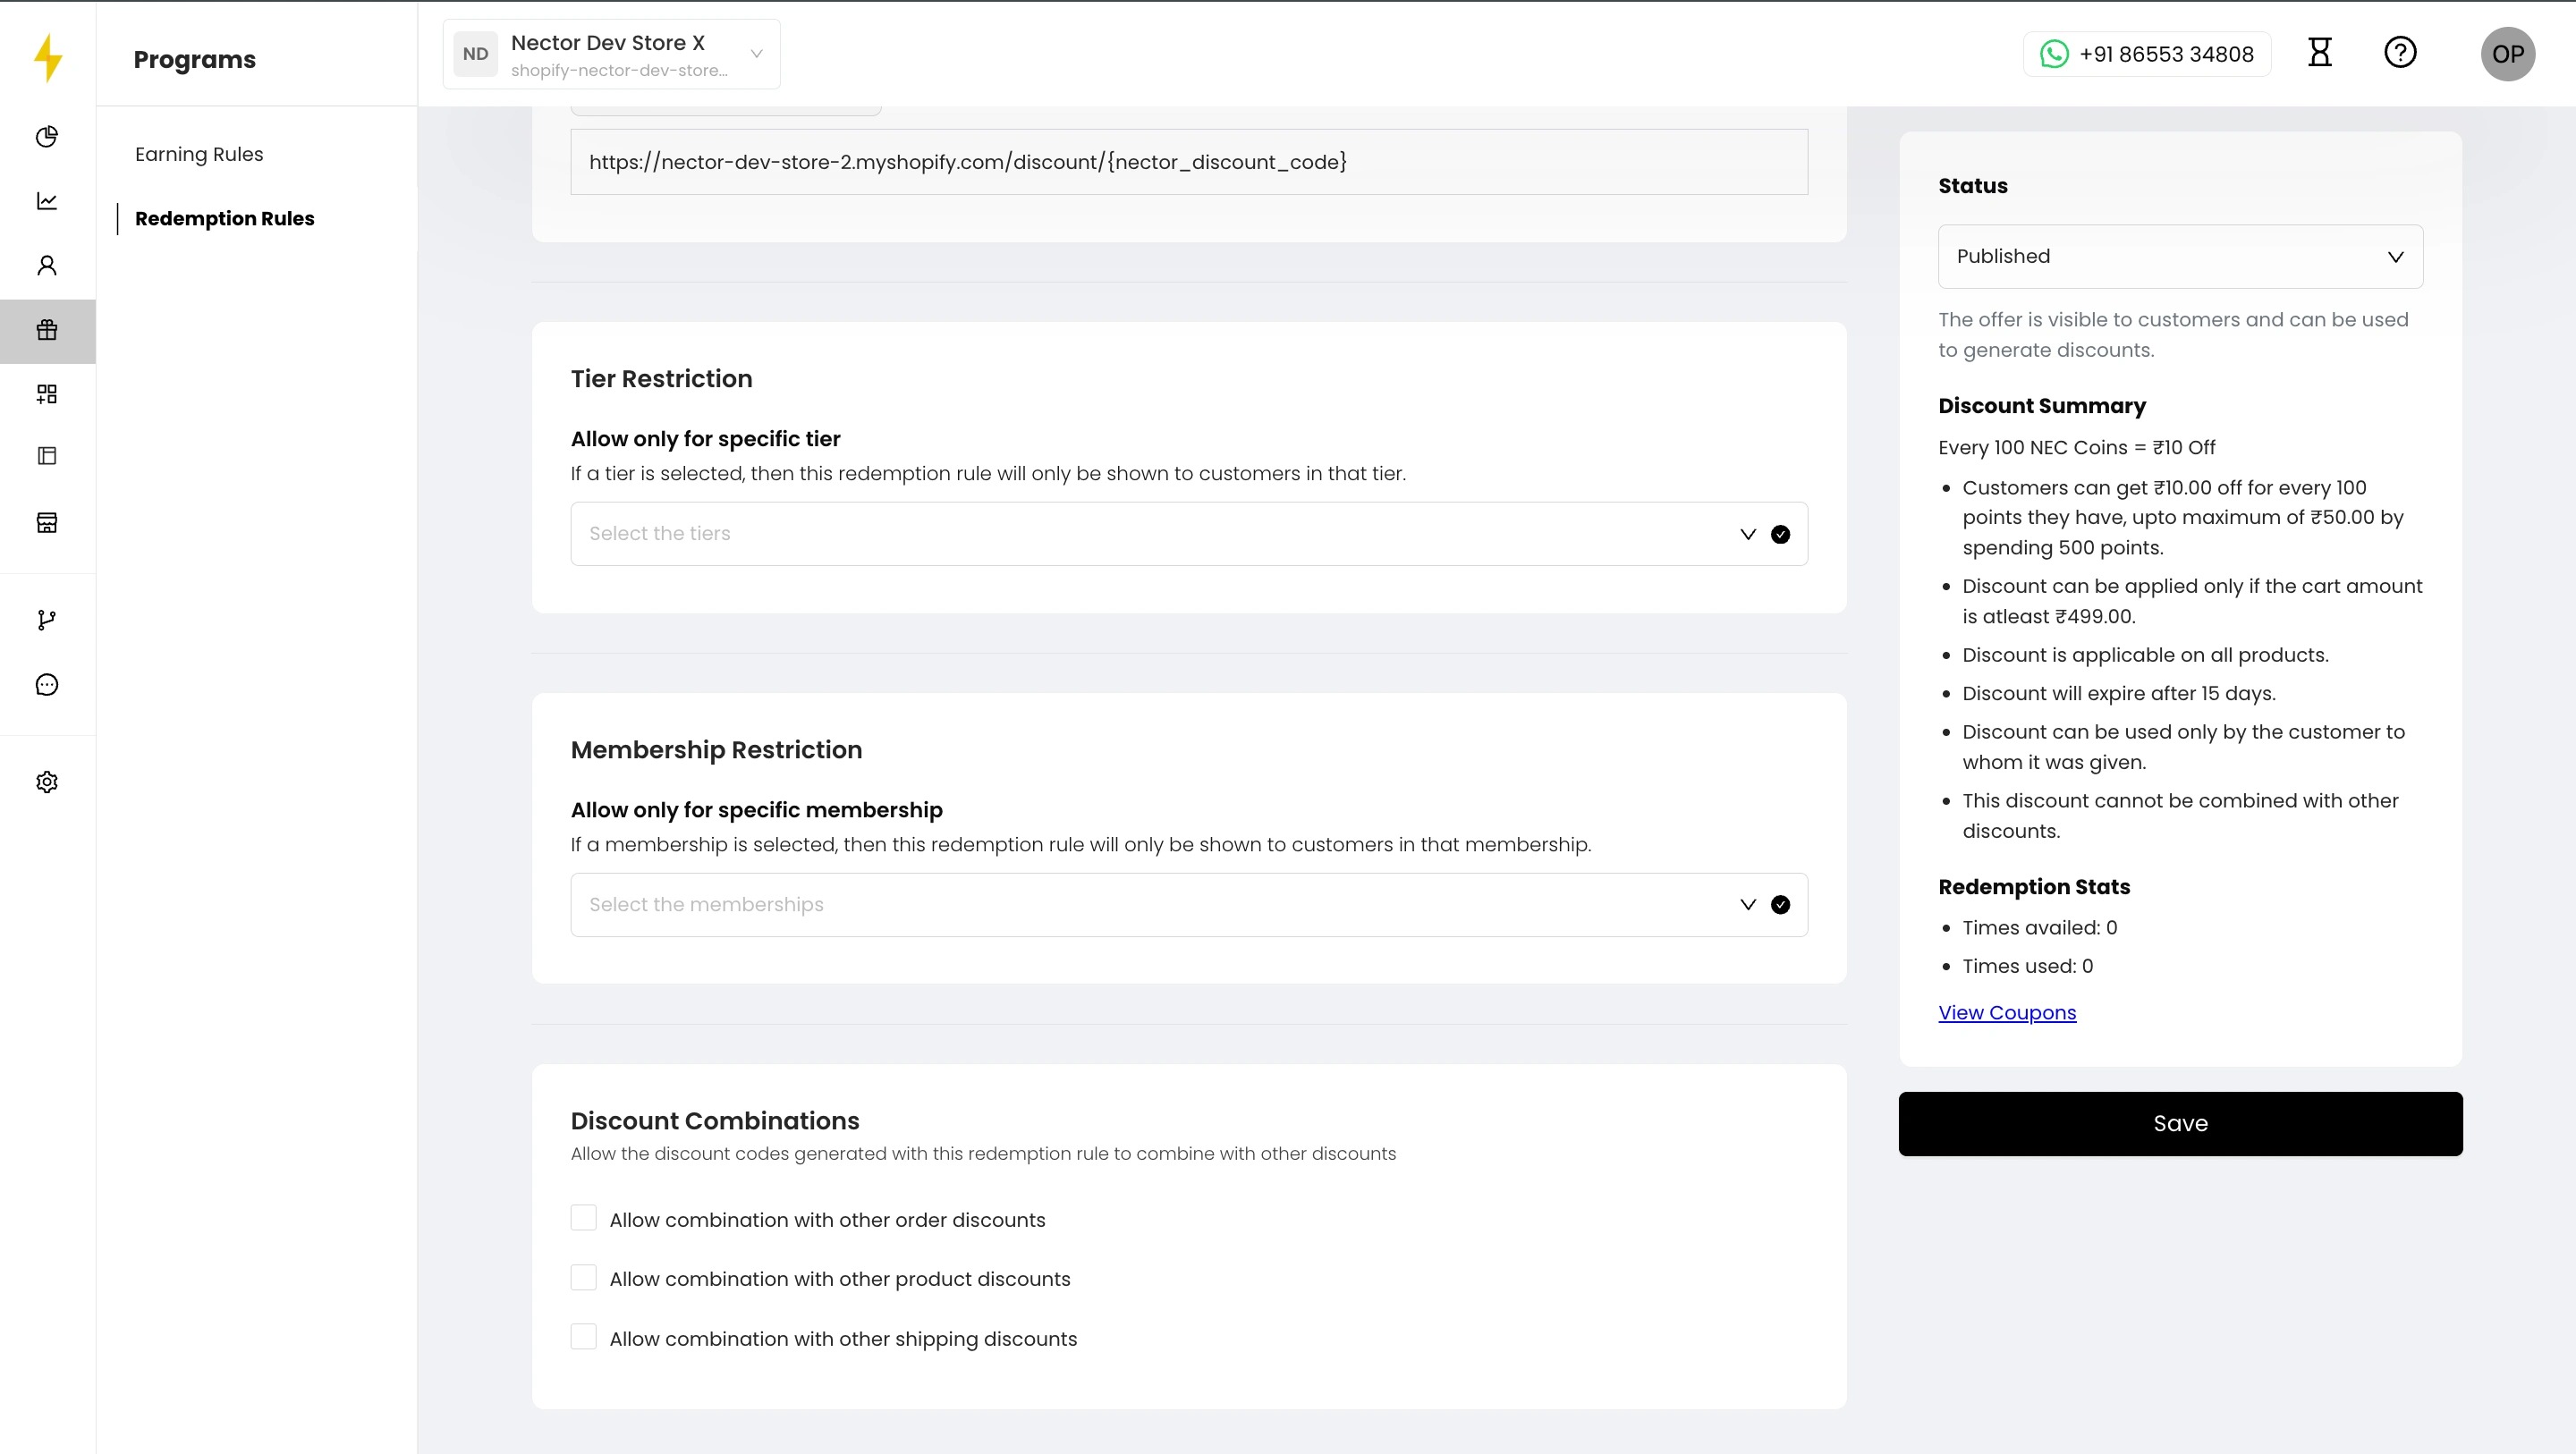
Under Discount Combinations, tick any that apply:
- Allow combination with other order discounts
- Allow combination with other product discounts
- Allow combination with other shipping discounts
Click Save.
16. Delete a rule
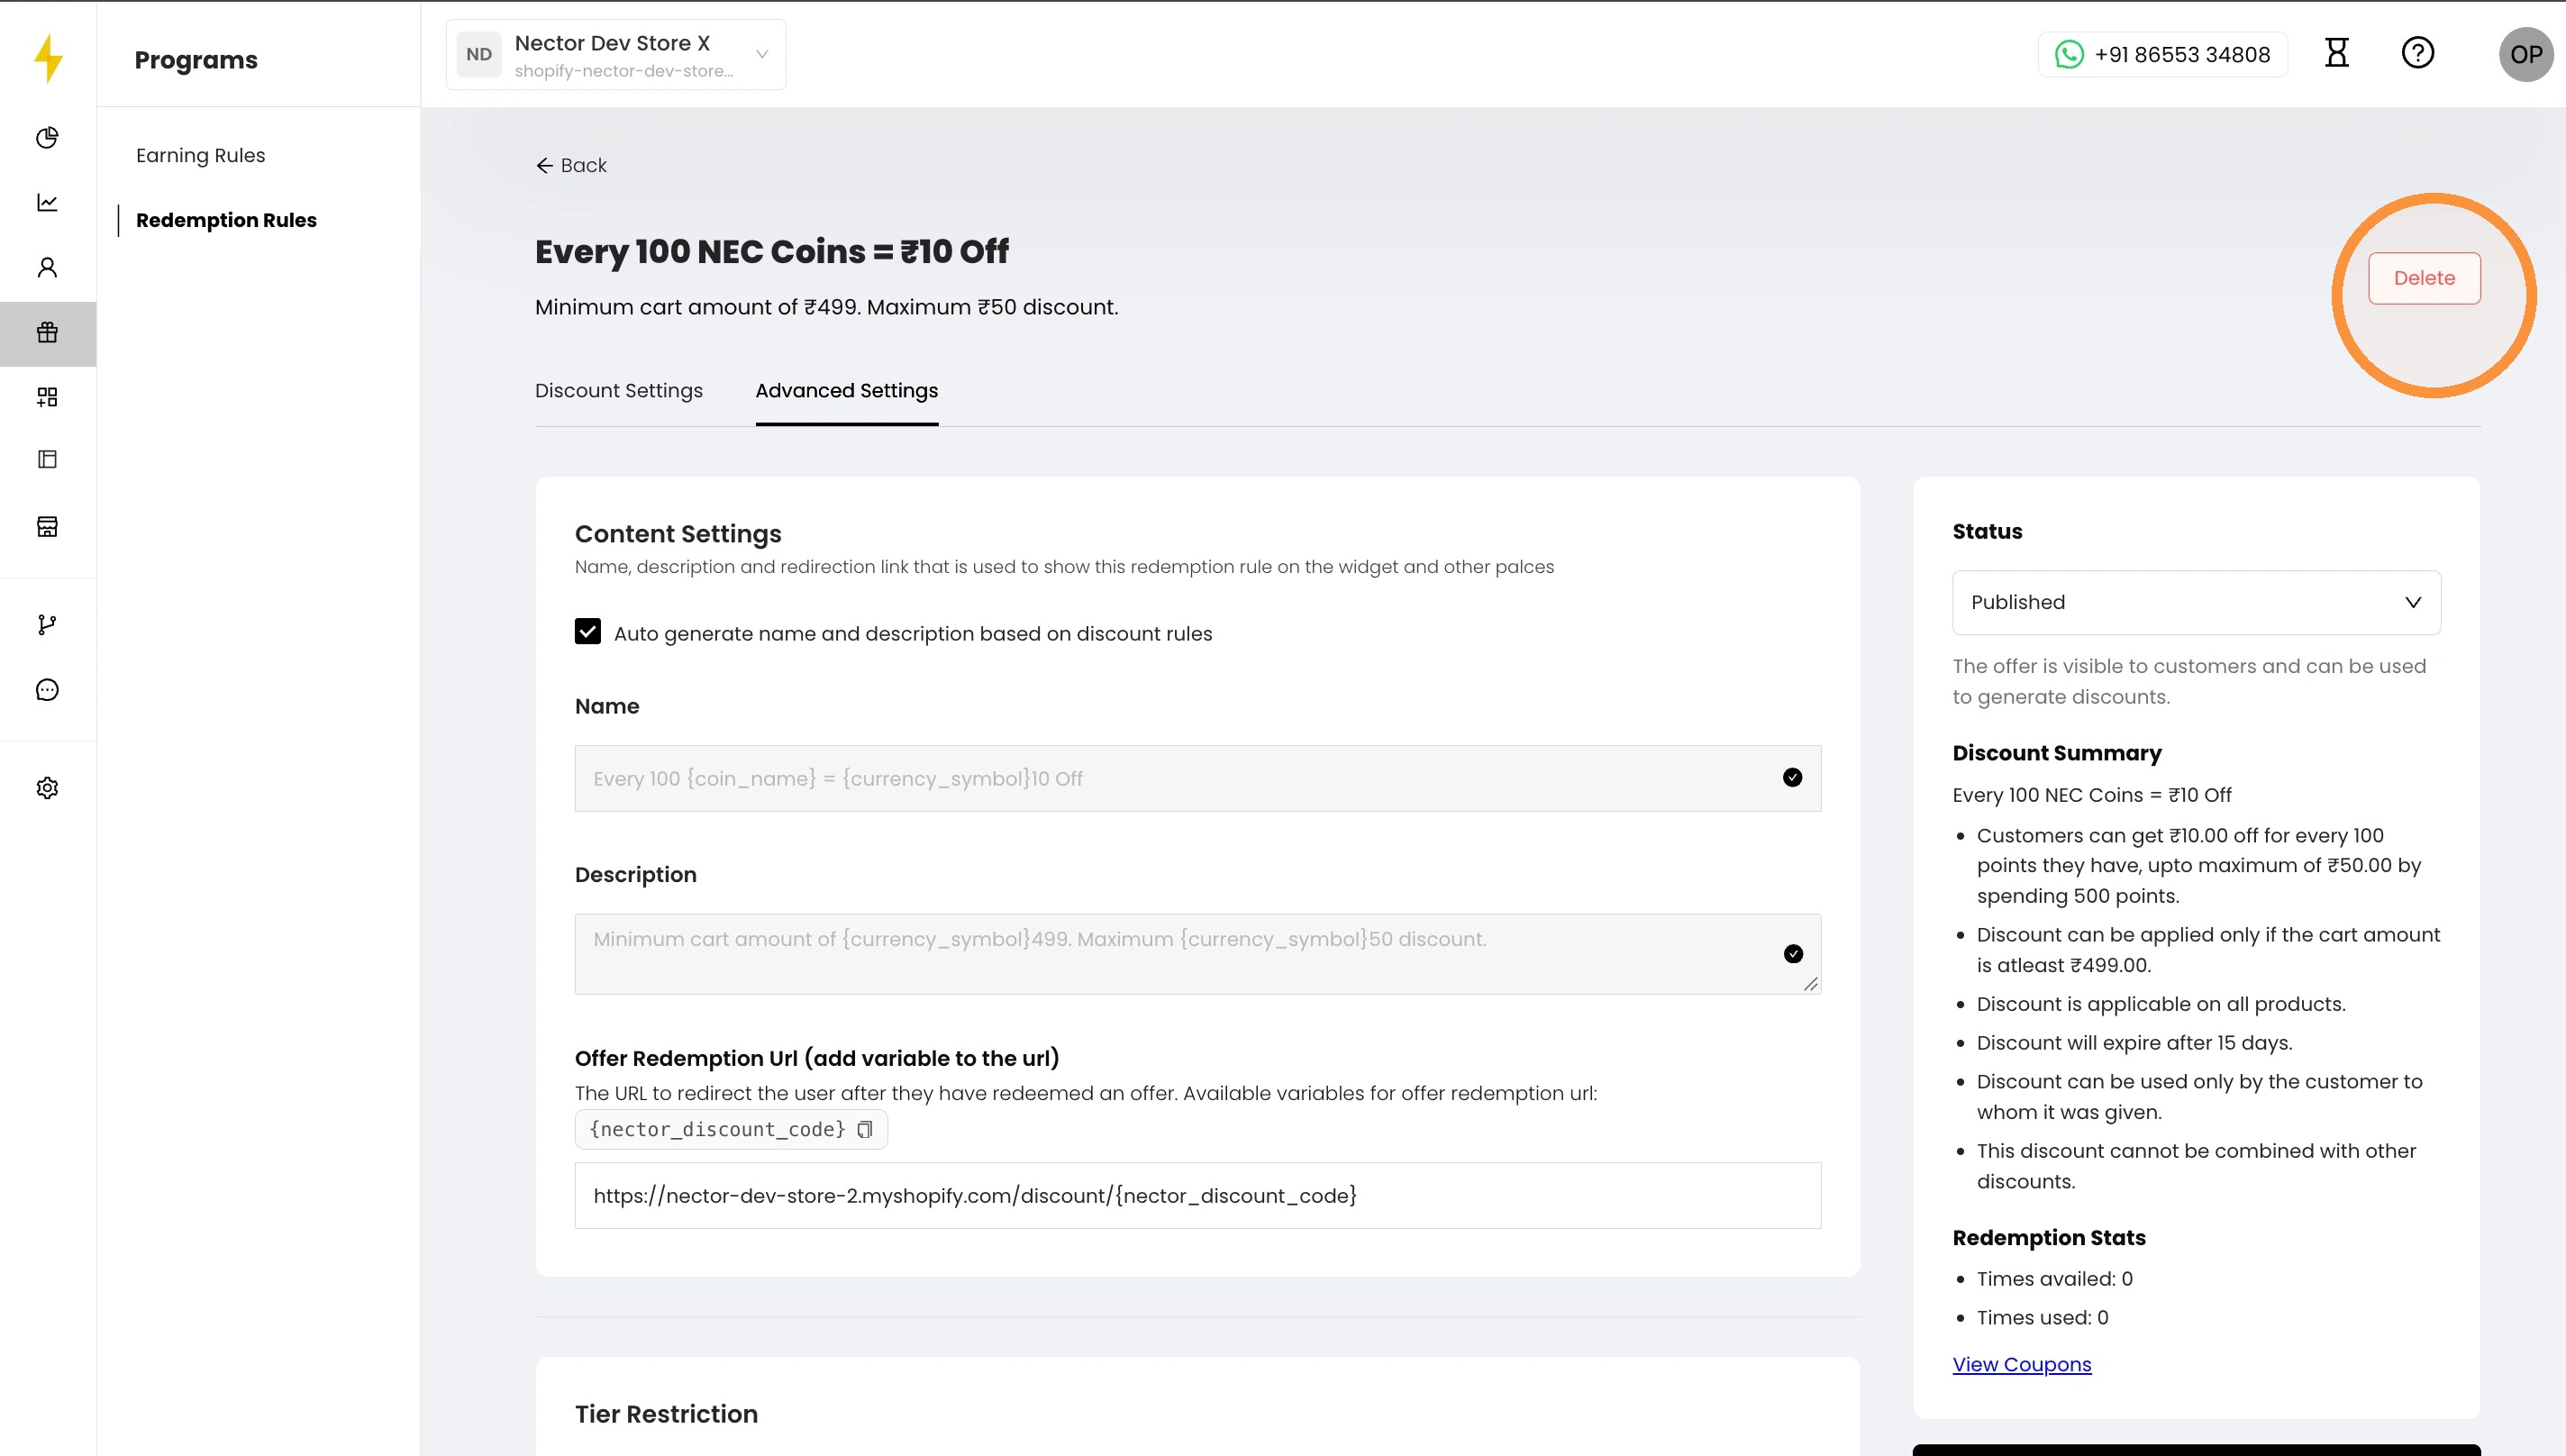
Click Delete at the top right of the rule’s page to remove it permanently.
17. Check it on your store
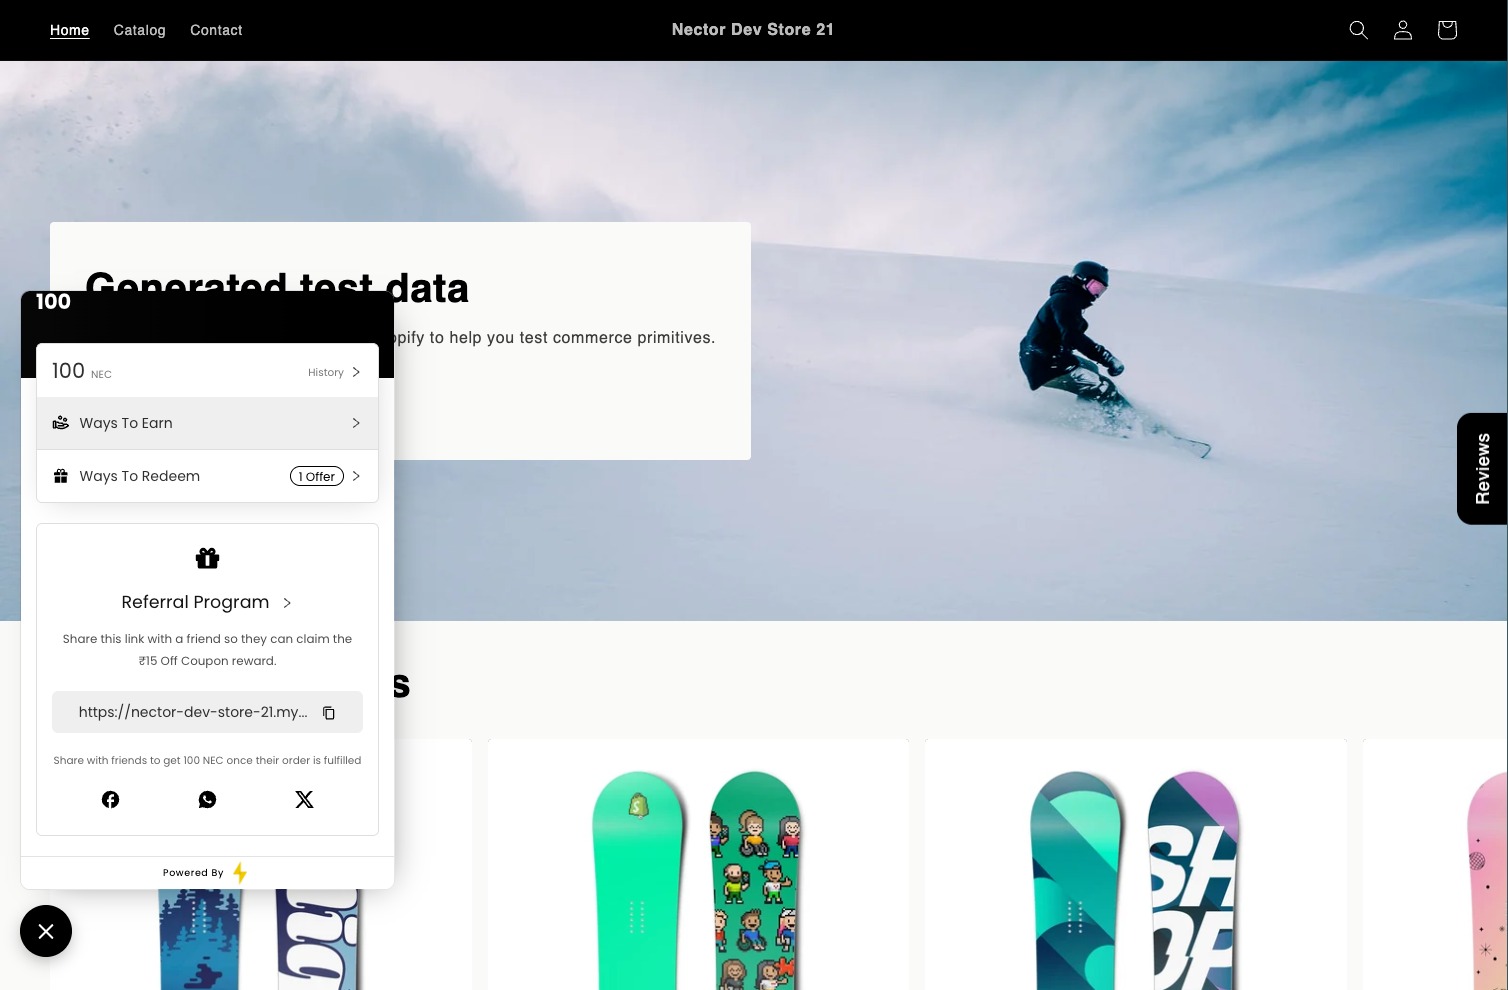
Open your store and click the rewards widget. Click Ways to Redeem to see the offers you created.
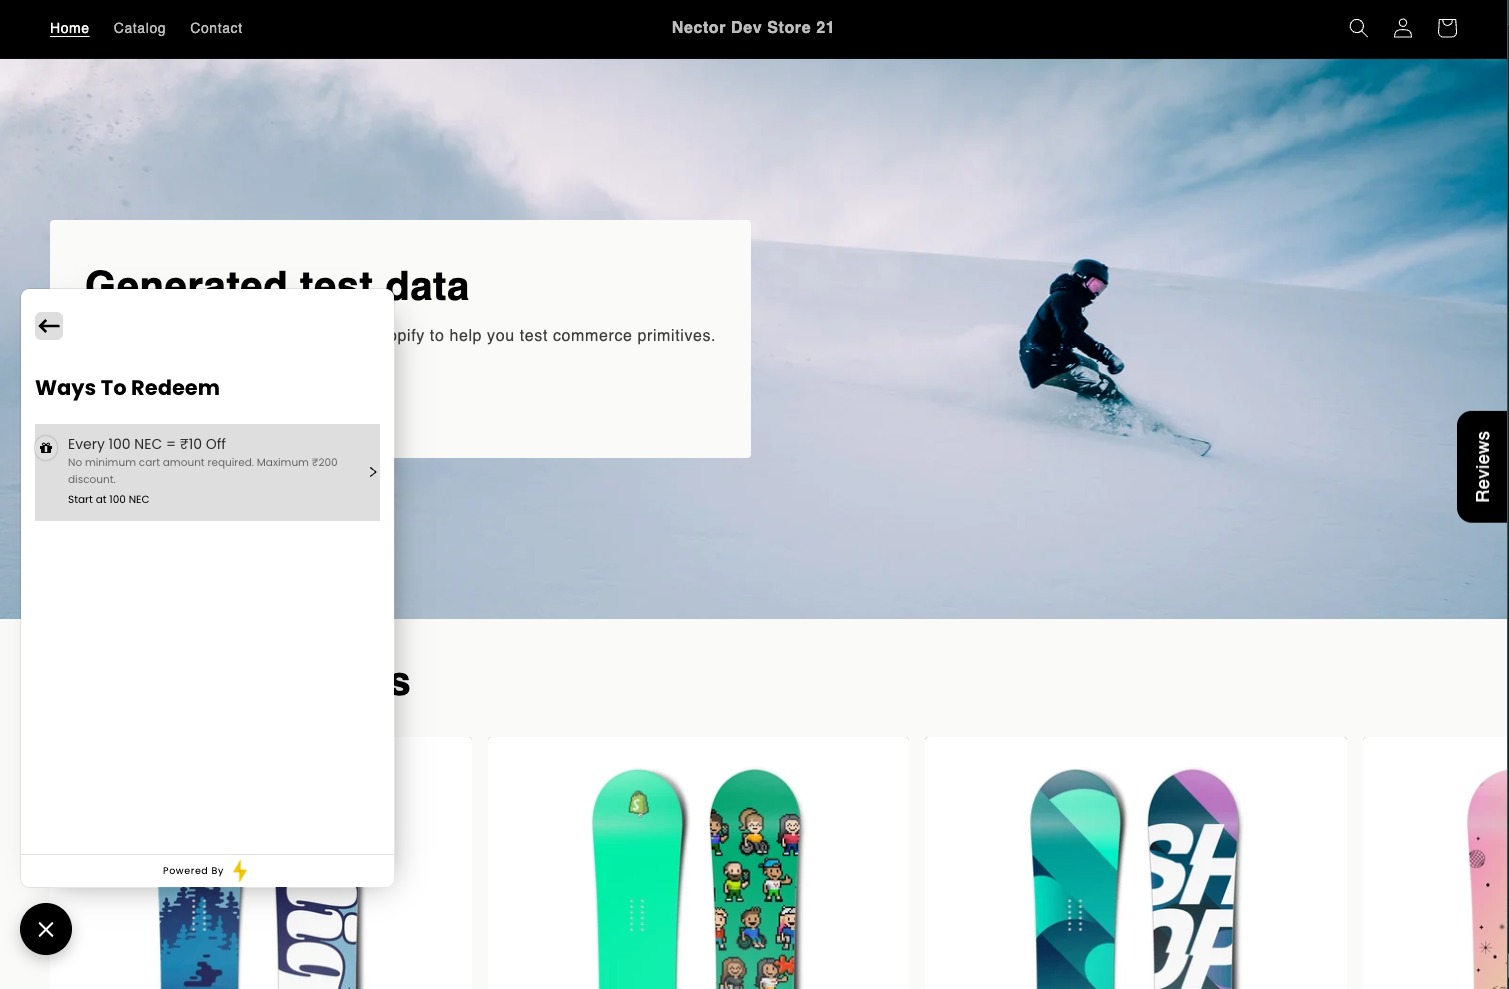
18. Find your offer
Your offer is listed under Ways to Redeem, for example "Every 100 NEC = ₹10 Off" with a maximum discount of ₹200.
19. Choose how many points to use
Click the offer. For a dynamic offer, use the slider to choose how much discount to redeem.
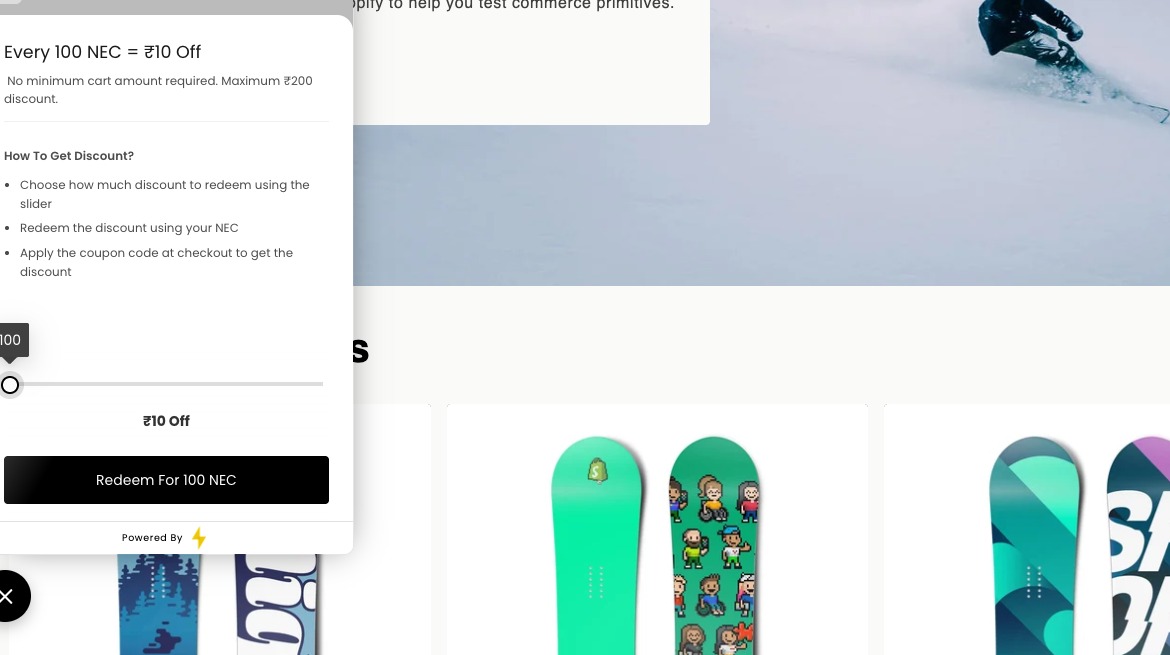
20. Redeem and get the coupon code
Click the redeem button, for example Redeem for 100 NEC. A coupon code is generated, which the customer can use at checkout.
To let customers redeem on product and cart pages too, set up the Points Redeem Widget (PDP / Cart) under On-Site Displays → Product Page Widgets.
Updated on: 03/11/2026
Thank you!