
Nector and Integrating With LogicERP POS
Step 1
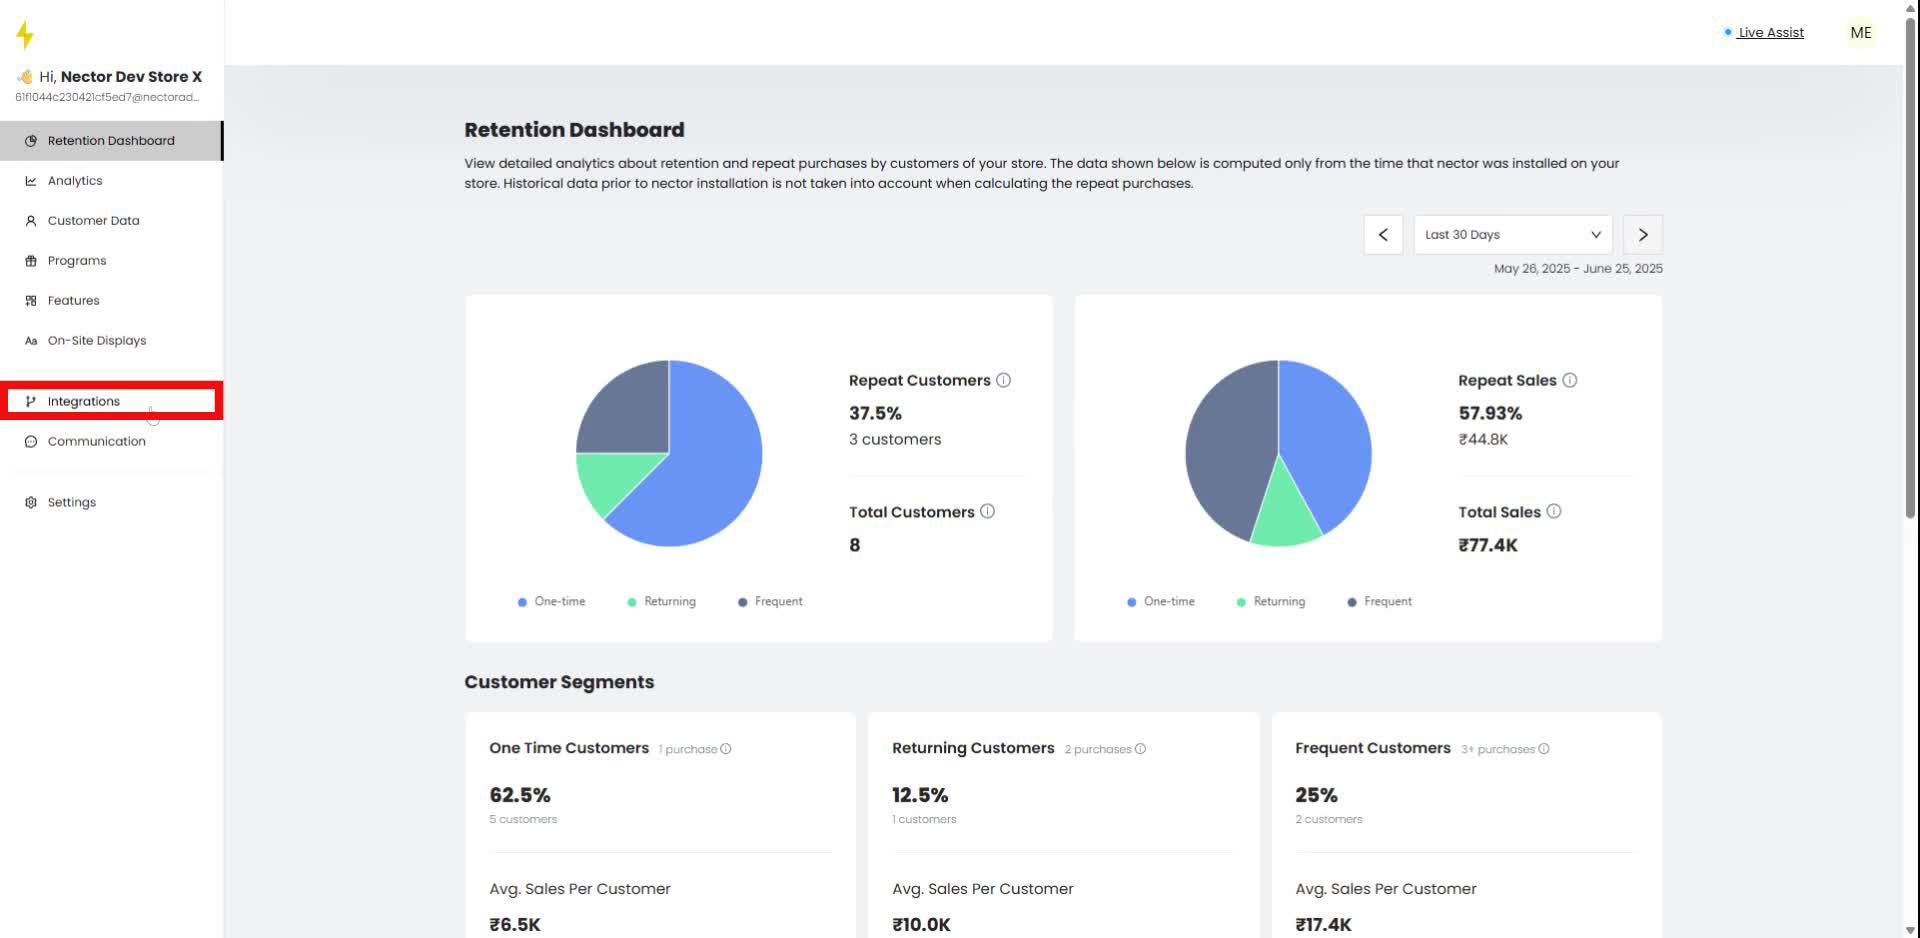
In the navigation bar, click on "Integrations."
Step 2
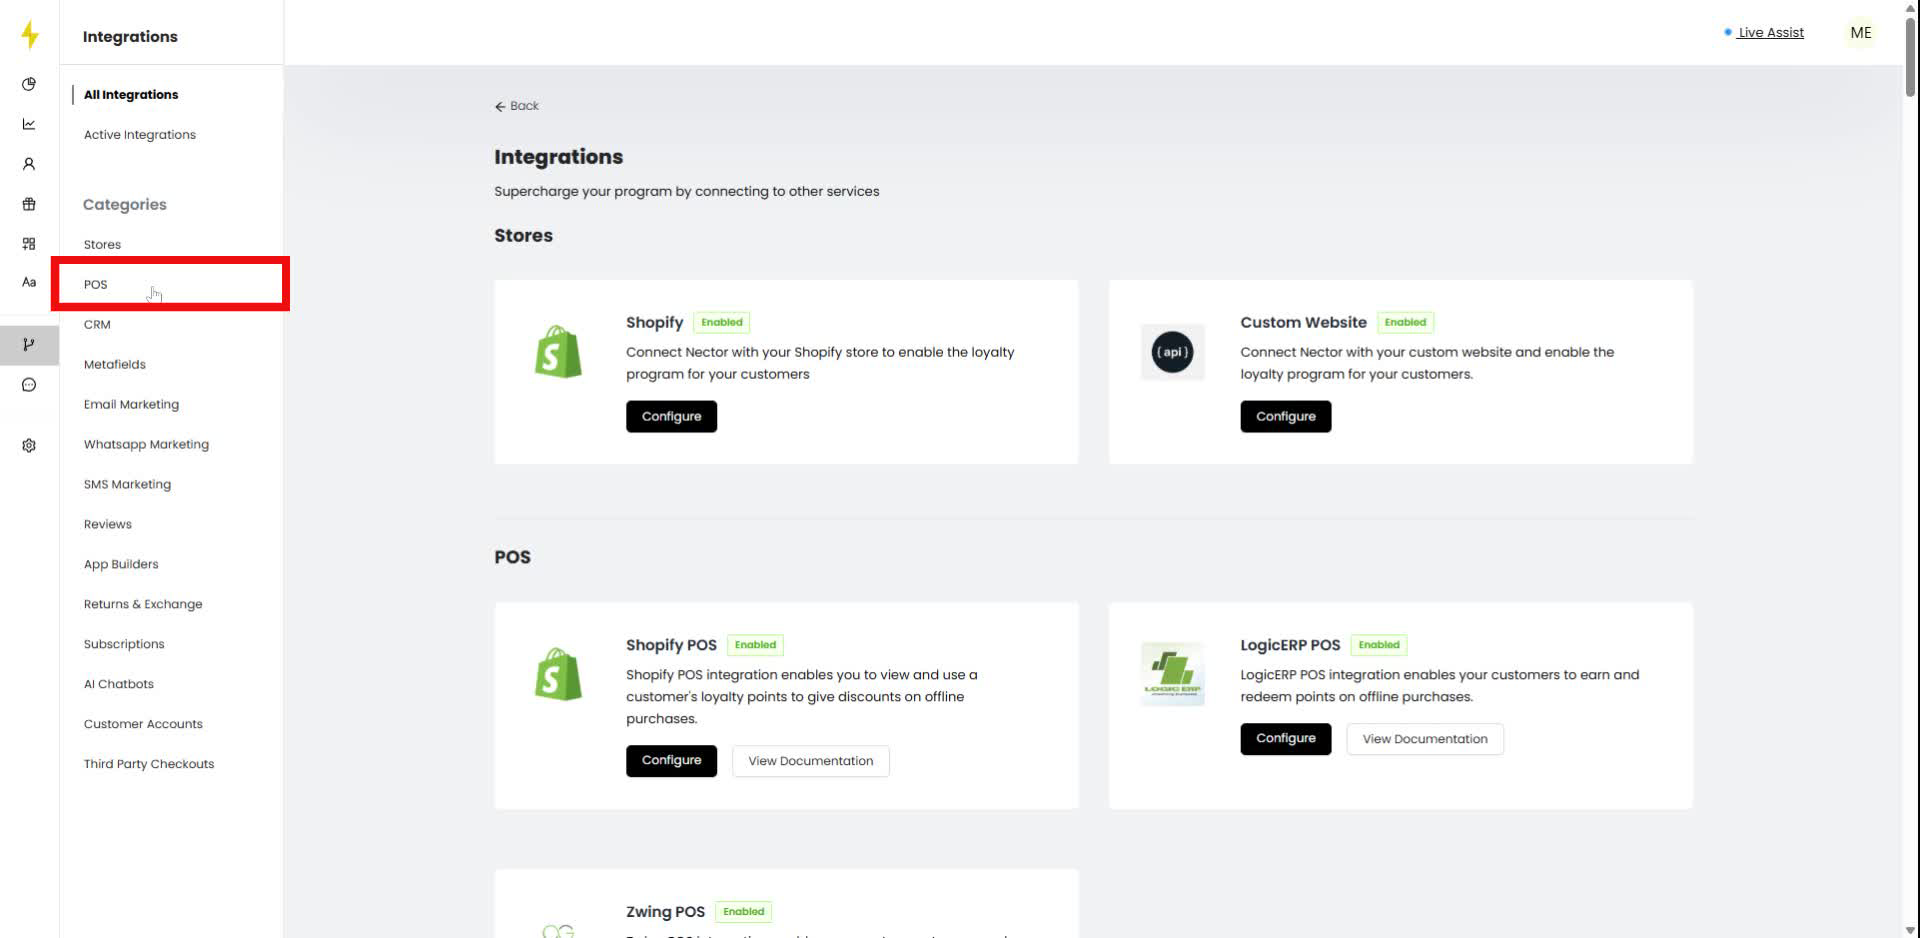
In the integrations section, select "POS" from the categories.
Step 3
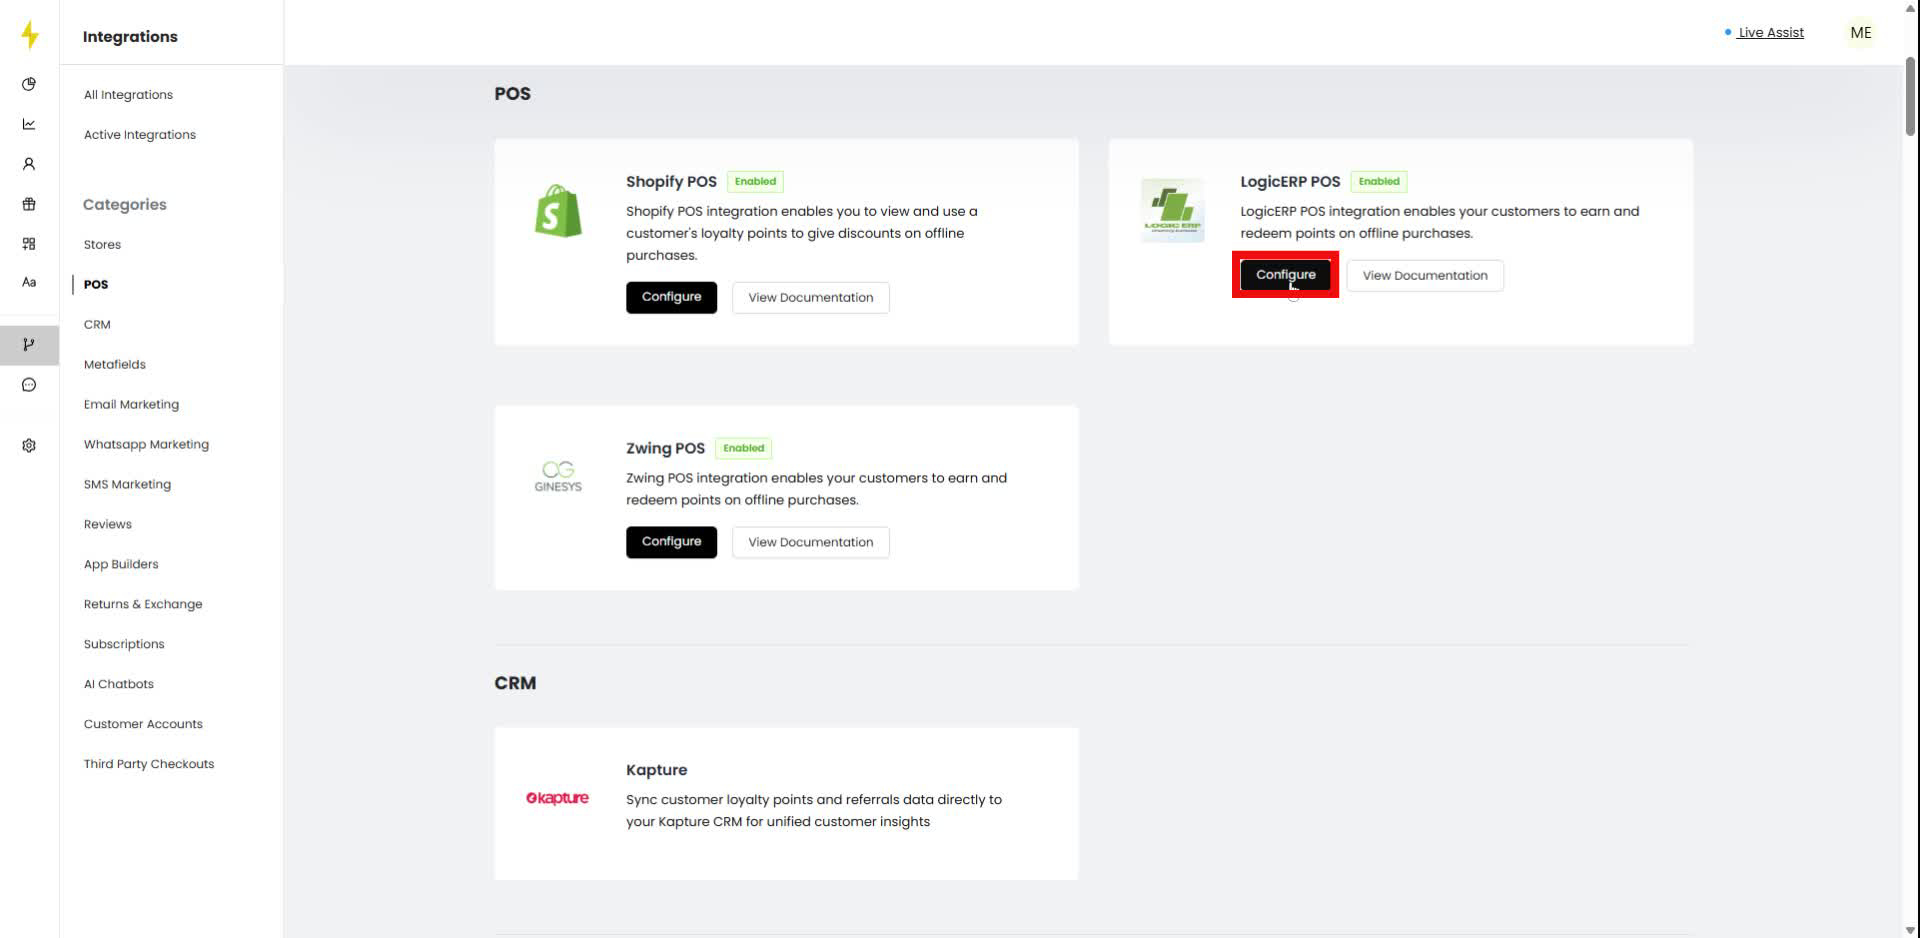
Click on "Configure" under LogicERP POS.
Step 4
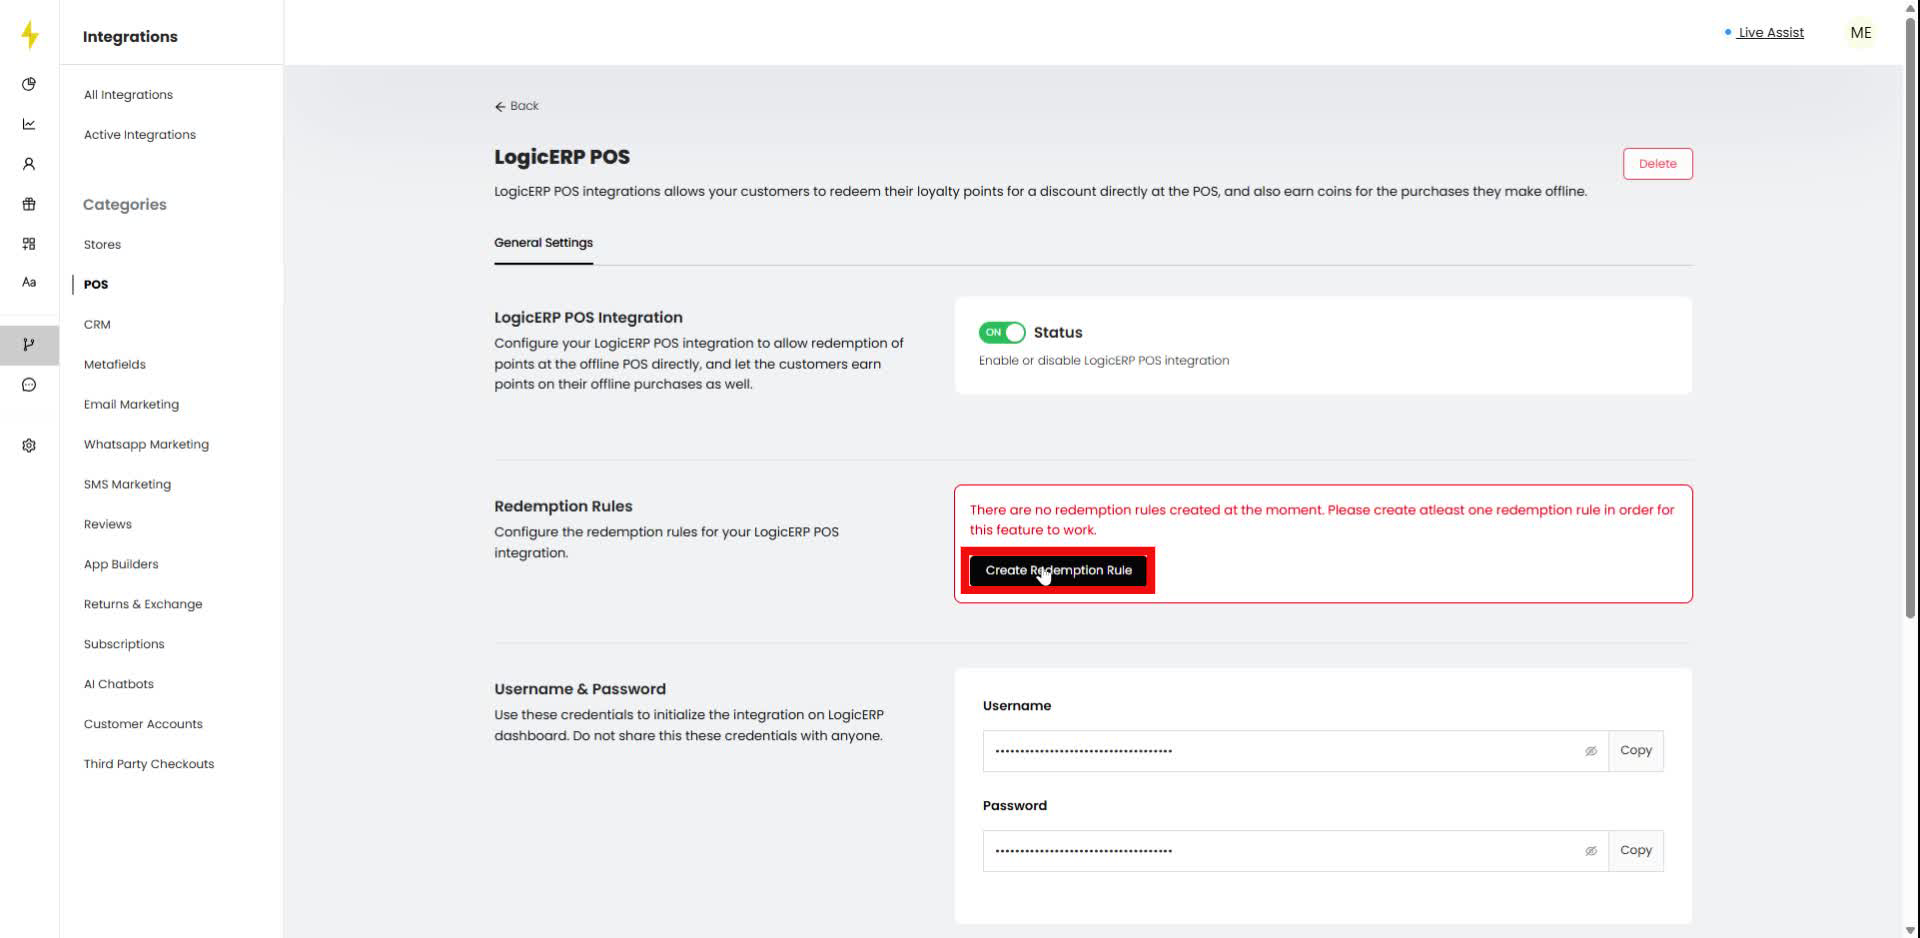
In the LogicERP POS settings, click "Create Redemption Rule."
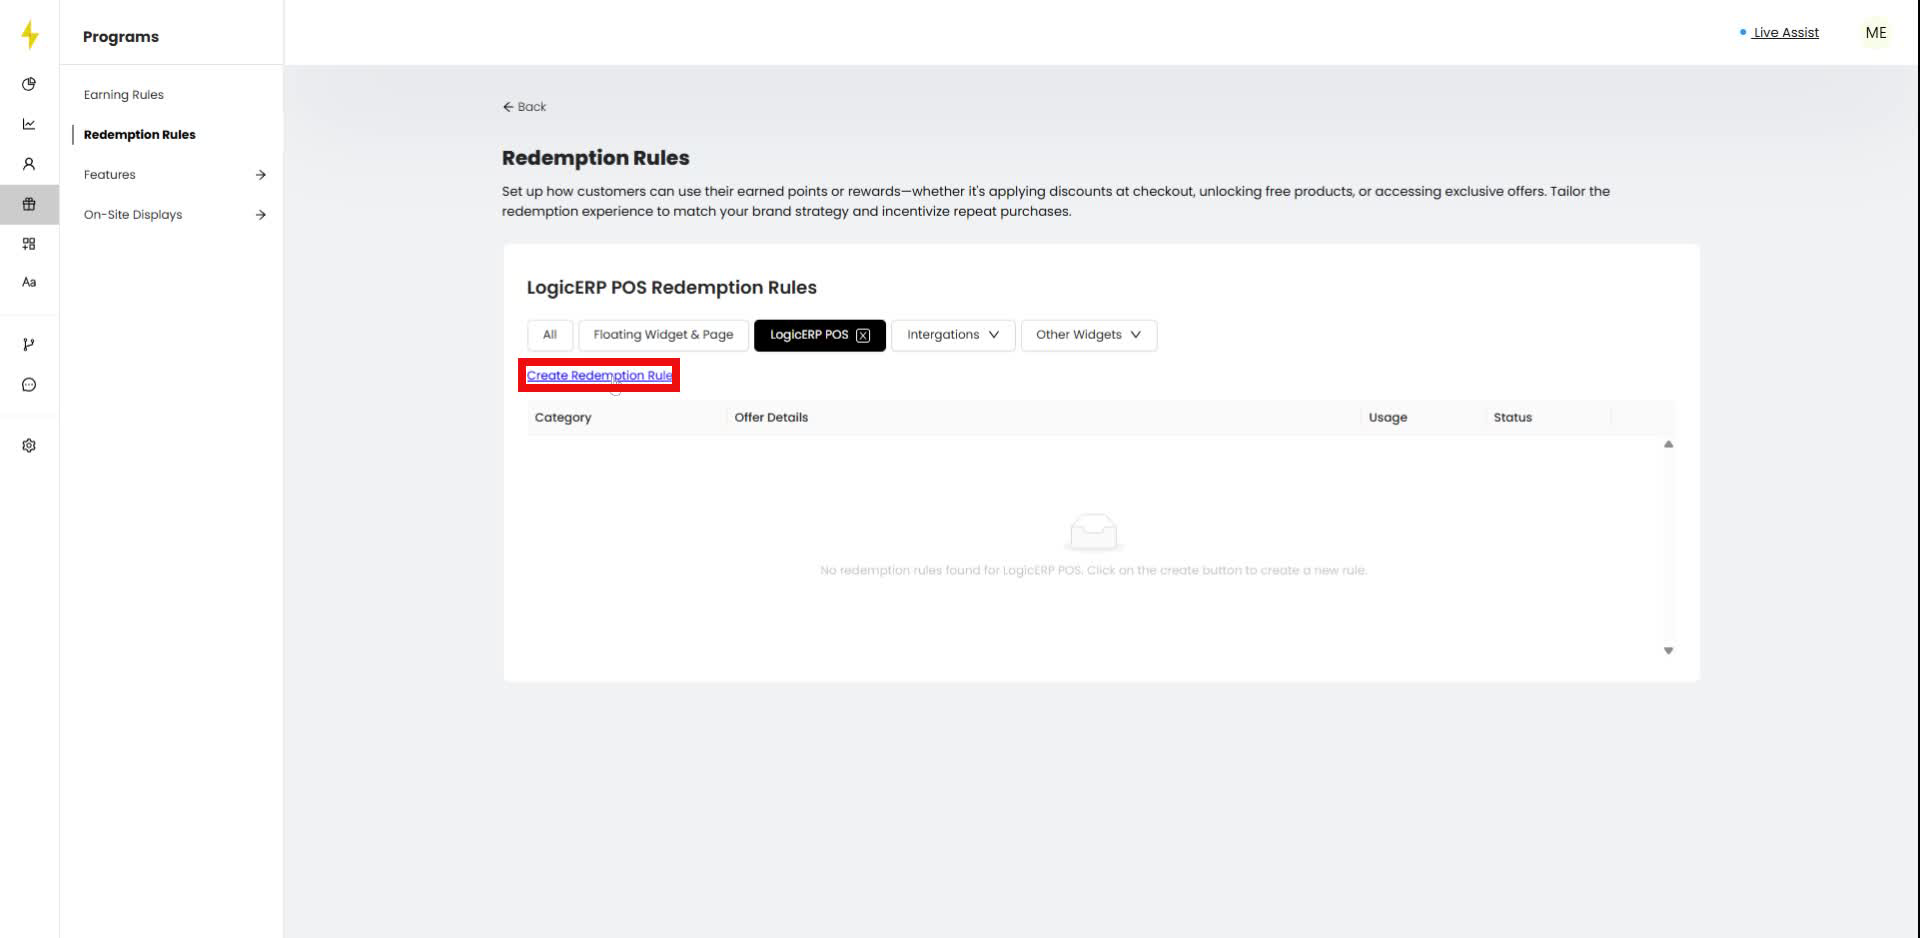
Step 5
In the Redemption Rules section, click "Create Redemption Rule."
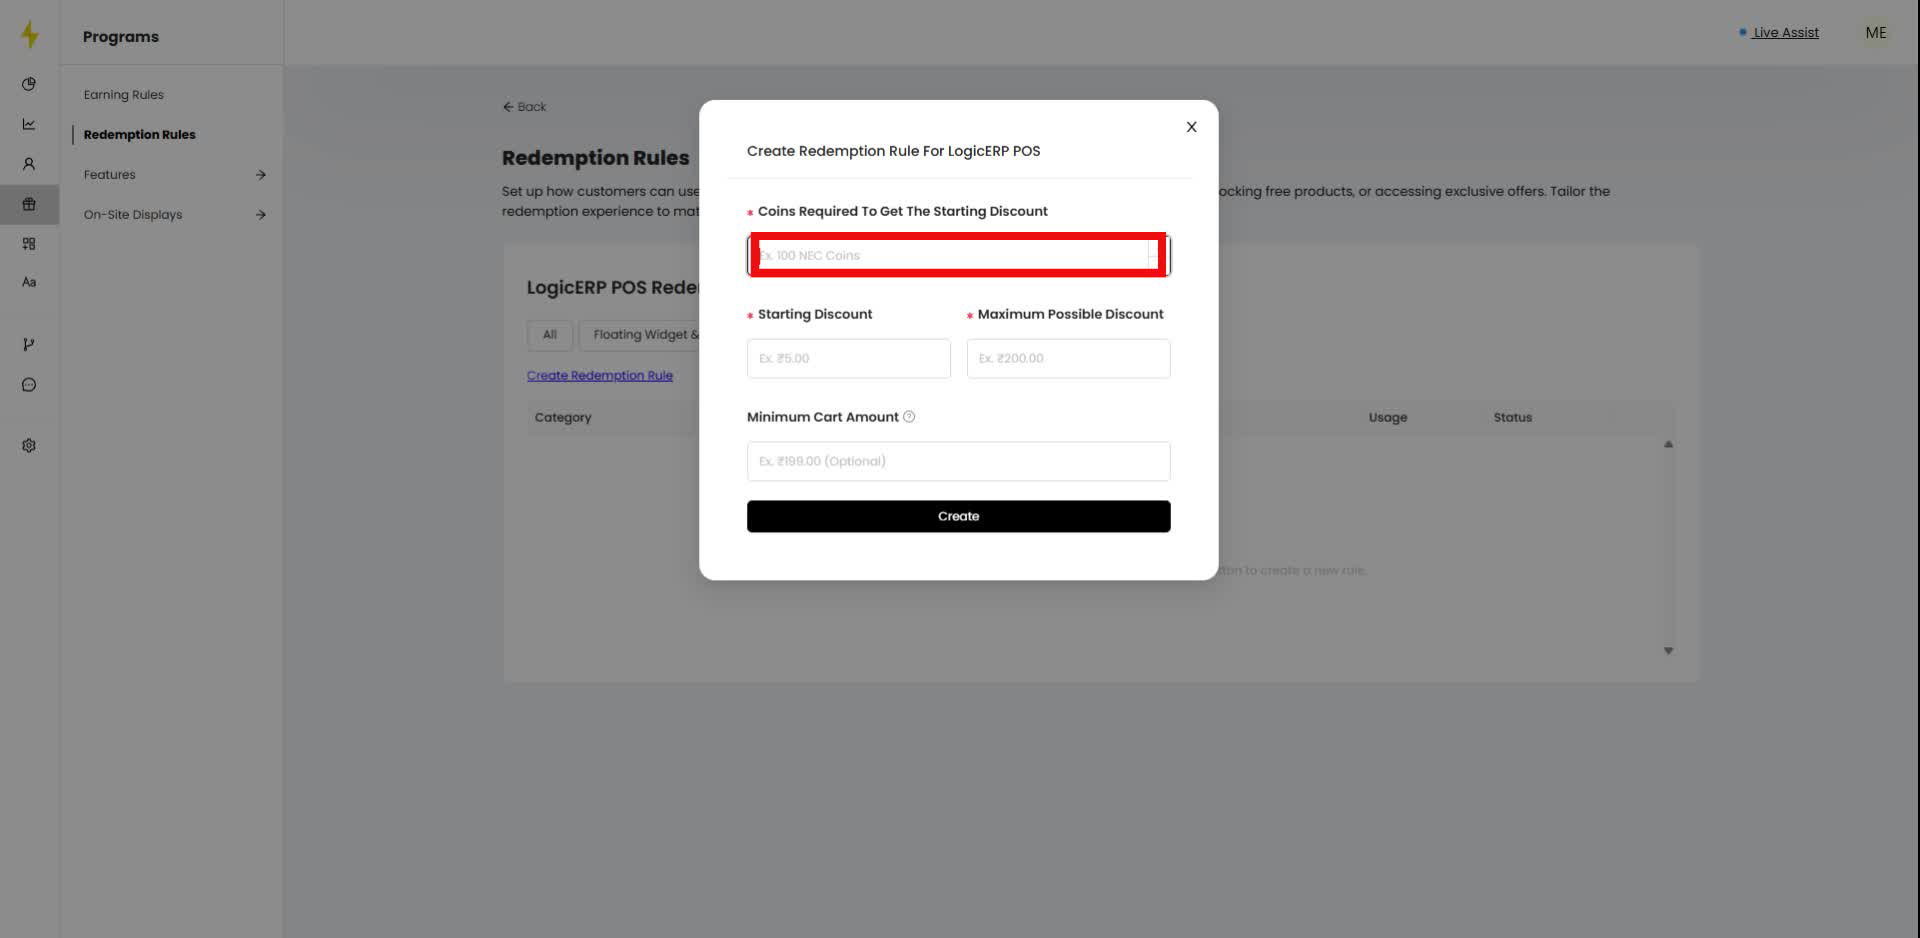
Step 6
Enter the number of coins required for the starting discount in the modal.
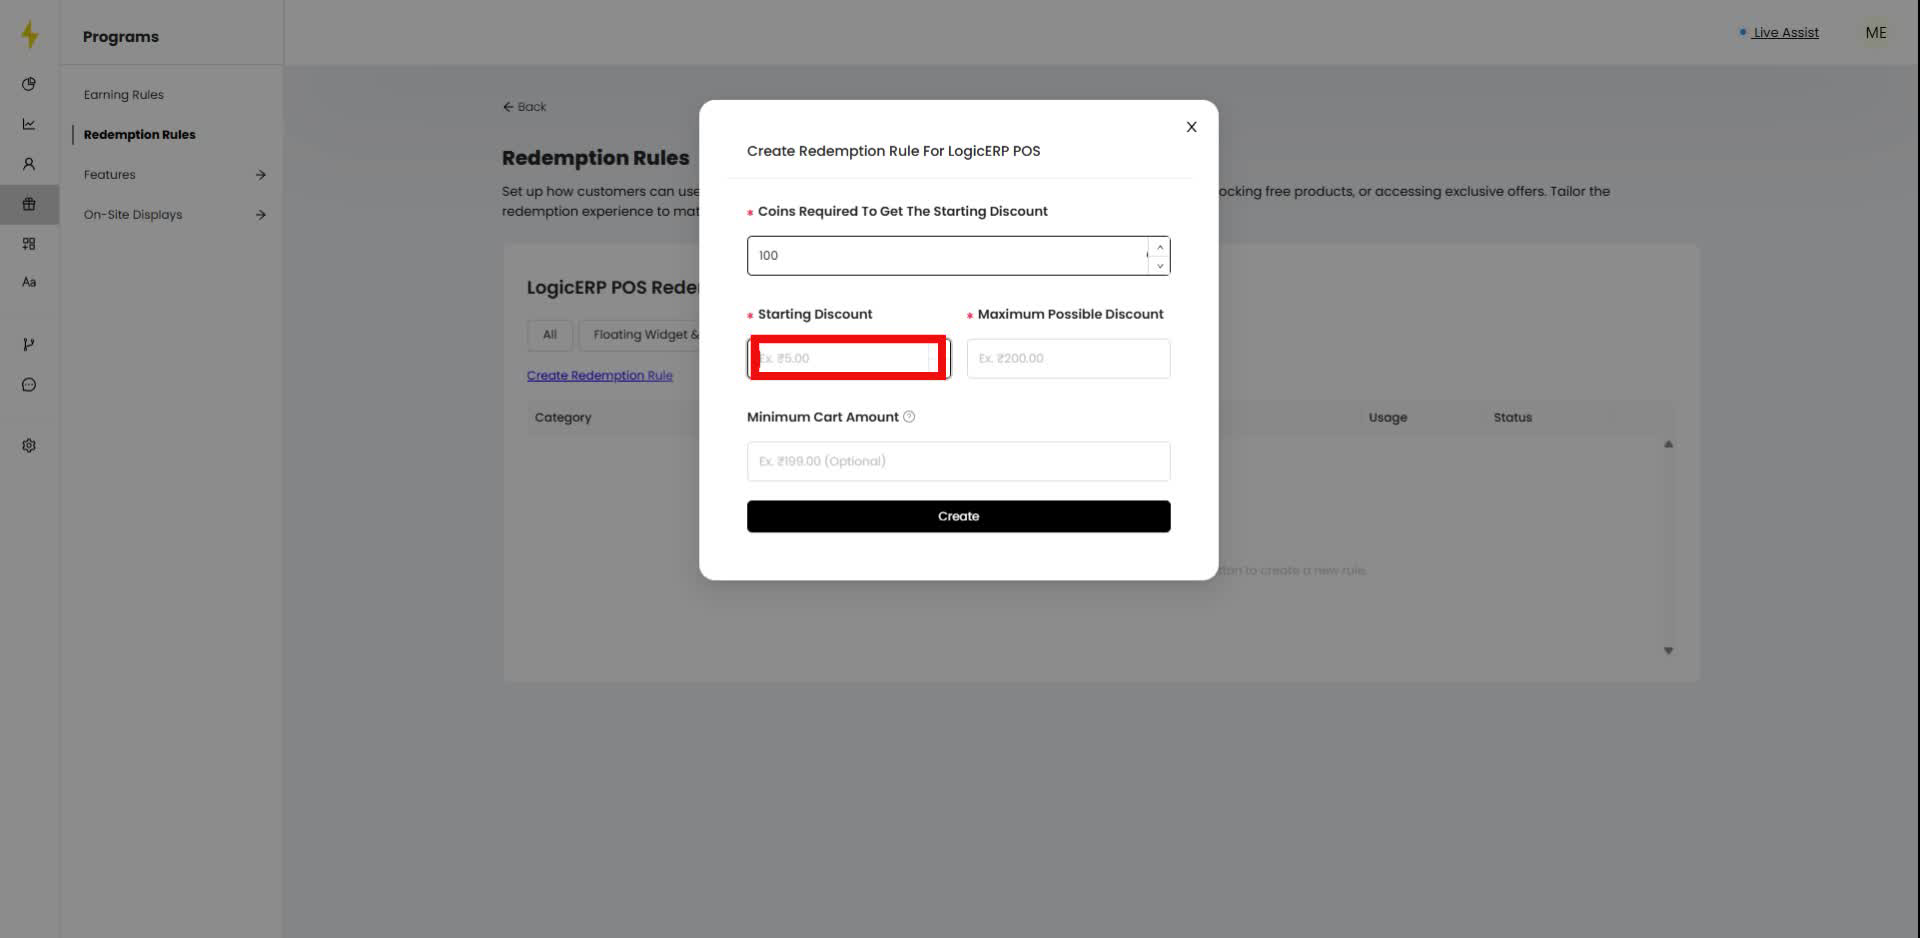
Step 7
Input the starting discount amount in the designated field.
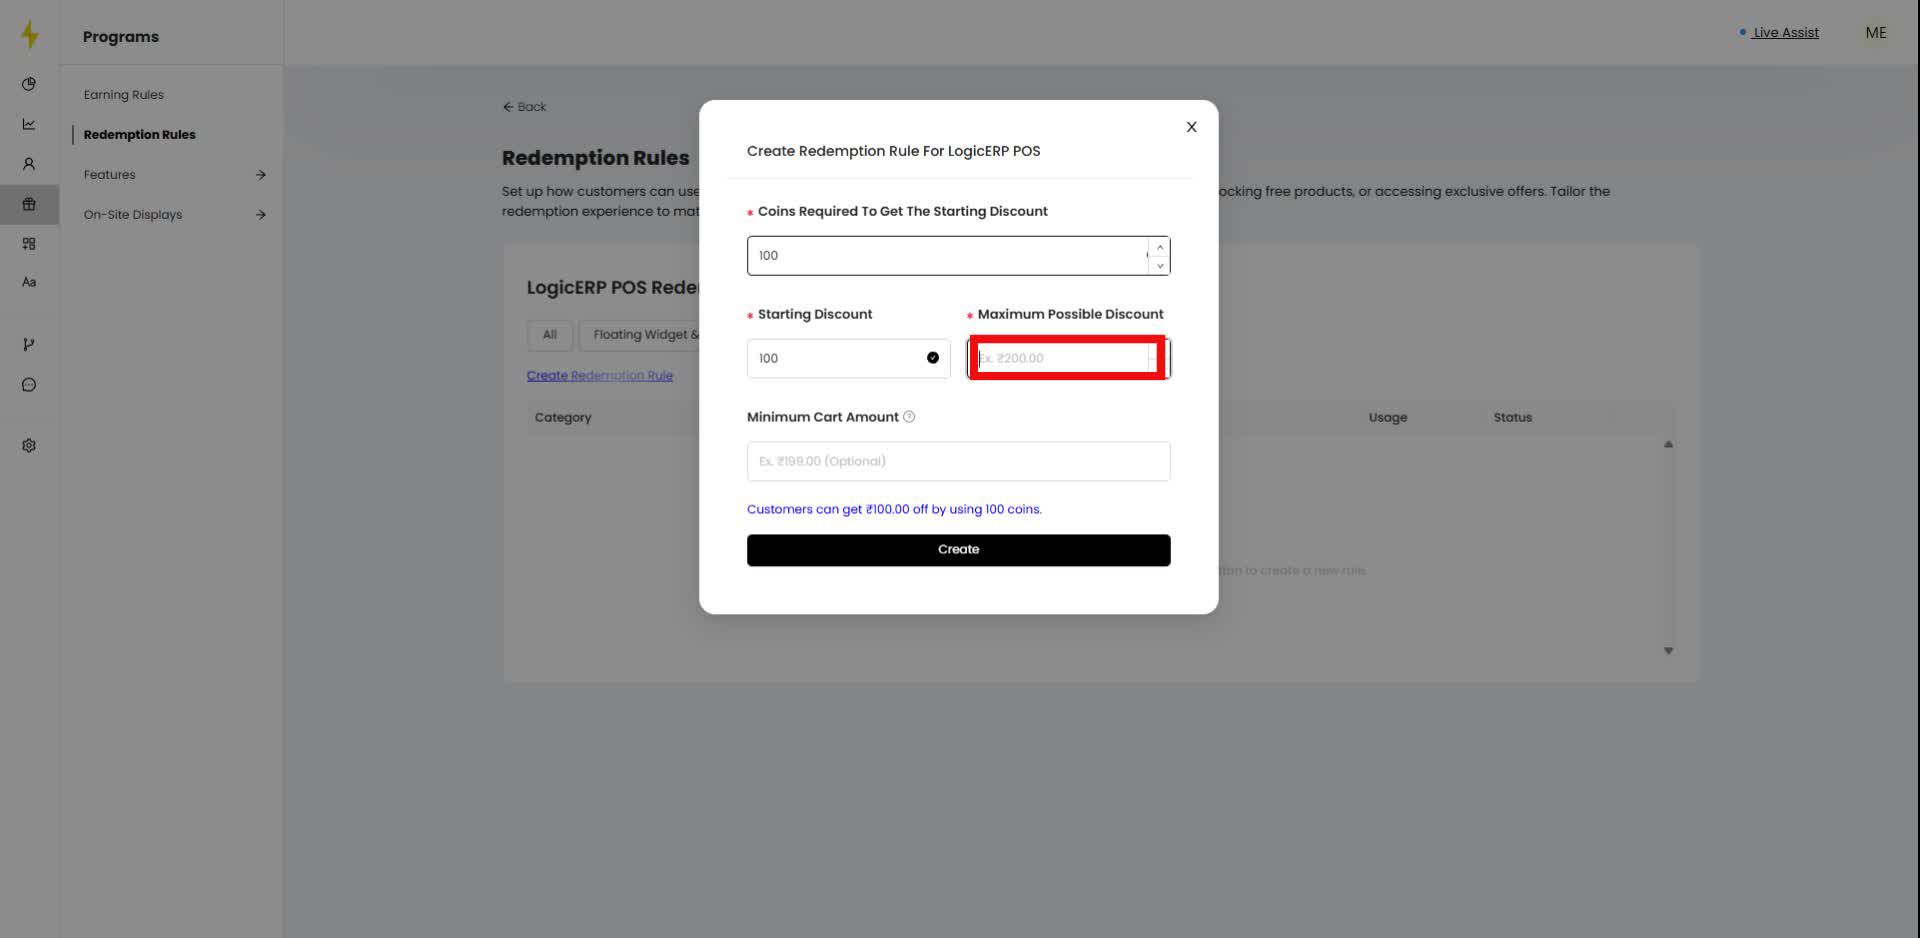
Step 8
Fill in the maximum possible discount amount.
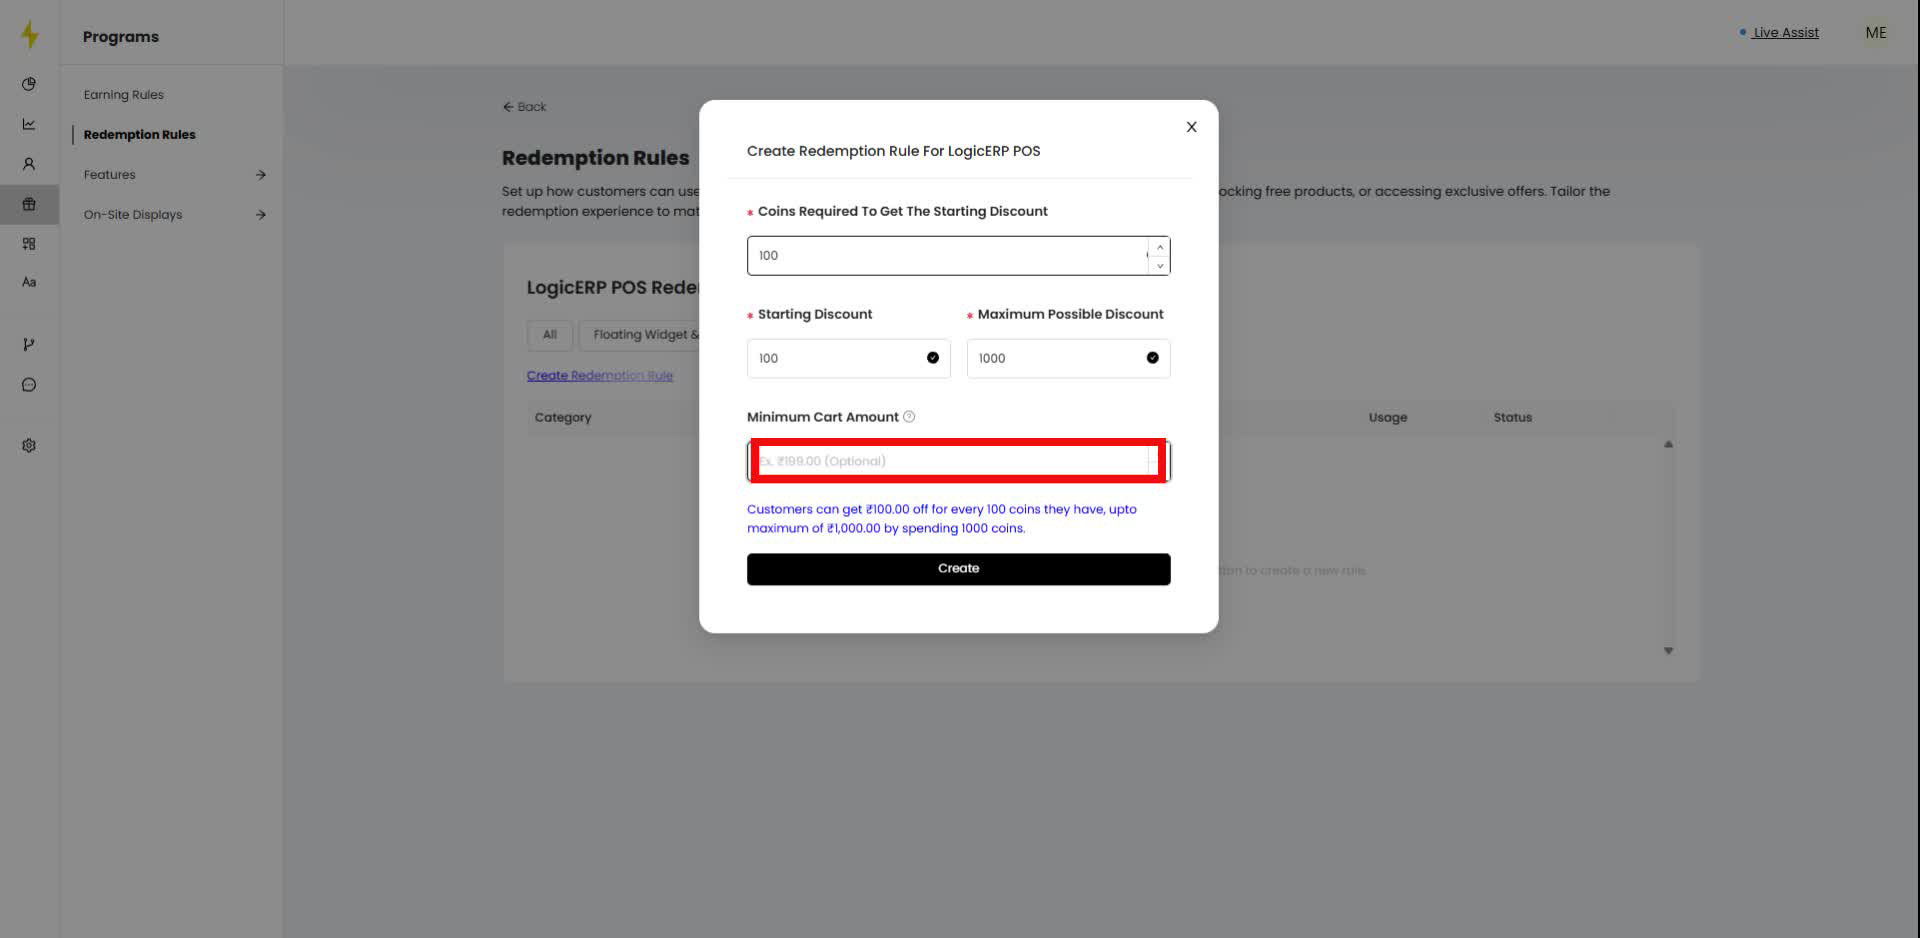
Step 9
Enter the minimum cart amount, if applicable.
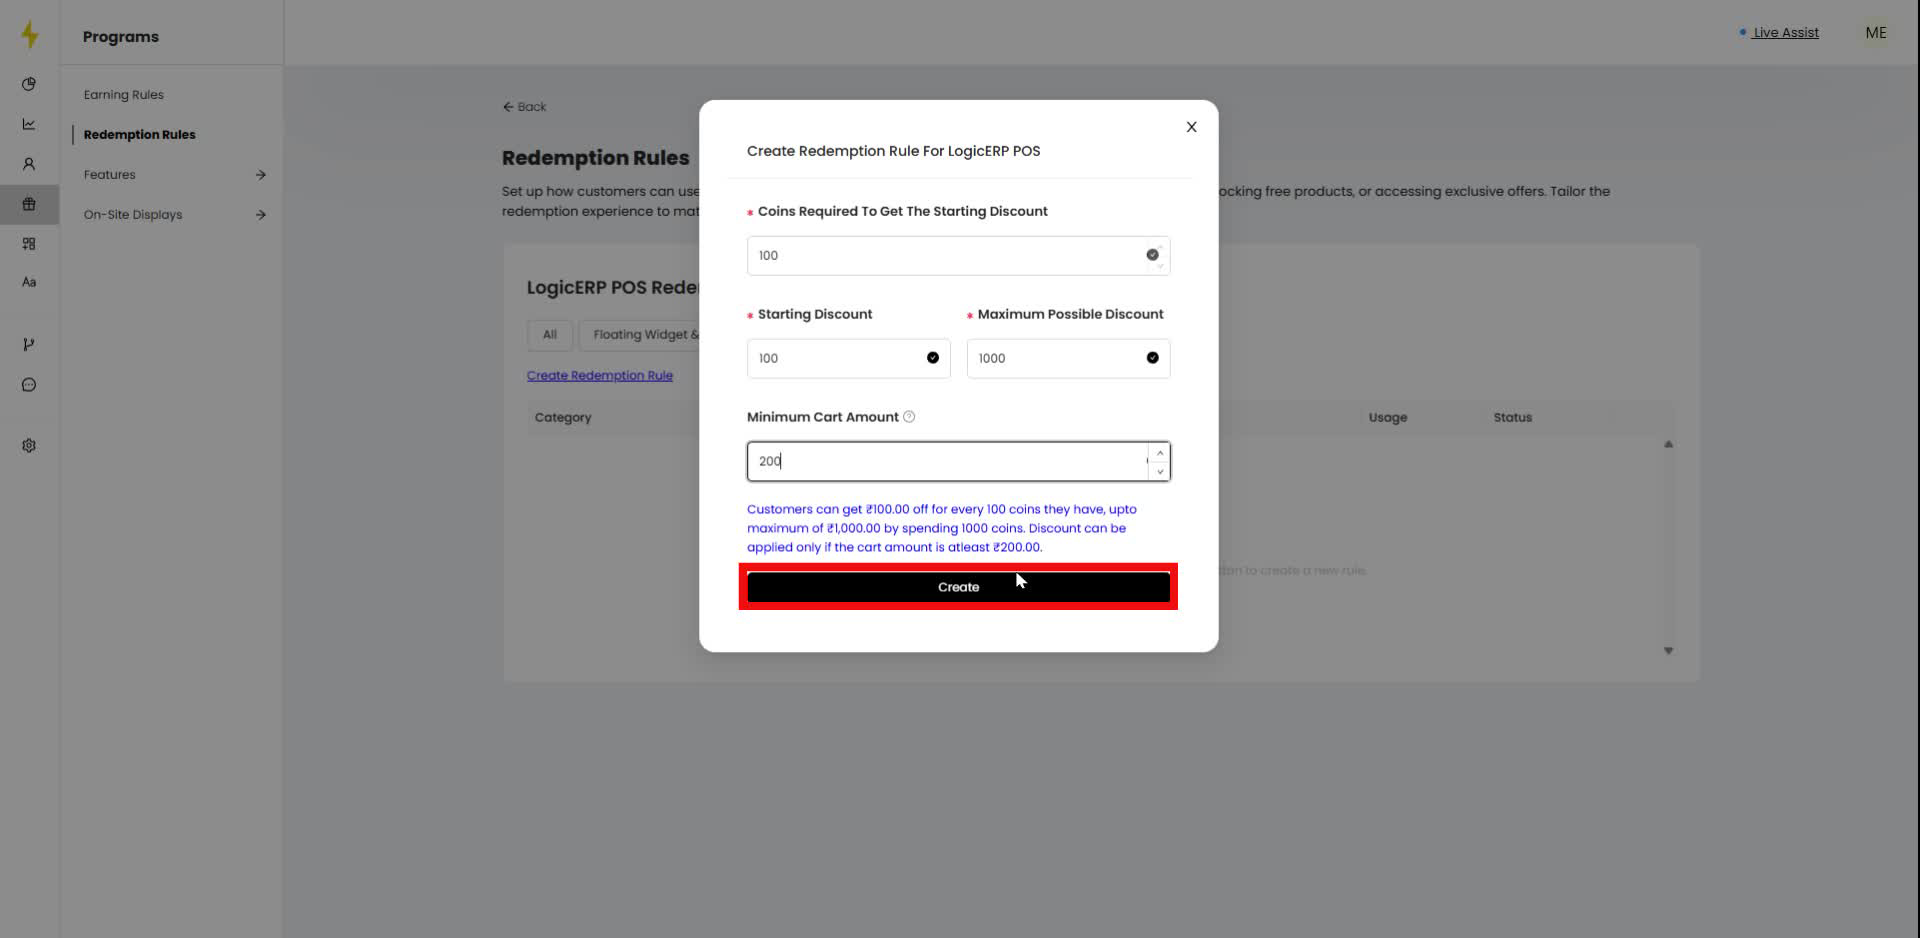
Step 10
Click the "Create" button to finalize the redemption rule.
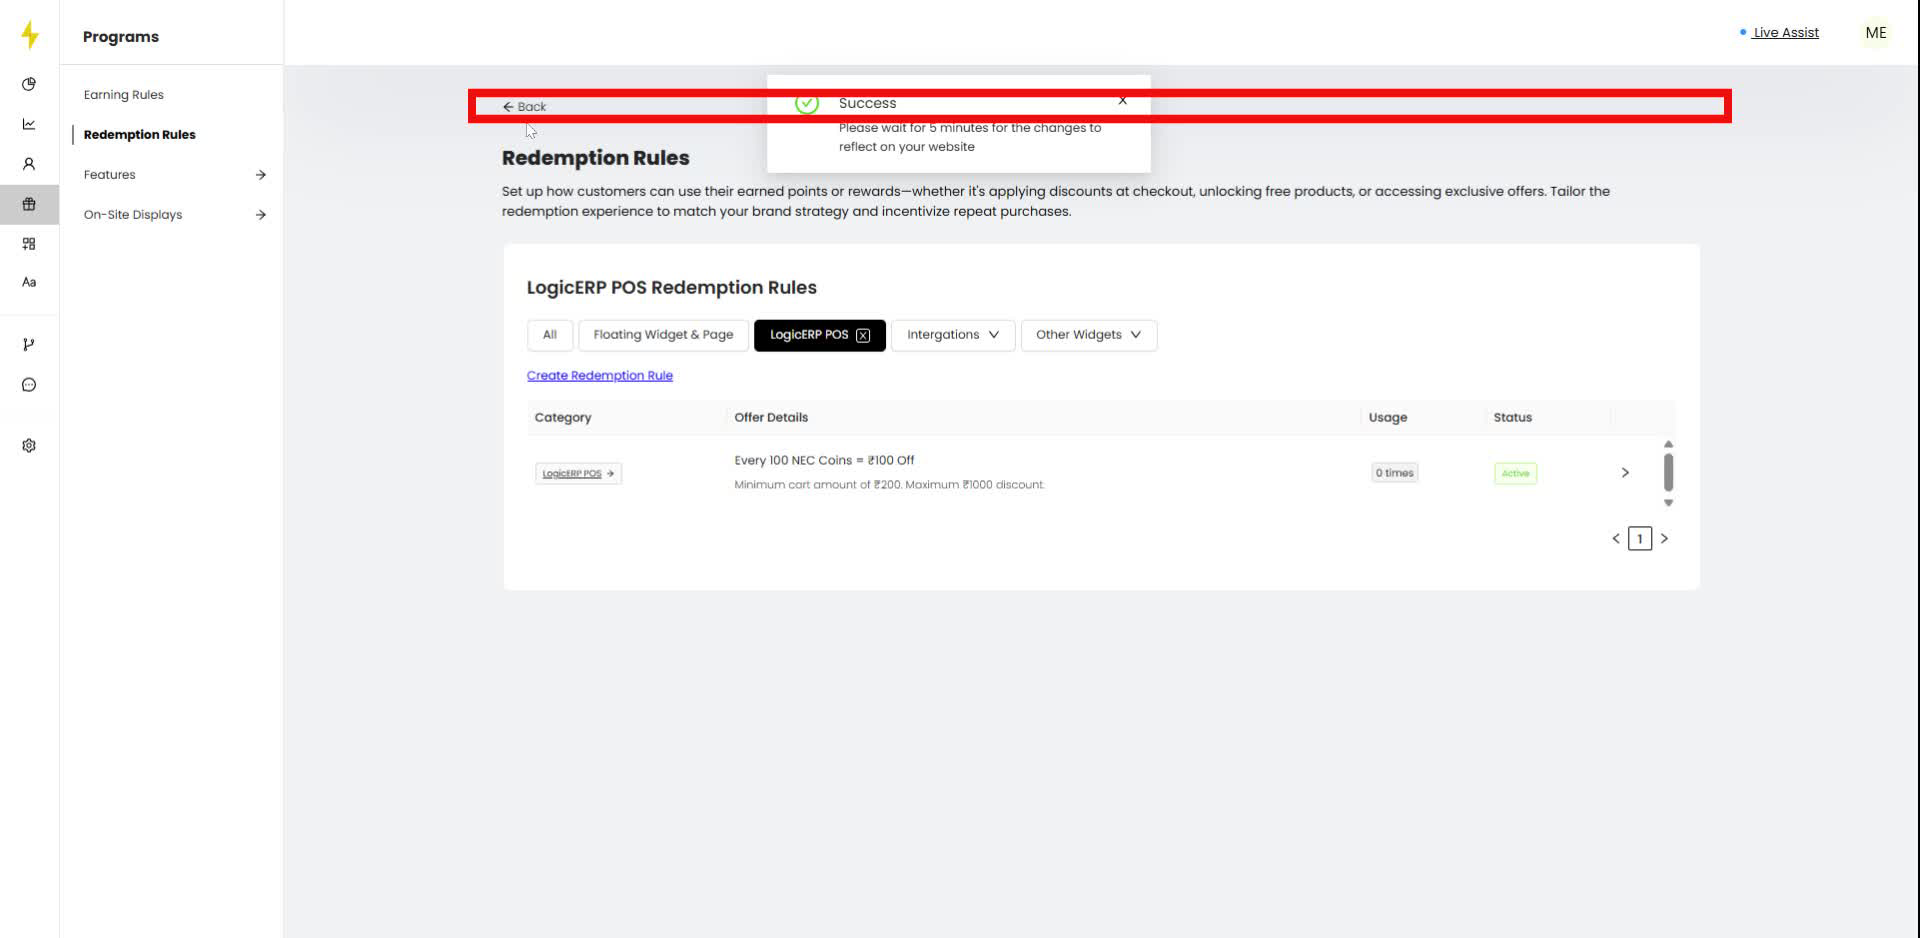
Step 11
Click the "Back" button in the navigation bar.
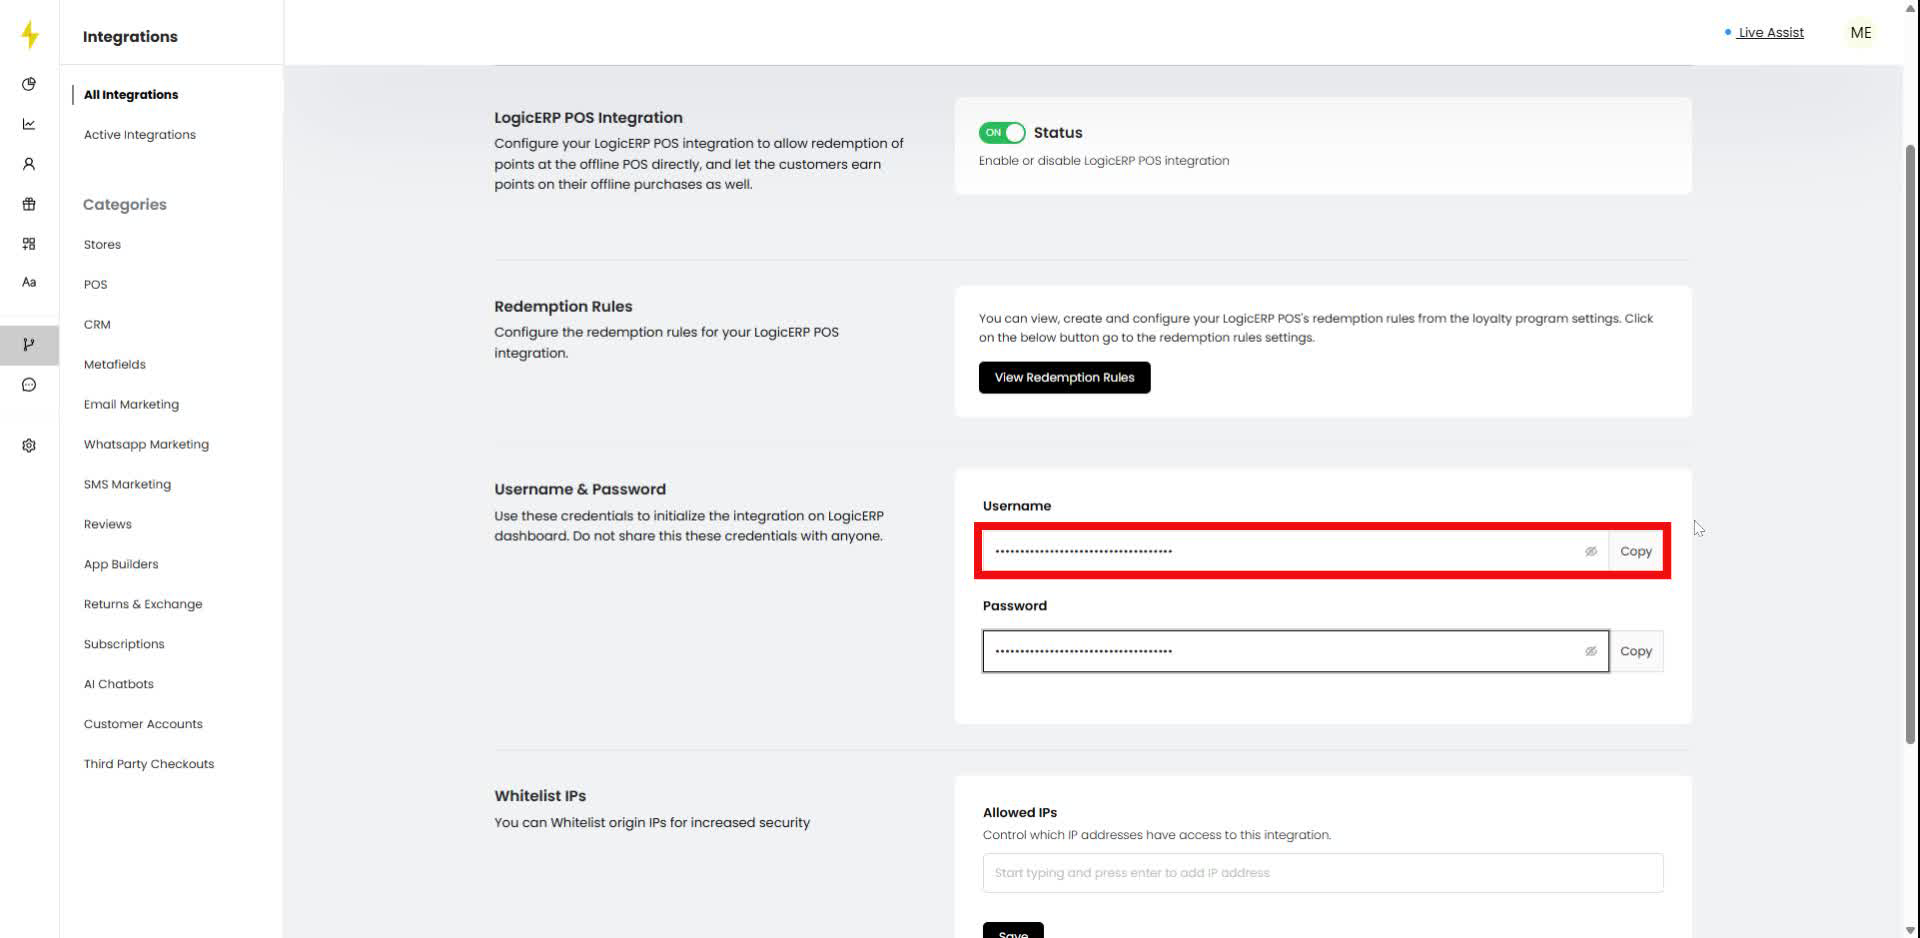
Step 12
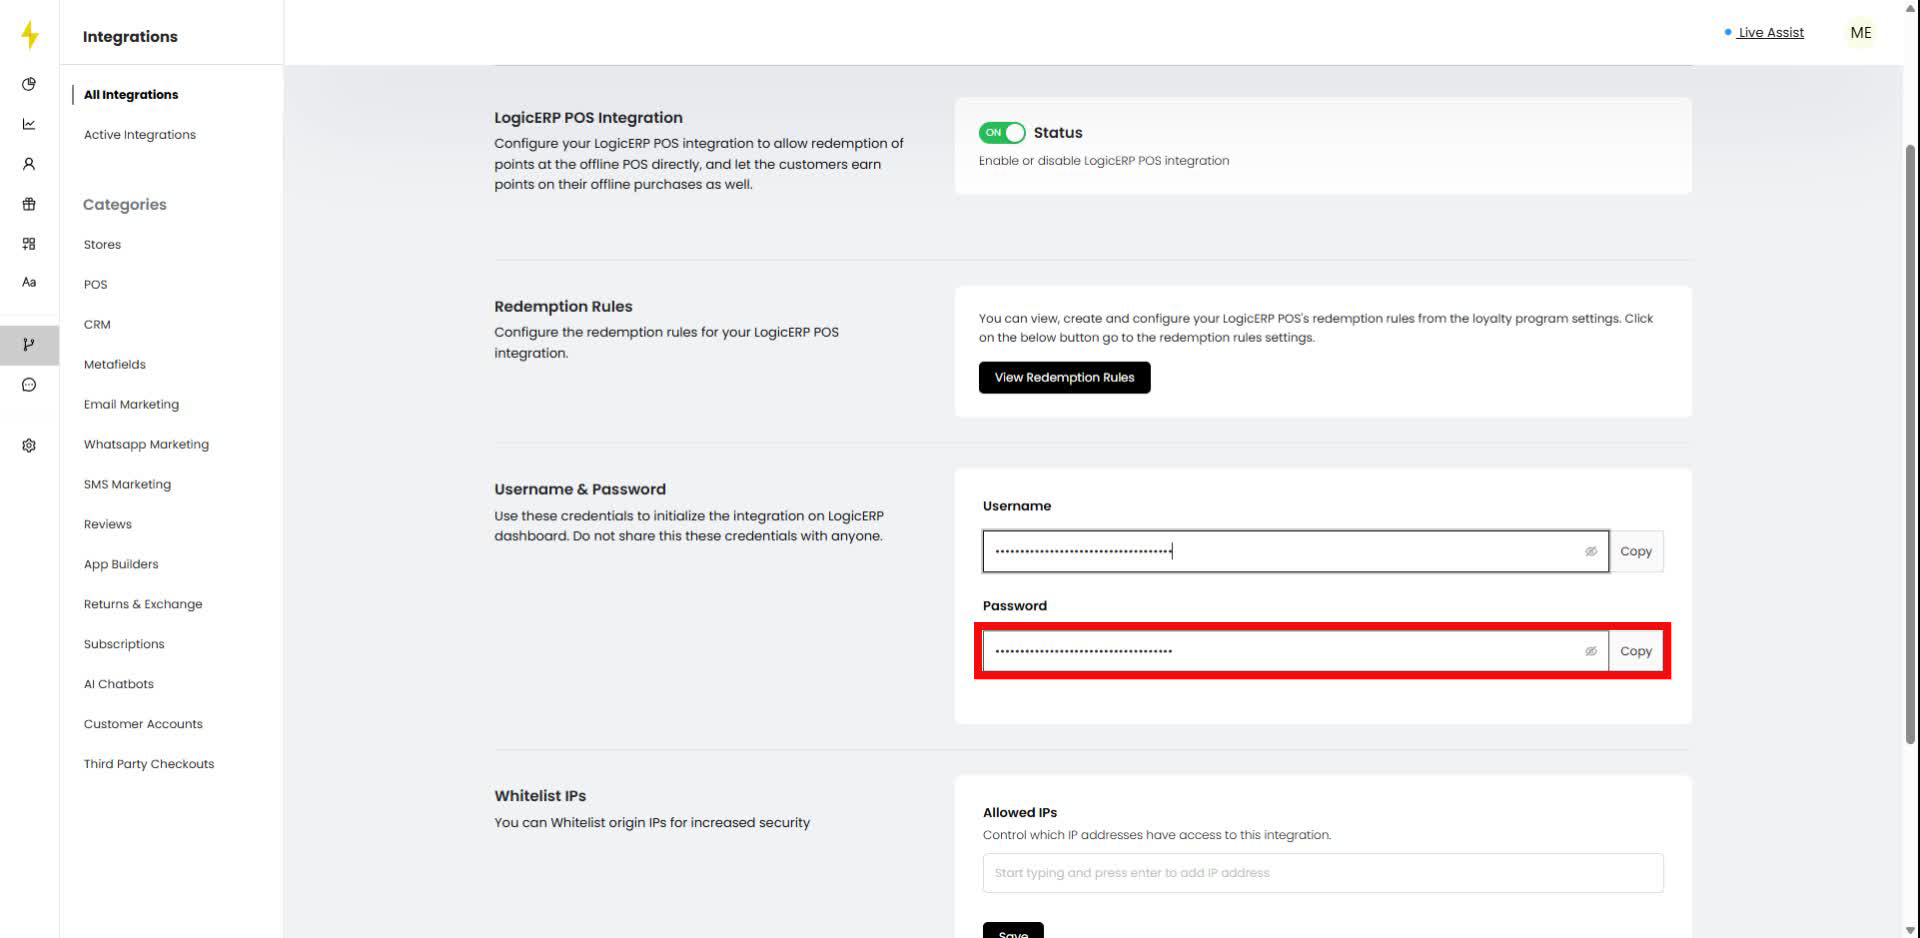
Click the "Copy" button next to the Username field in the form.

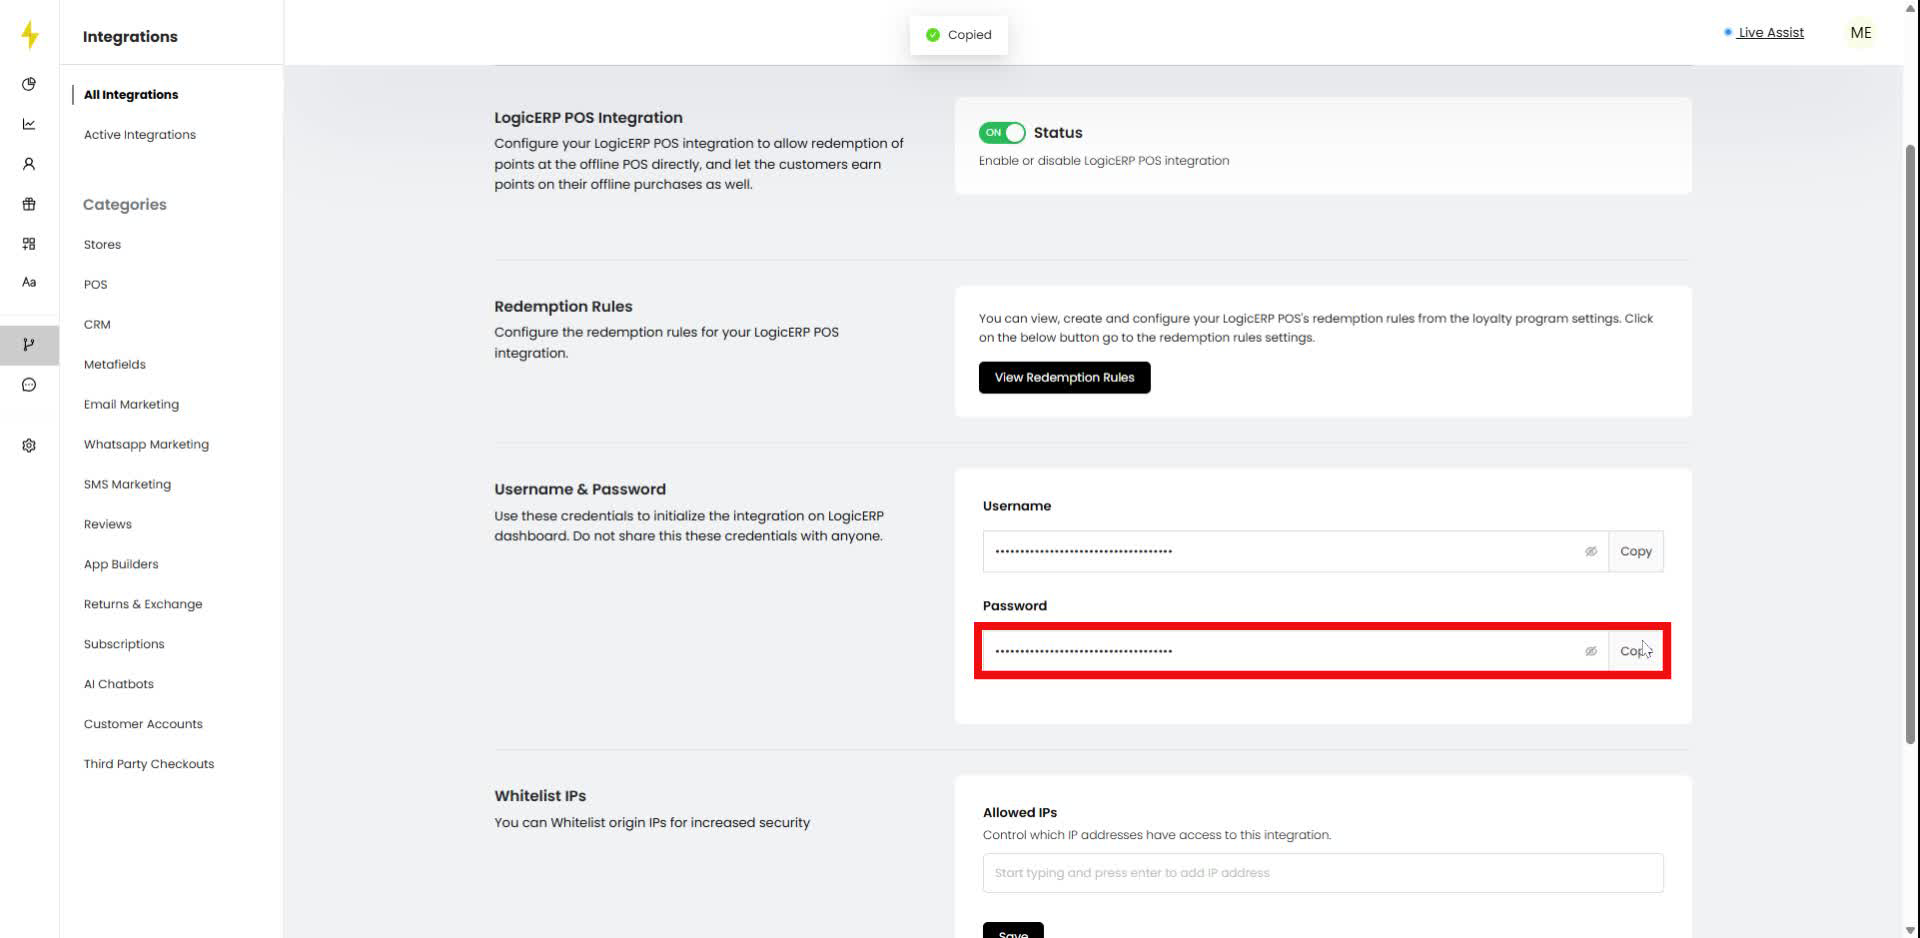
Step 13
Click the "Copy" button next to the Password field in the form.
Step 14
Click the "Copy" button next to the Username field in the form.
Step 15
Click the "Copy" button next to the Password field in the form.
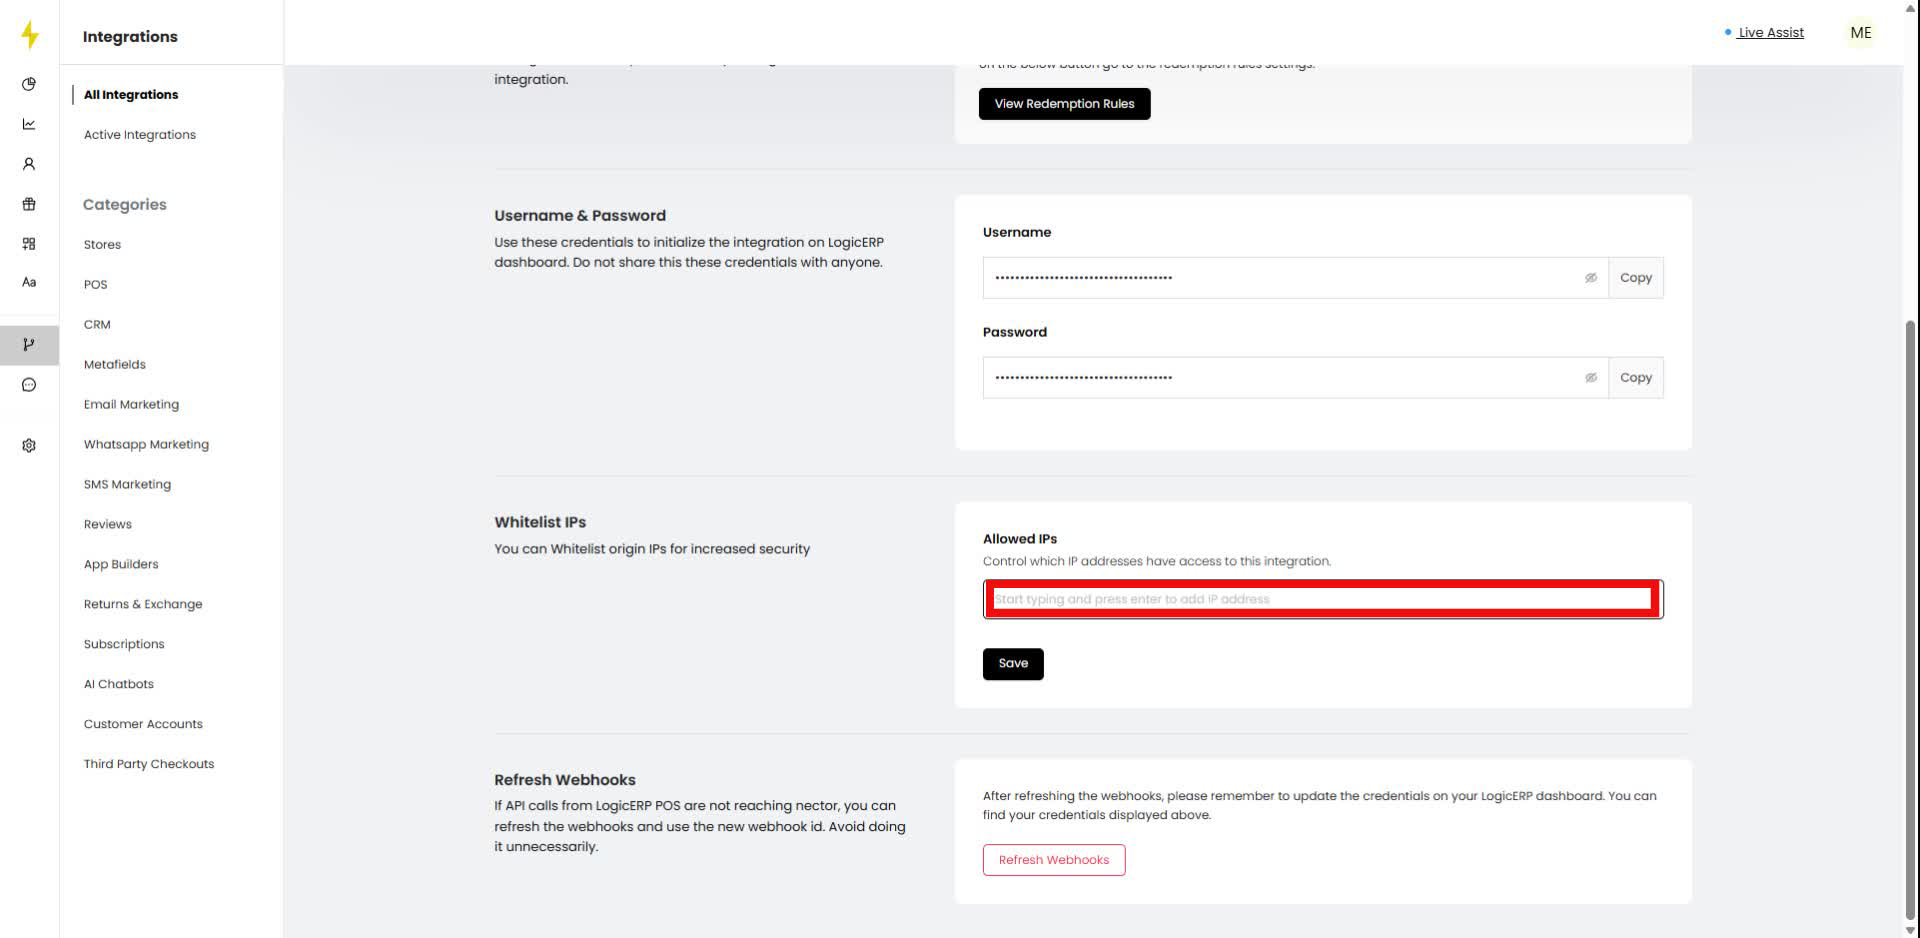
Step 16
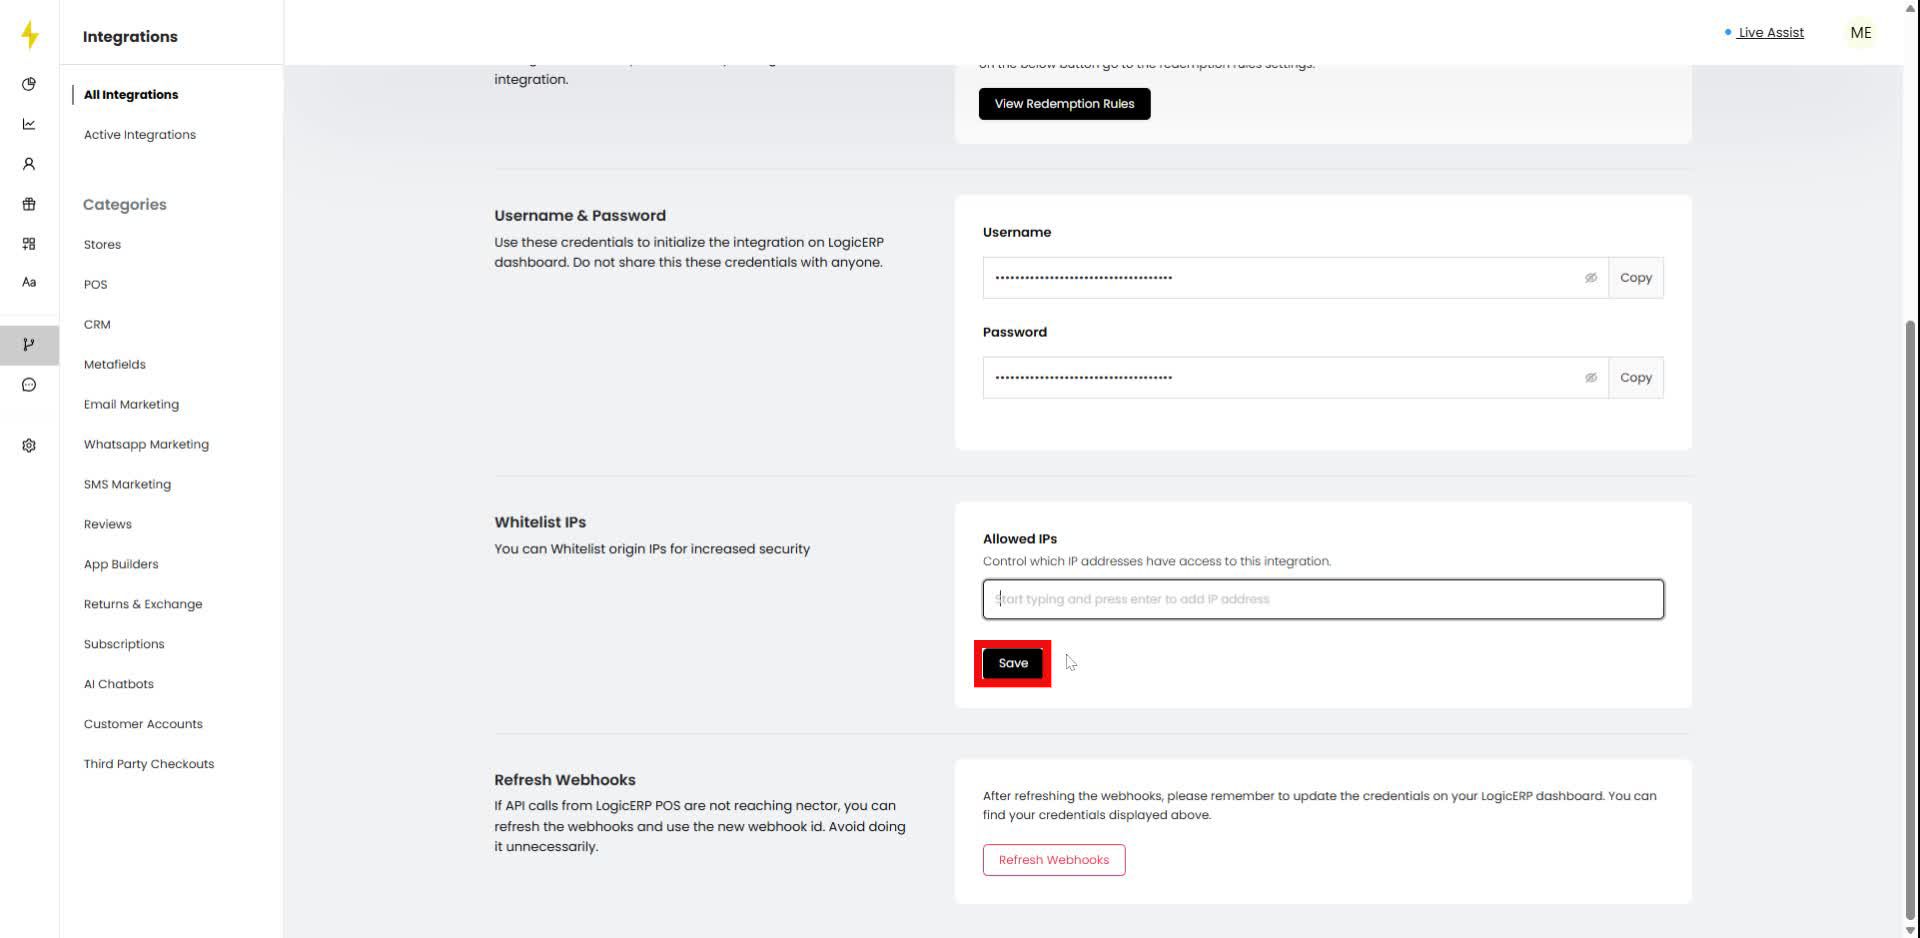
In the "Whitelist IPs" section, click on the input field to start typing an IP address.
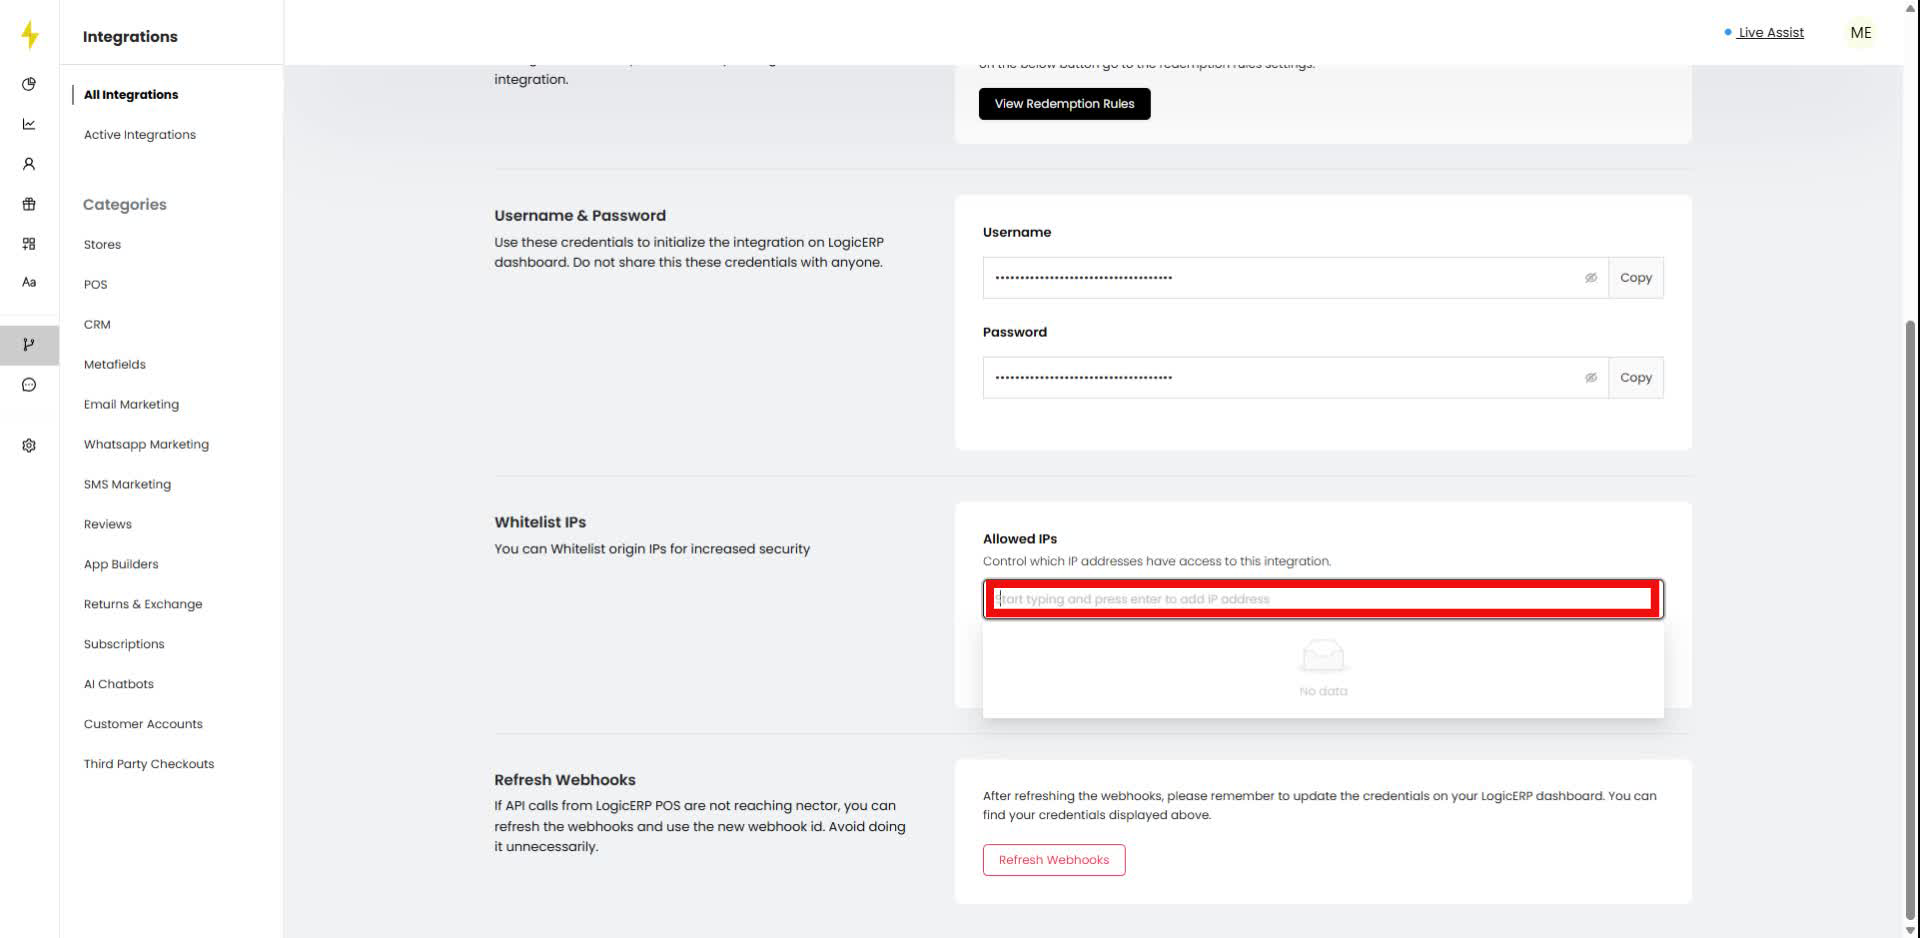
Step 17
Continue typing the IP address in the highlighted input field.
Step 18
Click the "Save" button to save the entered IP address.
Step 19
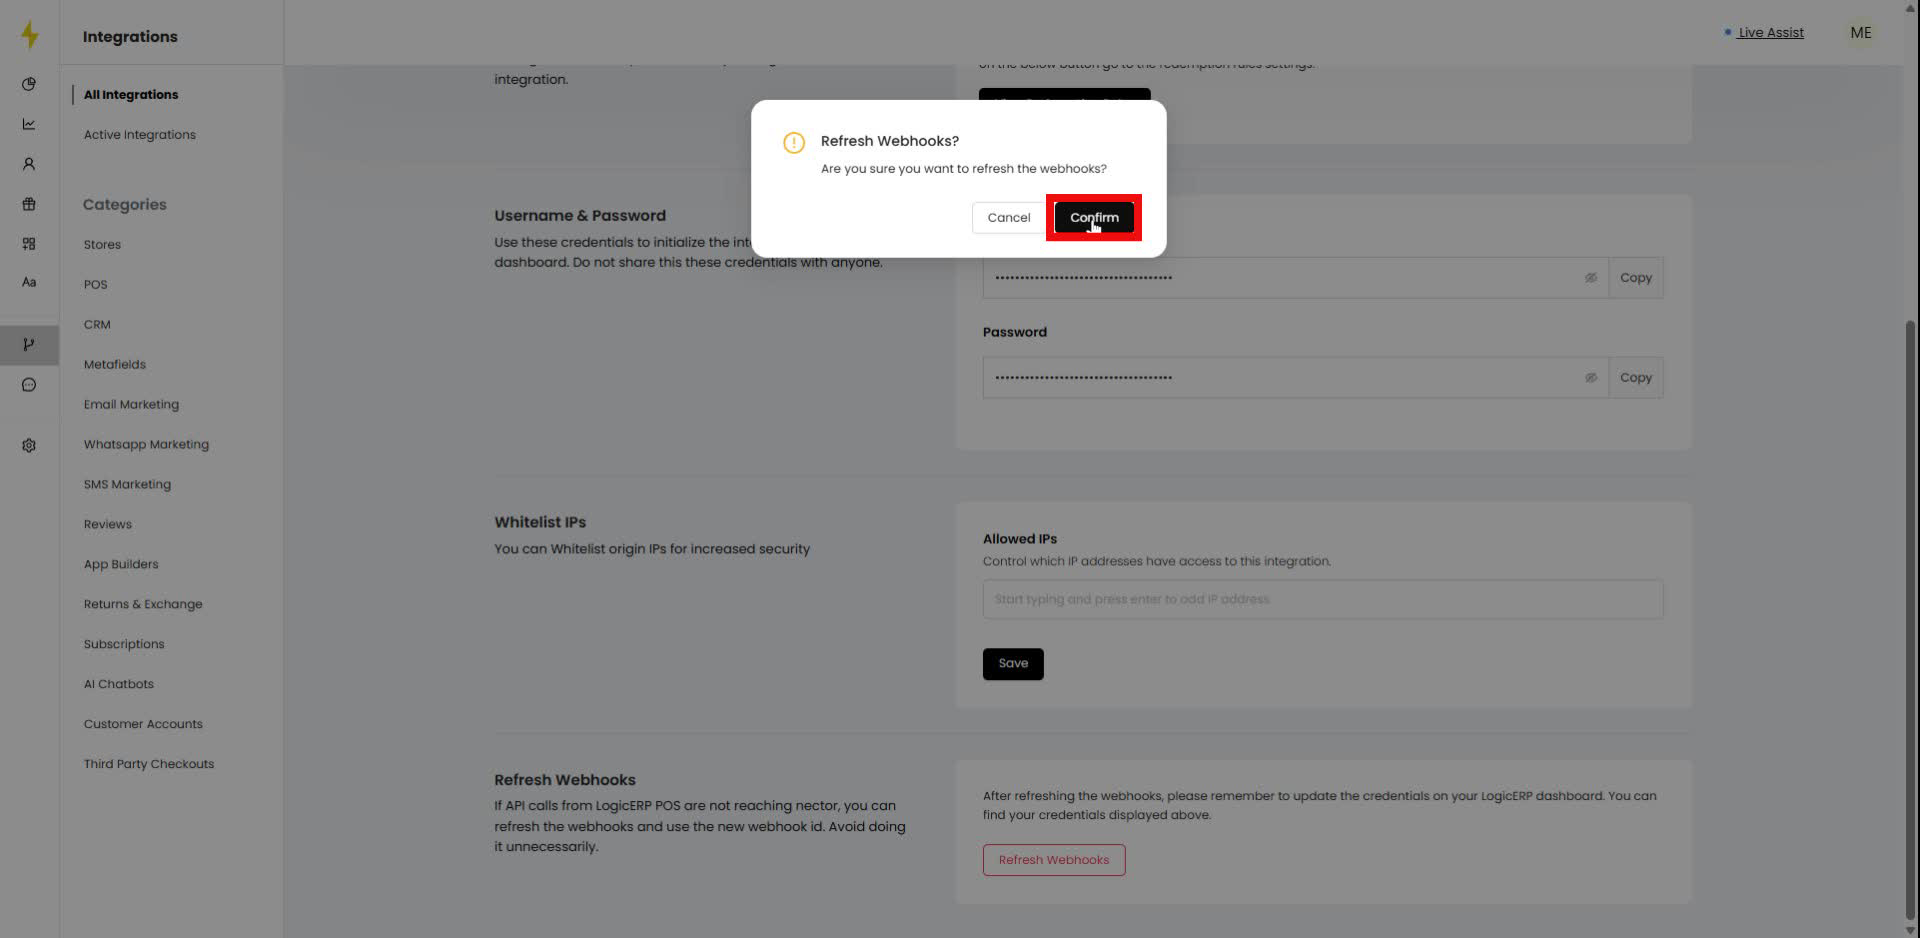
In the "Refresh Webhooks" section, click the "Refresh Webhooks" button.

Step 20
In the confirmation modal, click the "Confirm" button to proceed with refreshing the webhooks.
Updated on: 07/01/2026
Thank you!